ESXi with Internal TrusNAS Deployment
Proposed Setup:
- Deploying VMware ESXi as the hypervisor.
- Deploying TrueNAS as a virtual machine within ESXi, utilize PCIE Passthrough to pass HDDs and cross-mount them back to ESXi for centralized storage while taking advantage of ZFS filesystem
- Integrating pfSense as a virtual firewall along with 2 NAT networks, and DHCP server within the ESXi environment.
Pros:
- Flexibility: Deploying TrueNAS and pfSense as virtual machines within ESXi offers seamless resource allocation and management flexibility.
- Cost-effectiveness: Leveraging existing hardware and virtualizing network services can significantly reduce upfront hardware expenditure.
- Learning Opportunity: The setup and configuration of ESXi, TrueNAS, and pfSense present valuable hands-on learning experiences for both IT professionals and enthusiasts.
- Centralized Management: TrueNAS streamlines storage management, while pfSense consolidates firewall and DHCP services, simplifying network administration tasks.
- High Availability Potential: While consolidating services within the ESXi environment introduces a single point of failure risk, this concern can be effectively mitigated by deploying multiple ESXi hosts and configuring them into a fail-safe cluster. Leveraging management tools like vSphere Client enables seamless monitoring and ensures continuous service availability even in the event of a hypervisor failure.
Cons:
- Performance Overhead: Virtualizing network services and storage may introduce performance overhead when compared to dedicated hardware solutions.
- Resource Requirements: Concurrent operation of multiple virtual machines necessitates ample CPU, RAM, and disk resources, potentially straining hardware resources in a lab environment.
- Complexity: Configuration and management of virtualized network services and storage within ESXi can prove challenging, particularly for novice users.
- Scalability Considerations: While the current setup may initially offer robust functionality, it’s important to note that scalability could be further optimized compared to dedicated hardware alternatives, particularly for large-scale production environments.
The lab session involves deploying VMware ESXi as the hypervisor and running TrueNAS and pfSense as virtual machines within it, optimizing resource allocation and reducing hardware costs. While offering valuable learning opportunities, particularly for IT professionals, the setup centralizes storage management and network services for streamlined administration. However, considerations such as potential performance overhead, resource requirements, and the need for scalability and high availability measures should be carefully addressed for optimal functionality in diverse production environments.
Prep
- A Copy of ESXi
- A Copy of TrueNAS Core
- A Copy of pfSense
- Virtual Hosts (Linux, Windows, etc)
ESXi
 It can be downloaded from the official VMware website
I will be getting the latest
It can be downloaded from the official VMware website
I will be getting the latest 8.0U2 version of ESXi
You may opt out for older instance of the ESXi if your hardware doesn’t support the latest release.
TrueNAS Core
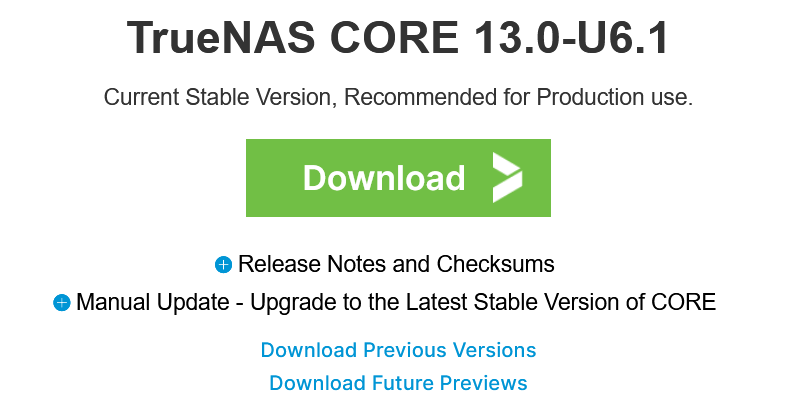 TrueNAS Core can be downloaded from the official website
As of writing,
TrueNAS Core can be downloaded from the official website
As of writing, 13.0-U6.1 is the latest version
pfSense
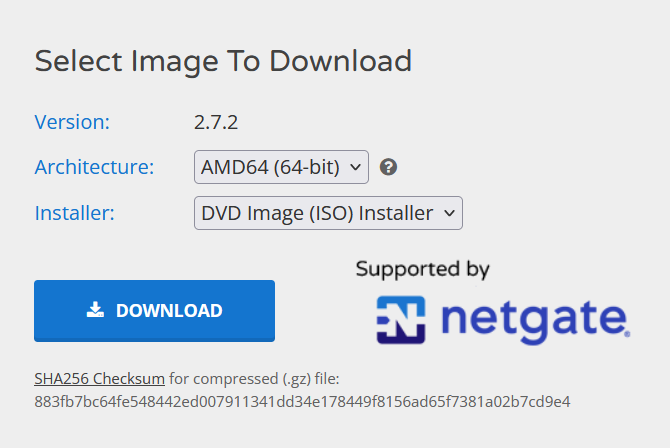 Latest version of pfSense can be downloaded from the official website as well
In my case, it’s
Latest version of pfSense can be downloaded from the official website as well
In my case, it’s 2.7.2
ESXi Installation
 ESXi is a hypervisor developed by VMware, designed for server virtualization. It enables the creation and management of multiple virtual machines on a single physical server, optimizing hardware resources and increasing operational efficiency. ESXi offers robust features for scalability, security, and performance, making it ideal for building and managing virtualized environments in enterprise settings. Its streamlined architecture and centralized management tools simplify deployment, monitoring, and maintenance tasks for IT administrators.
For those conducting a bare-metal installation, it’s as simple as flashing the ISO image of downloaded ESXi image to a flash drive using tools like Rufus or Balena Etcher
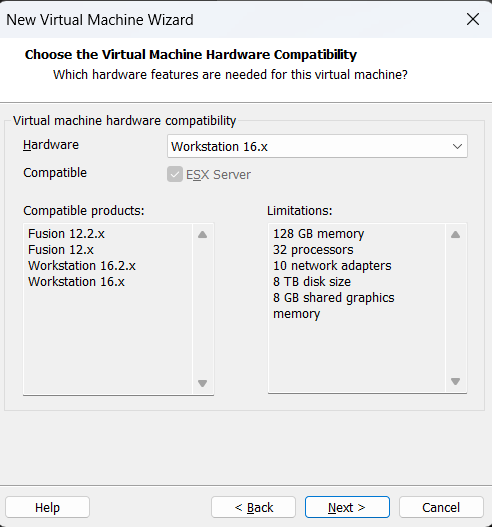
For the purpose of this lab session, I will be installing ESXi on top of VMware Worksation (Type-2 Hypervisor) for demonstration purpose.
 I am using an older instance of VMware Worksation
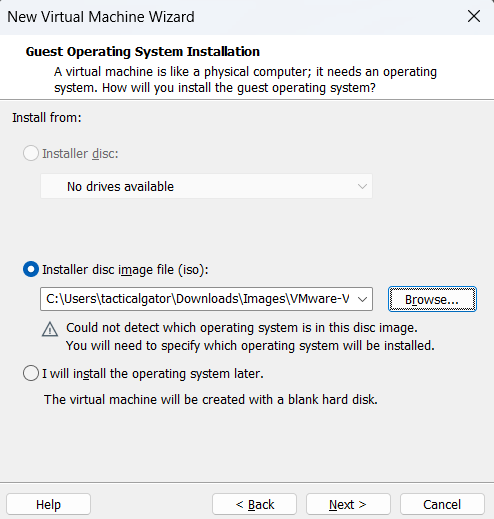 Selecting the ISO image of the downloaded ESXi
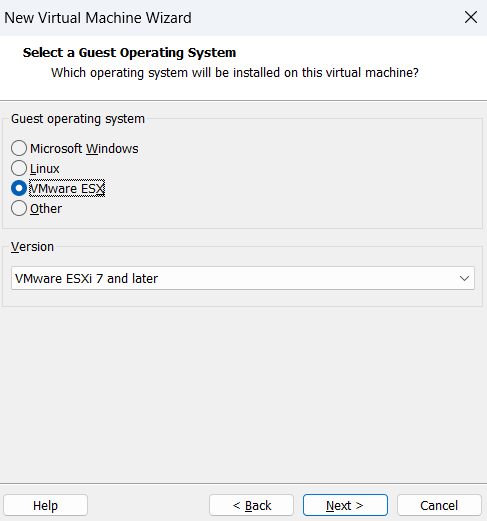 Checking on the VMware ESX option
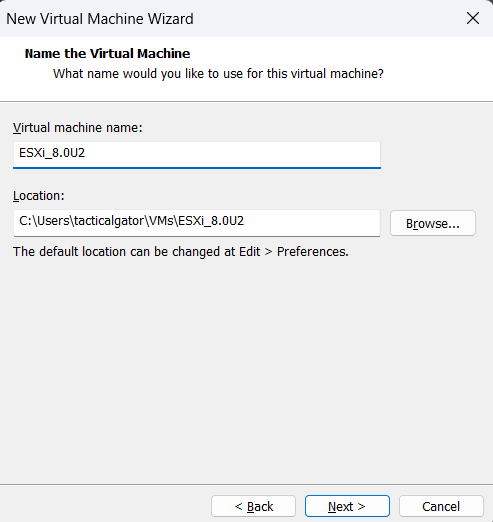 and I will give it a recognizable name
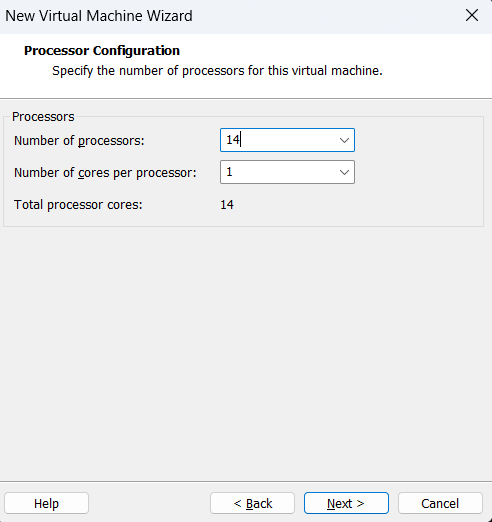 I will give out 14 processors as it would require a lot of computing power
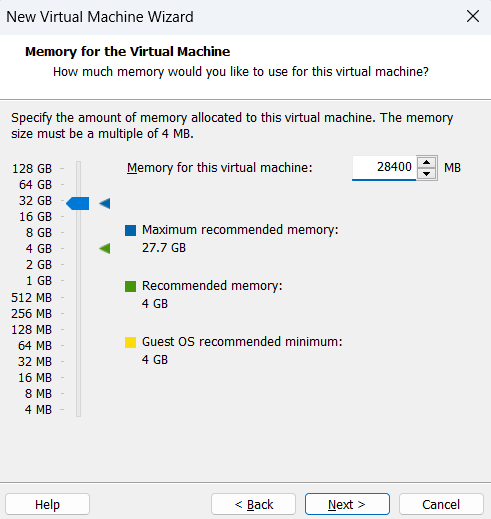 Same goes for the memory
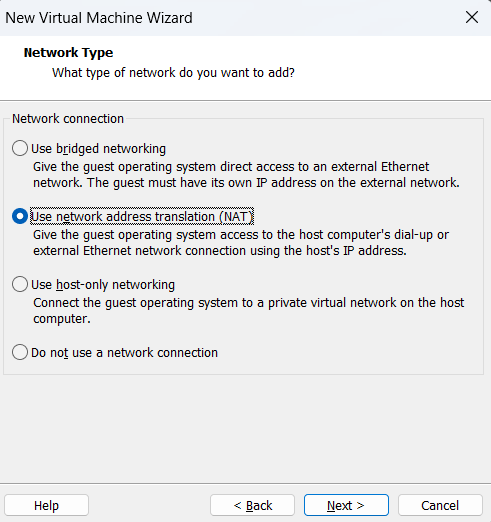 For the network, I will be using the NAT option, but this will be changed to static in a later stage
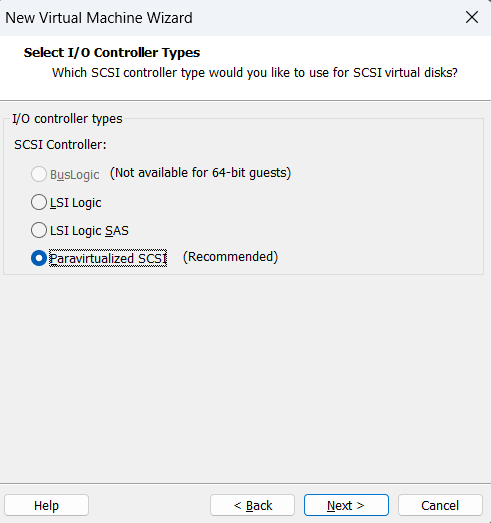 Using the VMware’s default Paravirtualized SCSI
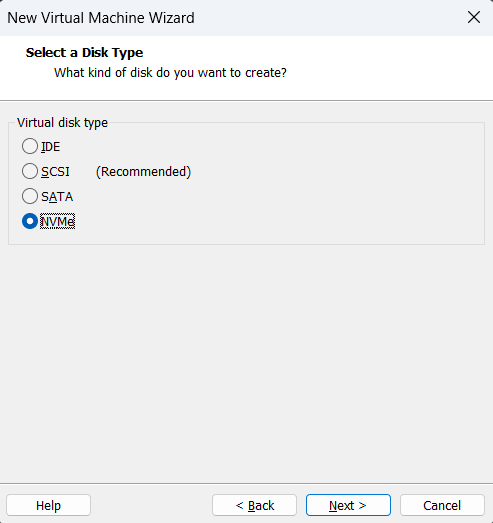 and I will select the NVMe drive for the ESXi installation.
This doesn’t really matter as we are installing on top of VMware Workstation
But this might be an important step for those doing the bare-metal installation
and I will select the NVMe drive for the ESXi installation.
This doesn’t really matter as we are installing on top of VMware Workstation
But this might be an important step for those doing the bare-metal installation
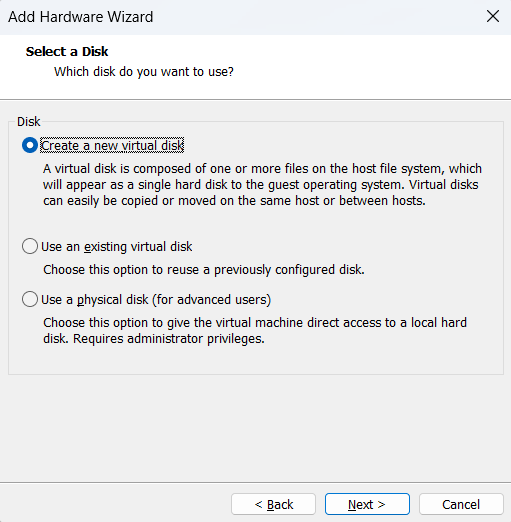
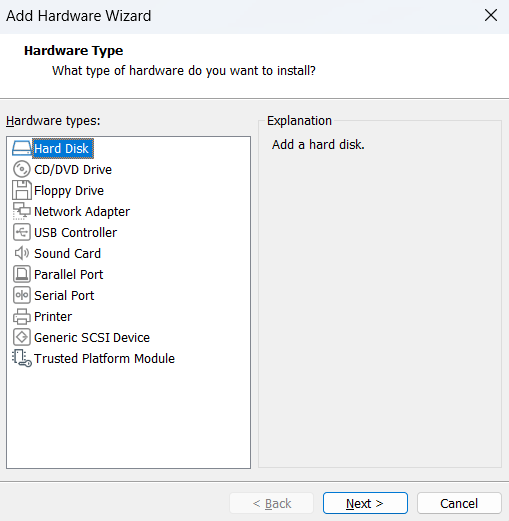
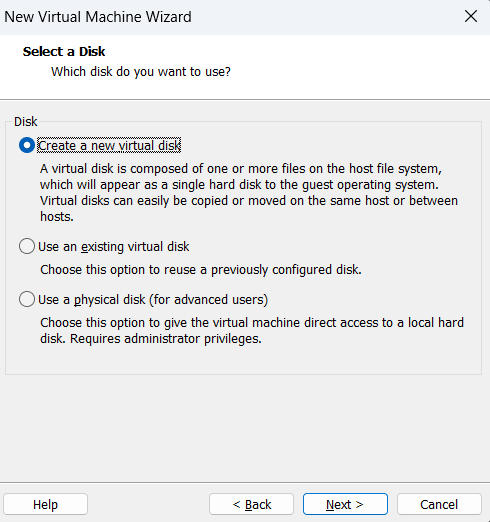 Creating a new virtual disk
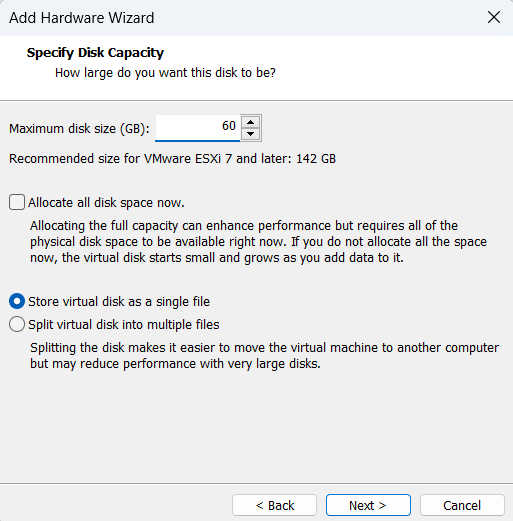
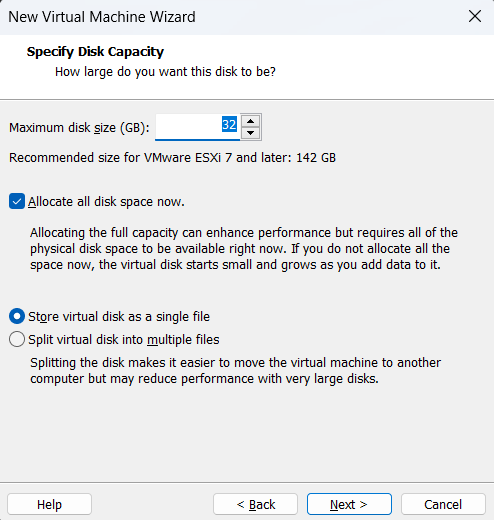 The bare-minimum requirement for ESXi installation takes about 32GB of storage.
I will also allocate the disk space for better performance and store it into a single file for ease of management
The bare-minimum requirement for ESXi installation takes about 32GB of storage.
I will also allocate the disk space for better performance and store it into a single file for ease of management
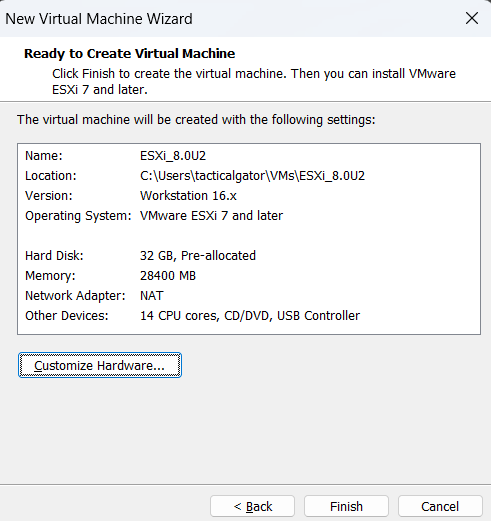
 This is the initial setup, but it will be further modified to suit our needs
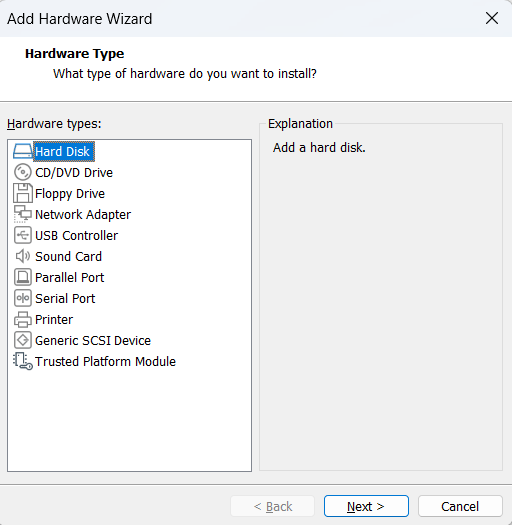 Another Hard Disk will be added for TrueNAS Core installation
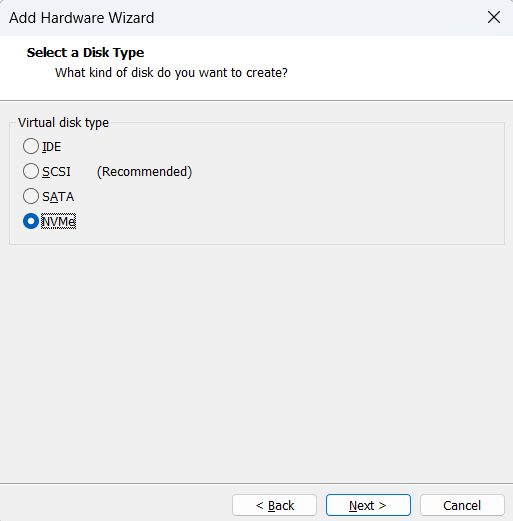
 We will also give that a NVMe drive option although it doesn’t change much
 TrueNAS Core requires about 40GB of space to be functional
I will also allocate the disk space for better performance and store it into a single file for ease of management
TrueNAS Core requires about 40GB of space to be functional
I will also allocate the disk space for better performance and store it into a single file for ease of management
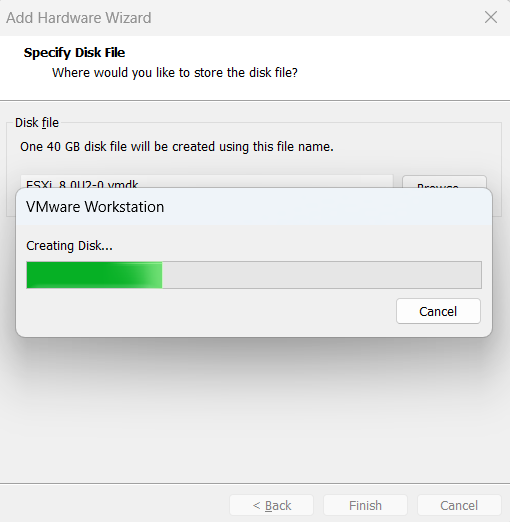 Creating the disk for TrueNAS Core
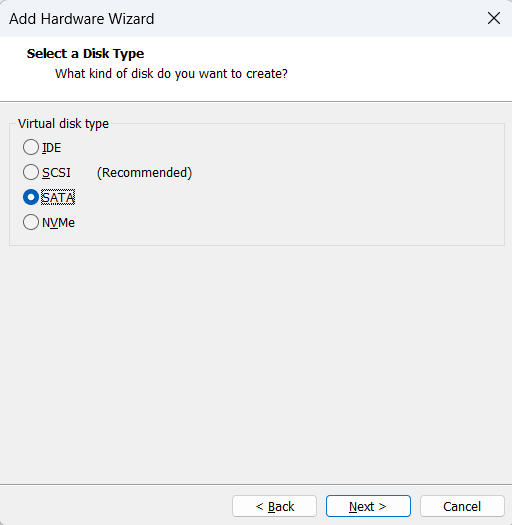
 Then I can add as many SATA drive as possible
An arbitrary number(60GB) is given as this is for demonstration purpose
If you are installing bare-metal, you would probably want to use supported HBA, PCIe-based Expansion card, or RAID card to bundle up your SATA/SAS drives, and ESXi installation process would likely recognize that. You can check the list of supported hardware list here
Then I can add as many SATA drive as possible
An arbitrary number(60GB) is given as this is for demonstration purpose
If you are installing bare-metal, you would probably want to use supported HBA, PCIe-based Expansion card, or RAID card to bundle up your SATA/SAS drives, and ESXi installation process would likely recognize that. You can check the list of supported hardware list here
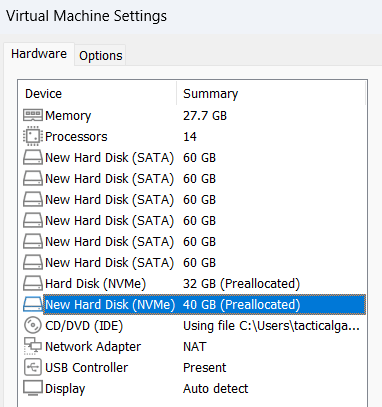 At the end, my setup looks like this above.
ESXi will be installed on to the NVMe drive(32GB)
TrueNAS Core will be installed on to the NVMe drive(40GB)
All the SATA drives will be cross-mounted from TrueNAS Core back to ESXi via PCIe Passthrough (VM Direct Path IO)
At the end, my setup looks like this above.
ESXi will be installed on to the NVMe drive(32GB)
TrueNAS Core will be installed on to the NVMe drive(40GB)
All the SATA drives will be cross-mounted from TrueNAS Core back to ESXi via PCIe Passthrough (VM Direct Path IO)
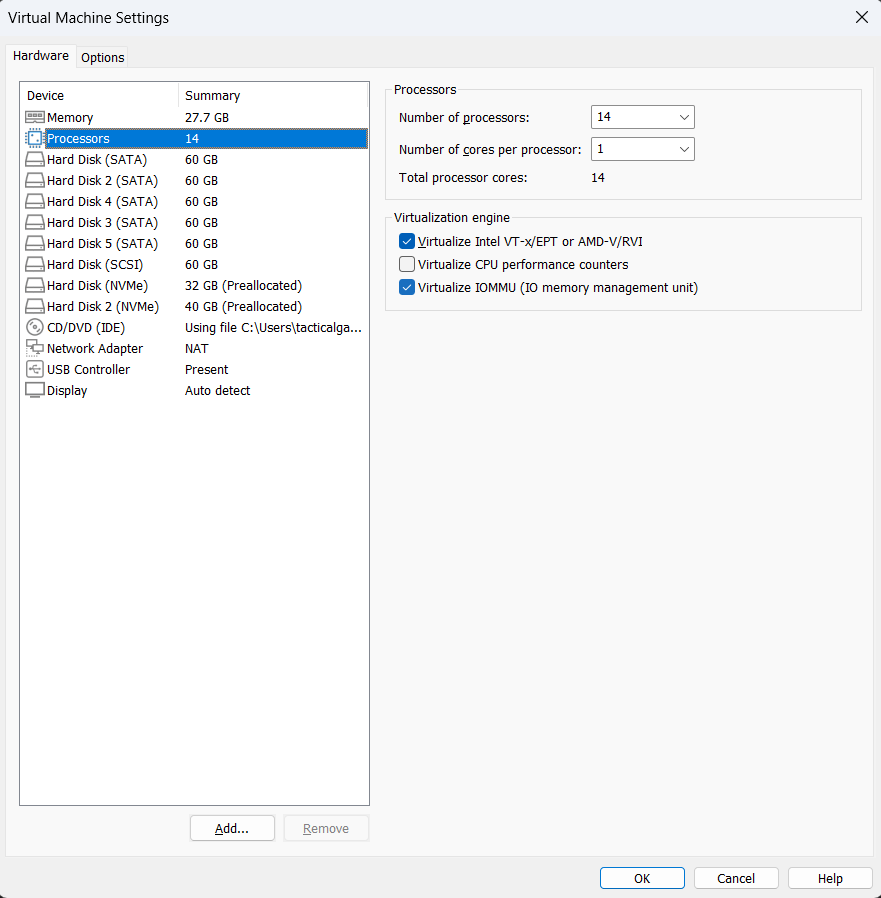 Another super important thing is to enable the Virtualize IOMMU option in the processor
This would allow the PCIE Passthrough
Another super important thing is to enable the Virtualize IOMMU option in the processor
This would allow the PCIE Passthrough
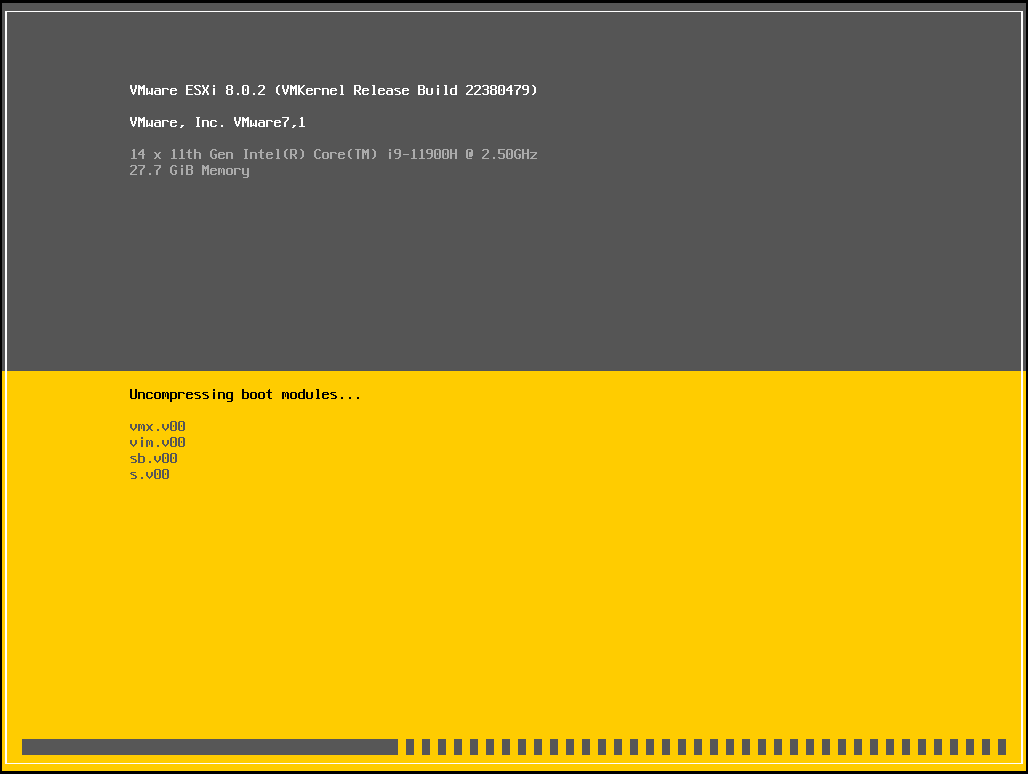
 Booting it up
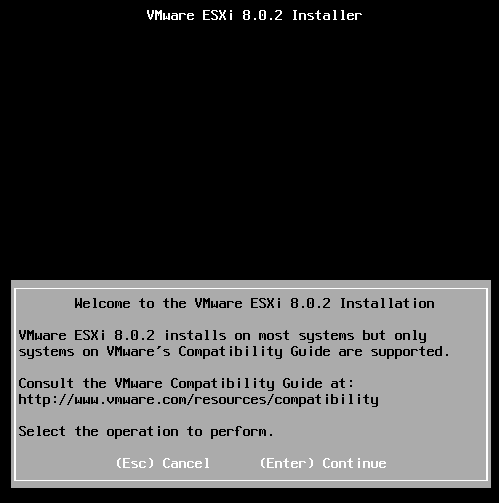 Installation process is initialized
Pressing Enter to continue
Installation process is initialized
Pressing Enter to continue
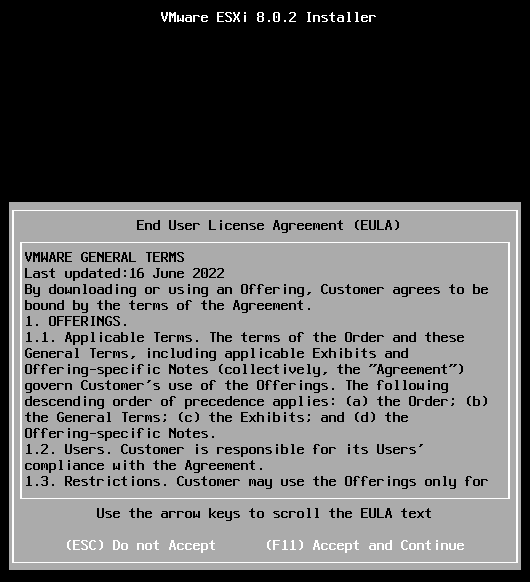 EULA
F11 to accept and continue
EULA
F11 to accept and continue

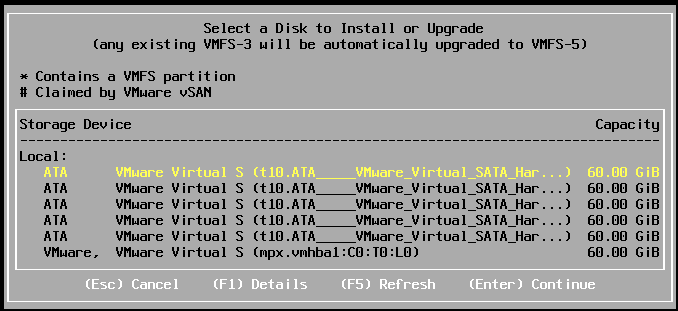 The installation process scans for drives and found all the drives that we configured in the earlier stage
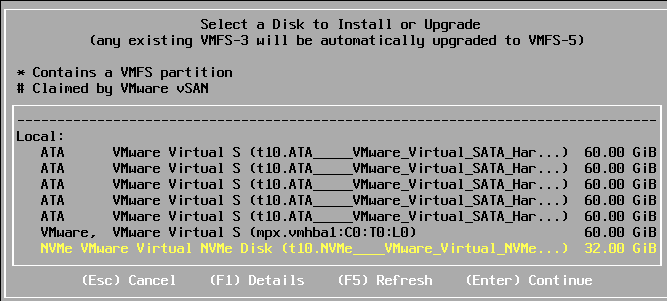 I will select the NVMe Drive (32GB) for the ESXi installation as intended
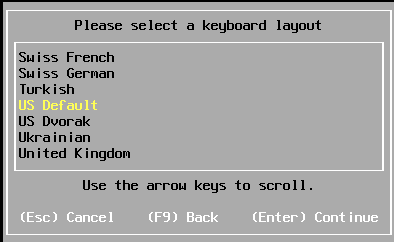 US Default
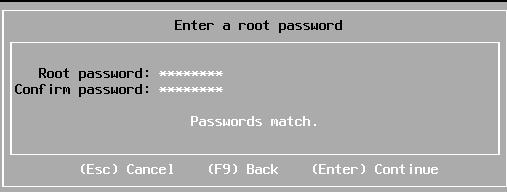 It prompts for password configuration
Let’s give it a secure password
It prompts for password configuration
Let’s give it a secure password
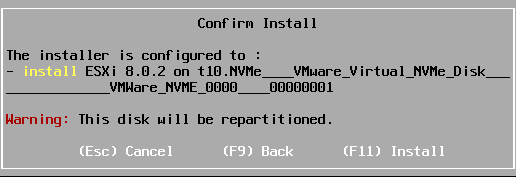 It gives out a warning that the selected NVMe drive will be repartition
Let’s press F11 to install
It gives out a warning that the selected NVMe drive will be repartition
Let’s press F11 to install


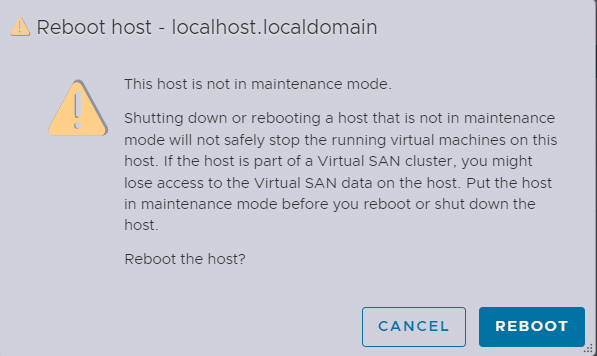
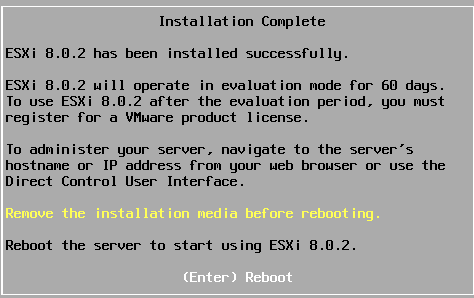 Installation process is complete and it’s now asking for reboot
 I will do just that
ESXi Configuration
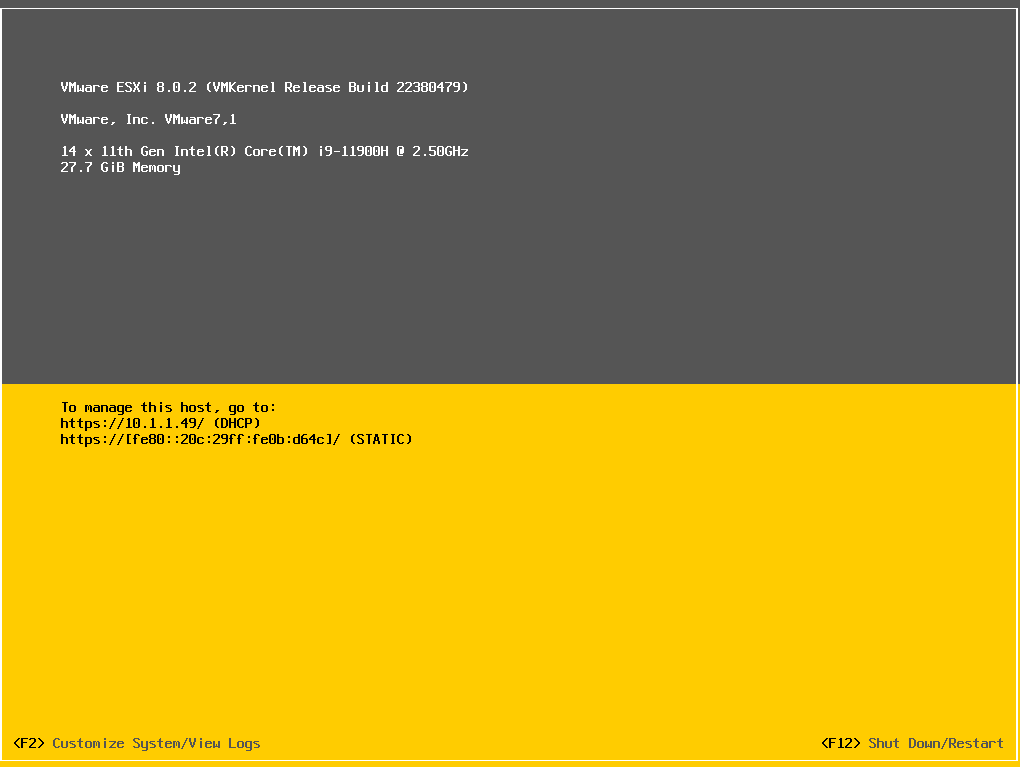 ESXi has successfully booted and it’s given an IPv4 address of
 10.1.1.49
We want to change that to static
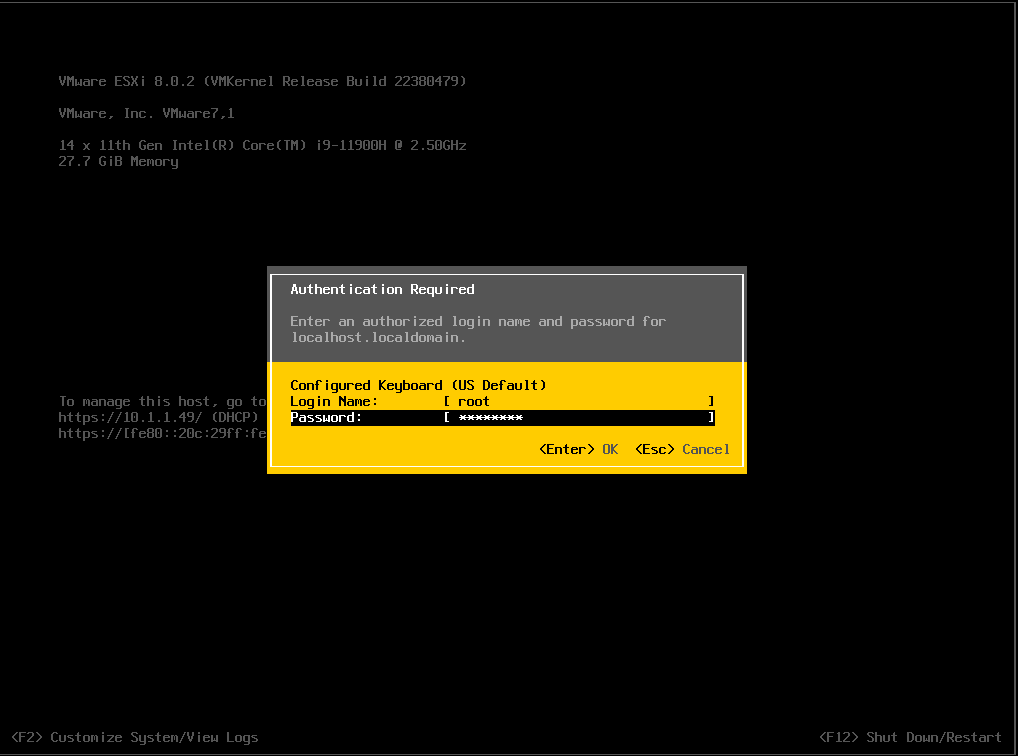 Pressing F2 to change the network setting prompts for authentication
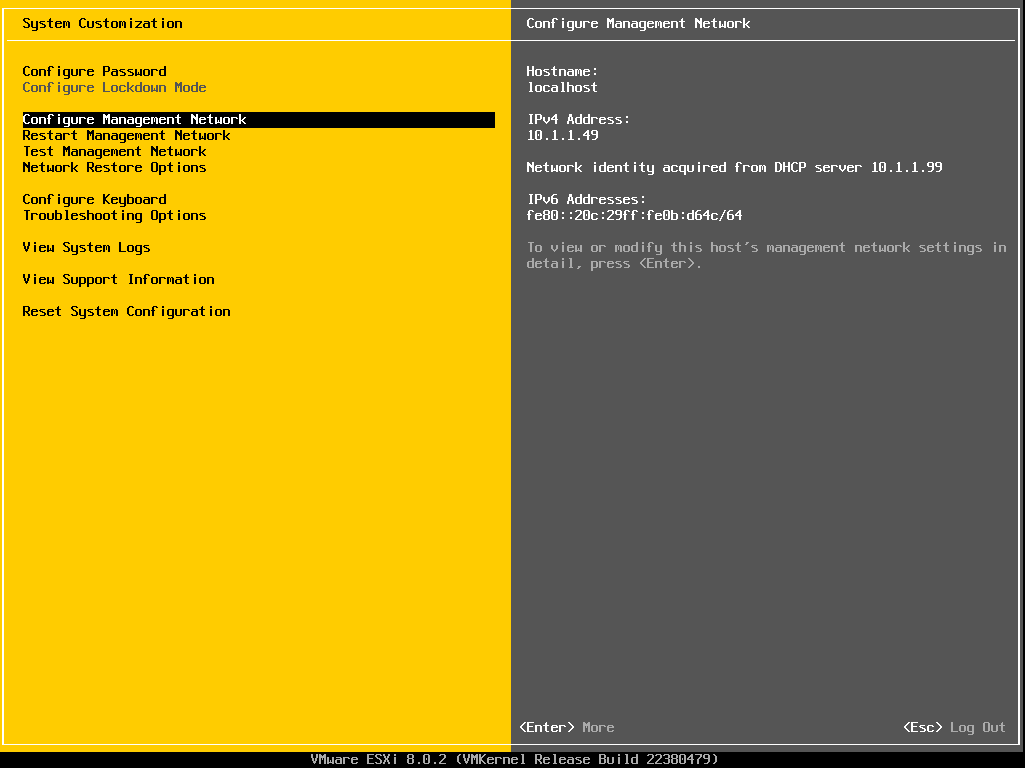 Down to the Configure Management Network option
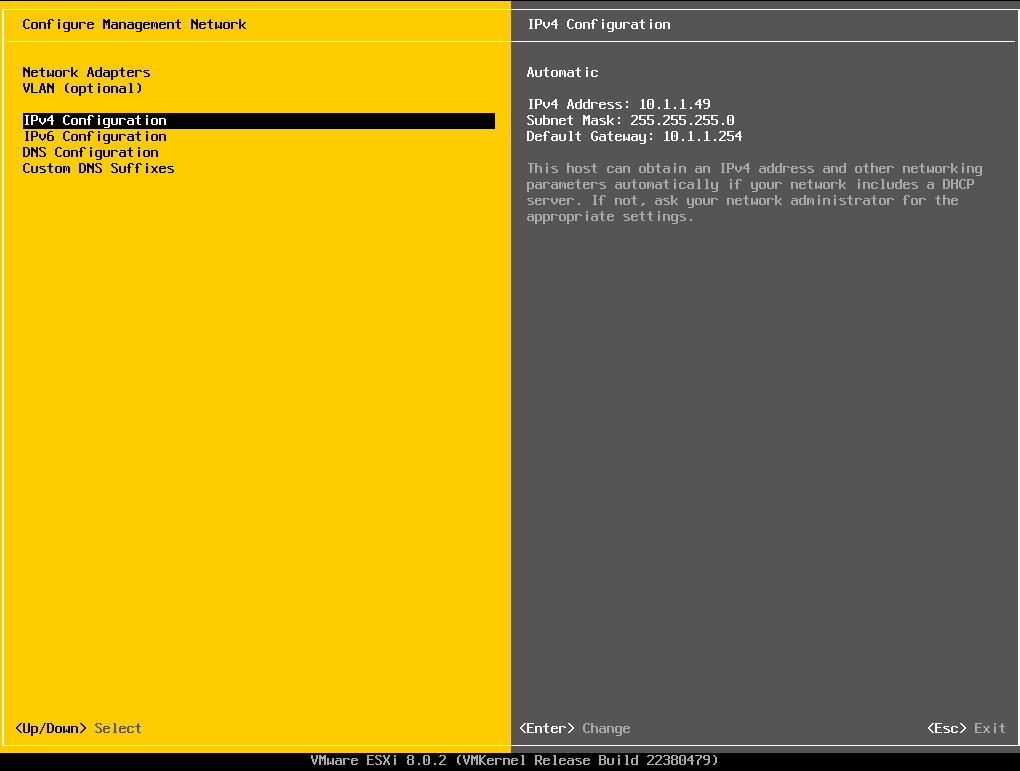 and down to the IPv4 Configuration option
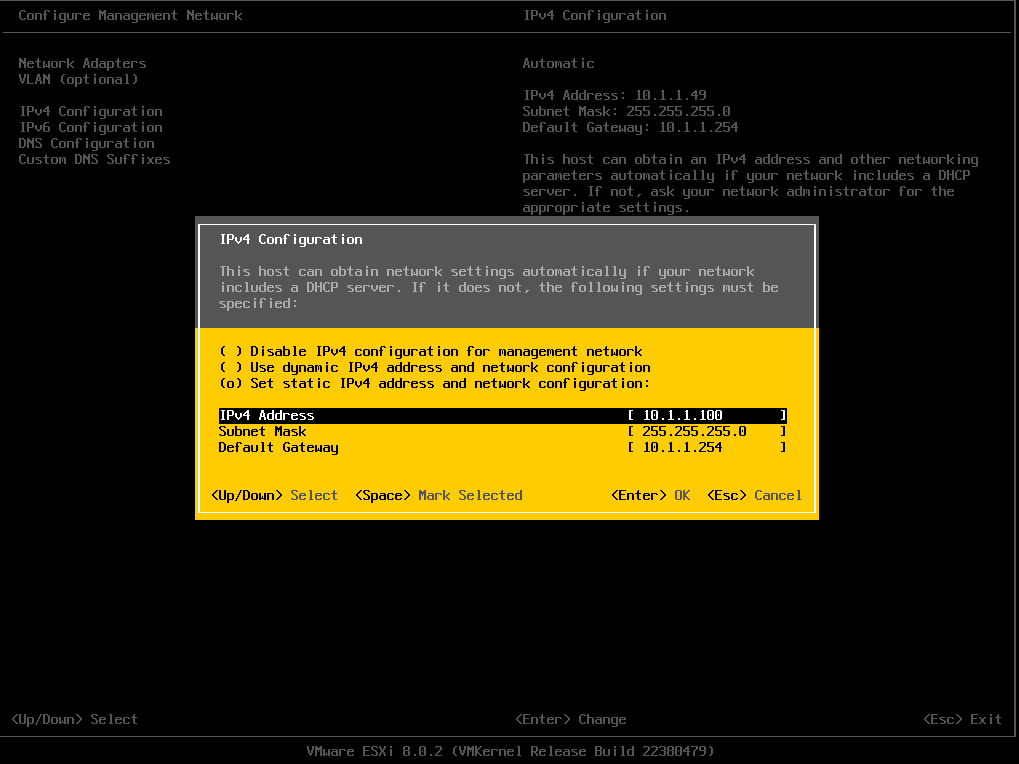 I will then assign a static IPv4 address of
 10.1.1.100
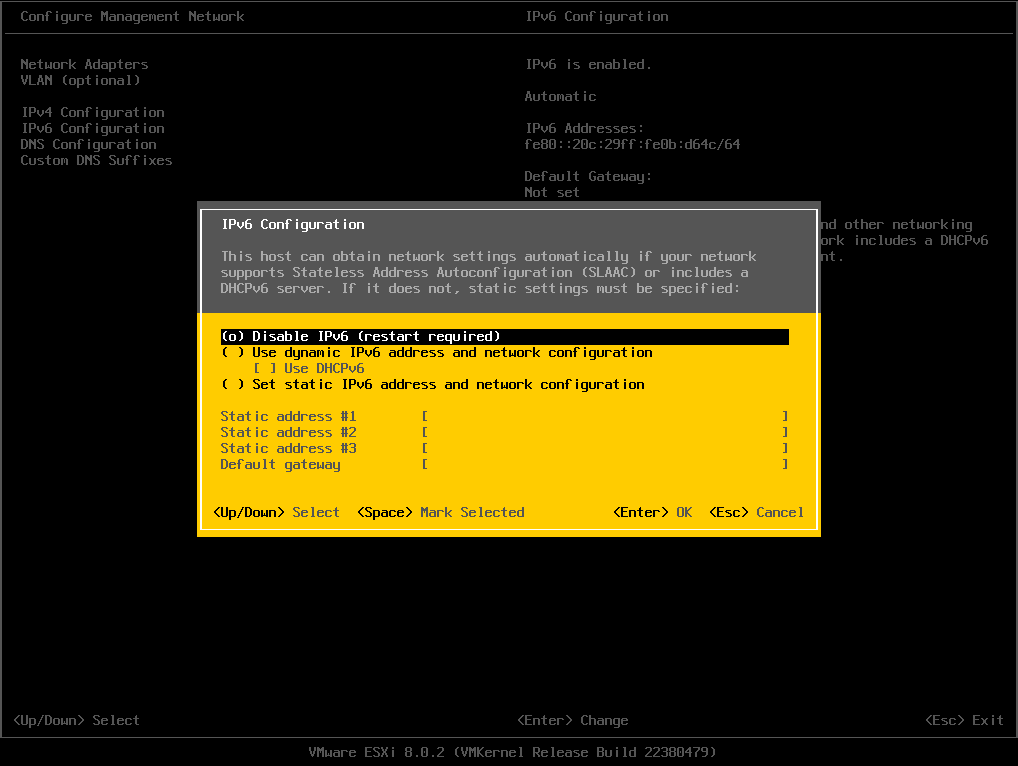 I will also disable IPv6 since it’s not needed in this lab session
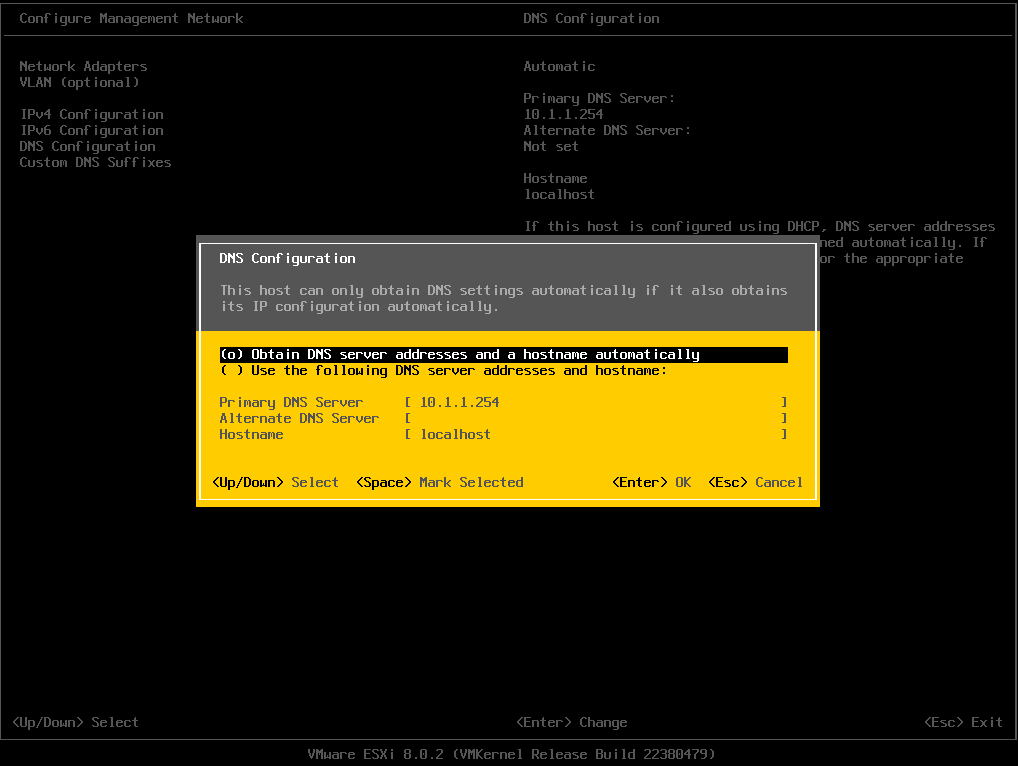 You may also want to configure the DNS for bare-metal installation
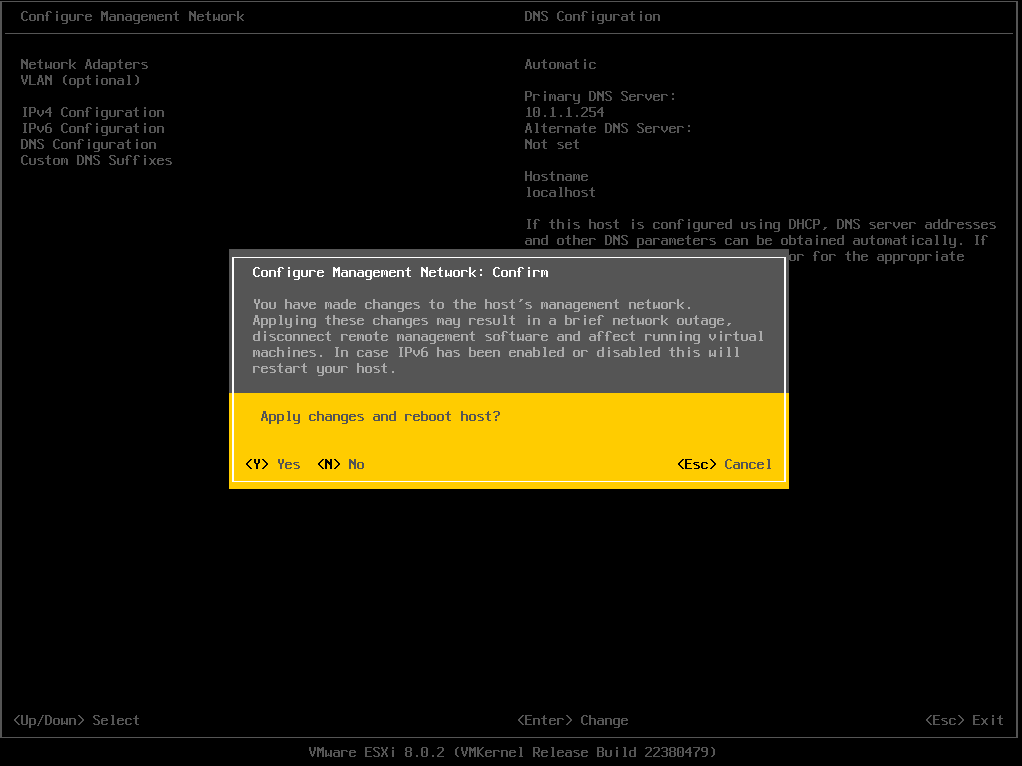
 Changes made require reboot
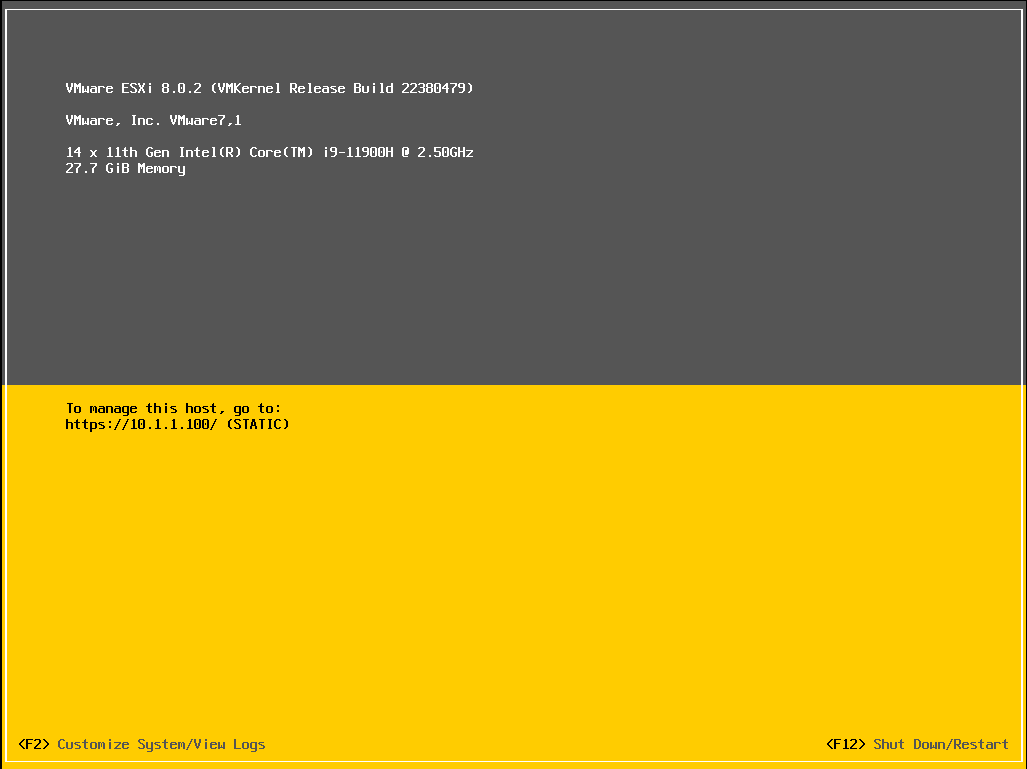 Rebooted!
Web interface is now available at
Rebooted!
Web interface is now available at https://10.1.1.100
 Let’s login with the credential
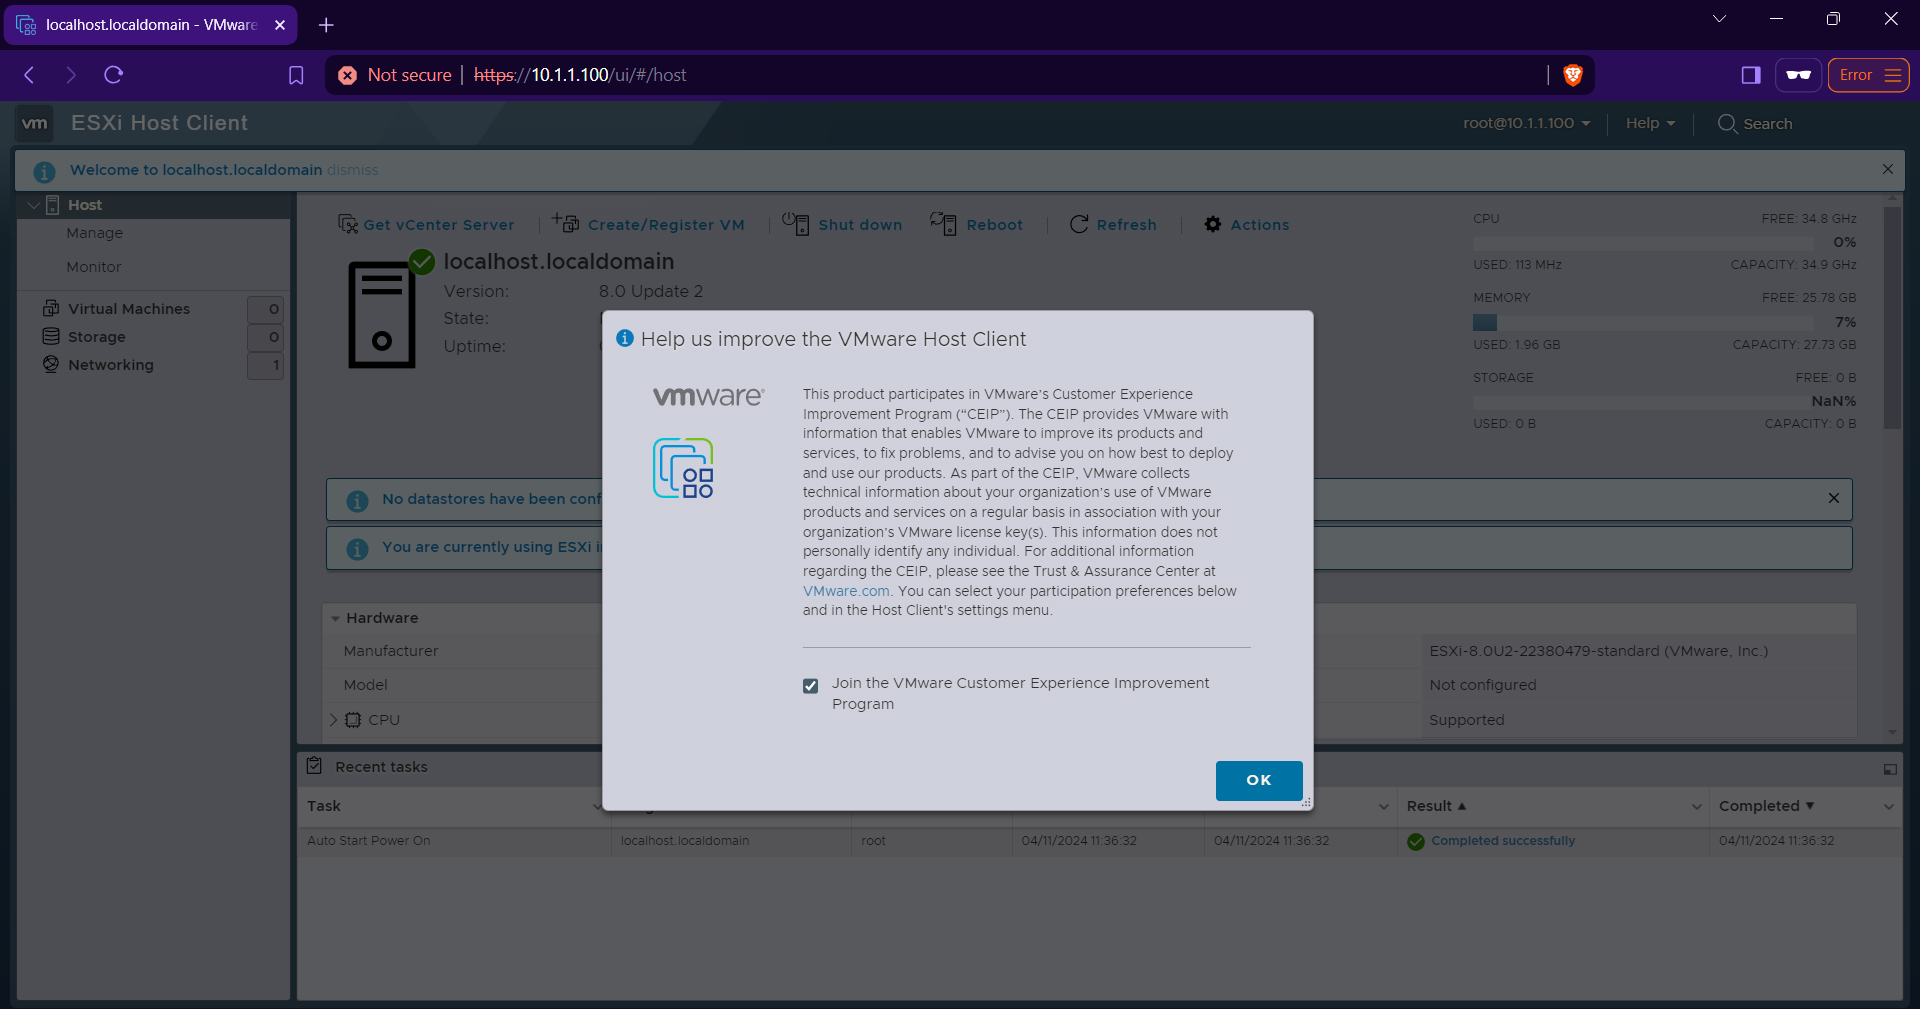 It first presents “CEIP”.
I will opt out of it as it’s unnecessary
It first presents “CEIP”.
I will opt out of it as it’s unnecessary
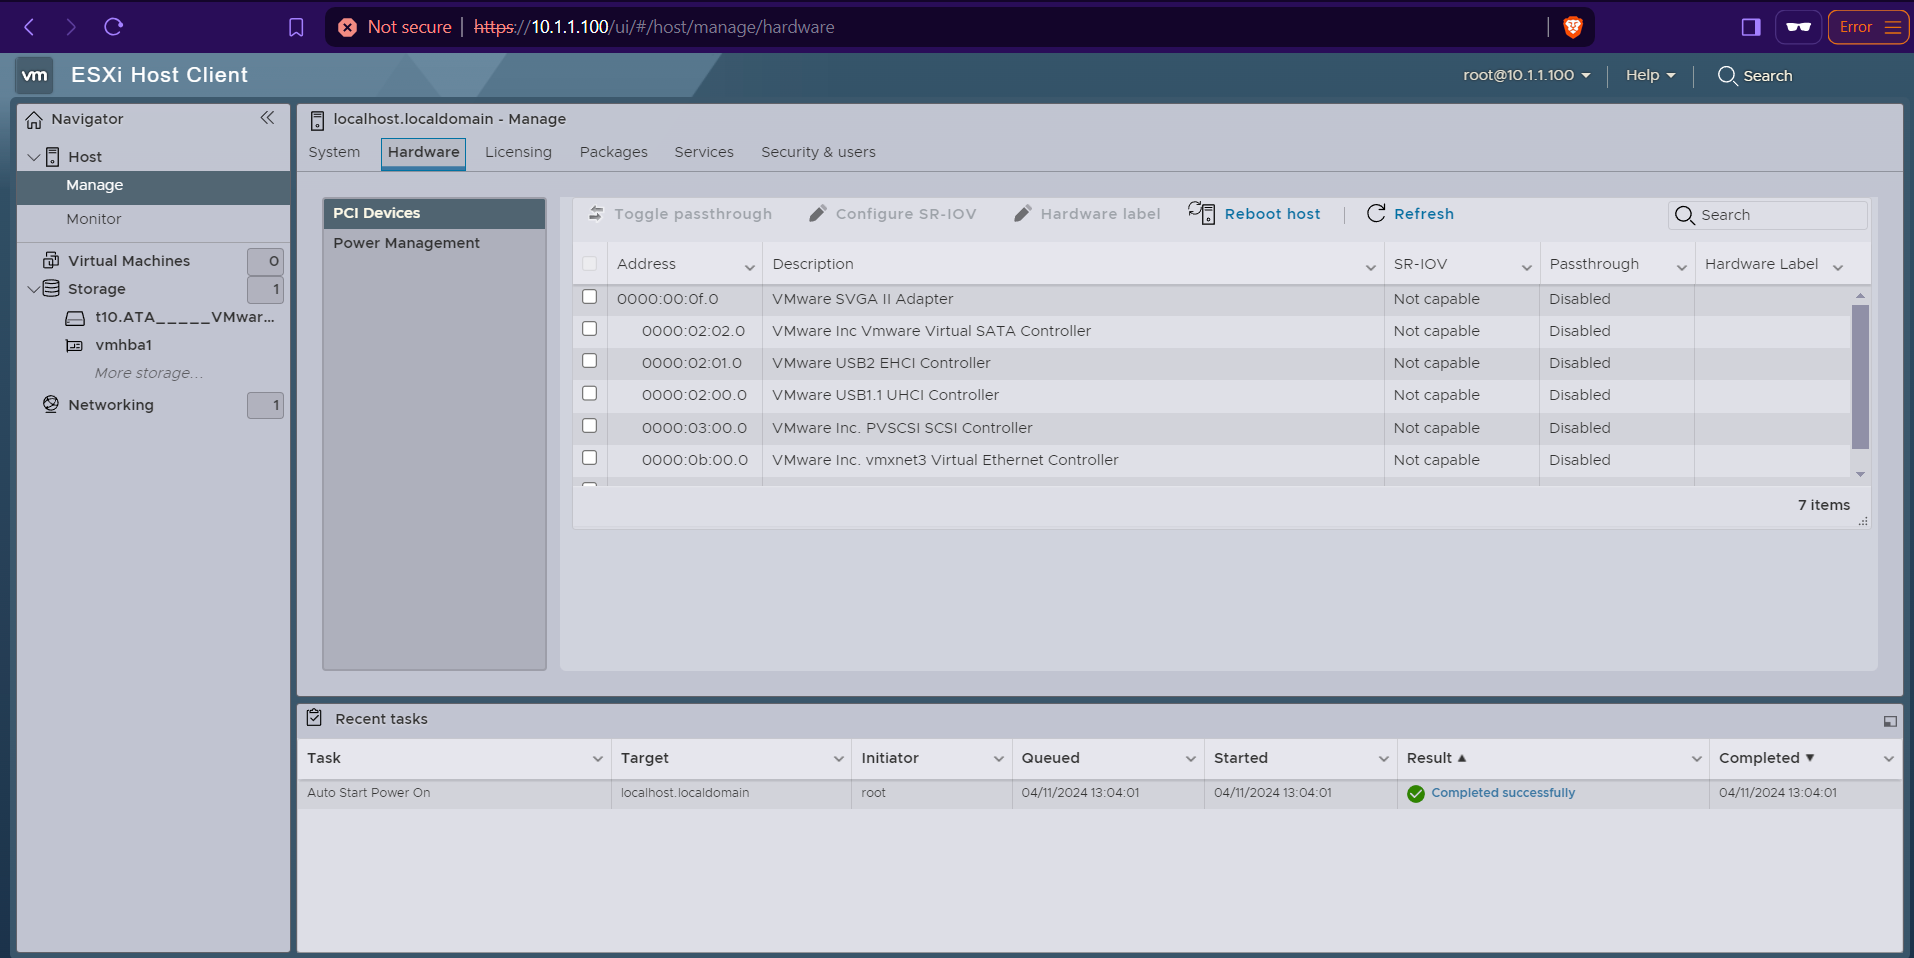 First thing to do is enabling the PCIe Passthrough
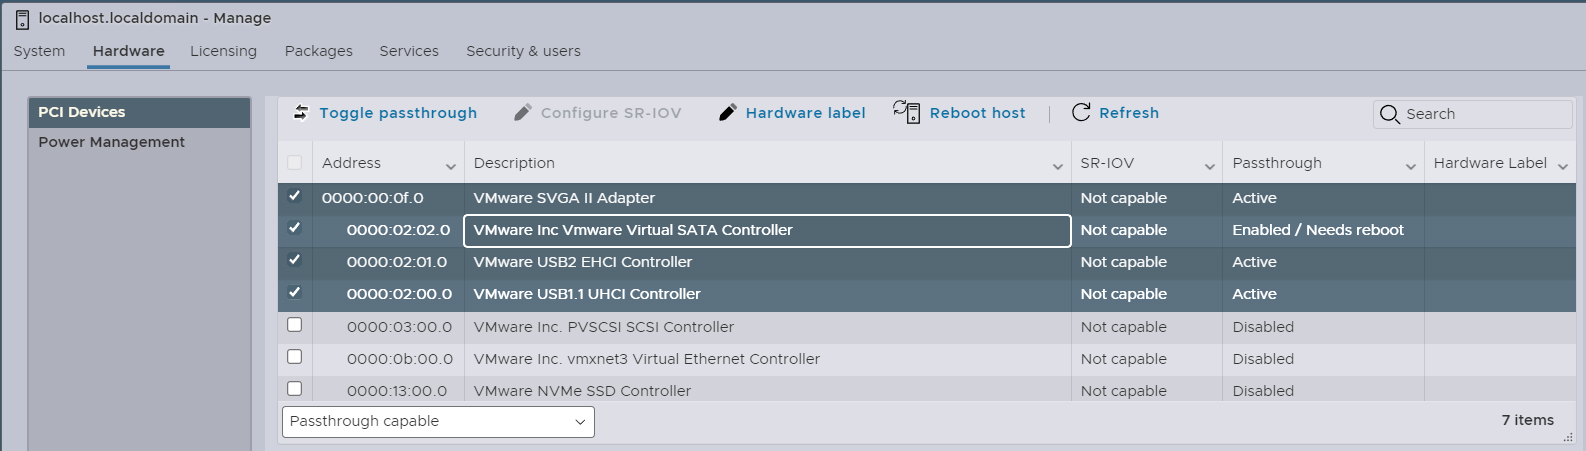 Those 6 configured SATA drives are controlled through this Virtual SVGA II Adapter and Virtual SATA Controller. I can enable the passthrough option for the Virtual SVGA II Adapter and Virtual SATA Controller.
 It requires reboot
 I can now confirm that the Virtual SATA Controller is Active
This concludes the initial installation and configuration of an ESXi host
I can now confirm that the Virtual SATA Controller is Active
This concludes the initial installation and configuration of an ESXi host
TrueNAS Core Installation
 TrueNAS is an open-source storage operating system designed for enterprise-level data storage and management. It offers robust features such as ZFS filesystem, data deduplication, compression, and encryption to ensure data integrity, security, and efficiency. TrueNAS provides scalability, high availability, and enterprise-grade reliability, making it suitable for a wide range of storage needs, from small businesses to large-scale enterprises. Its intuitive interface and comprehensive management tools simplify storage administration and maintenance tasks for IT professionals.
ESXi Datastore
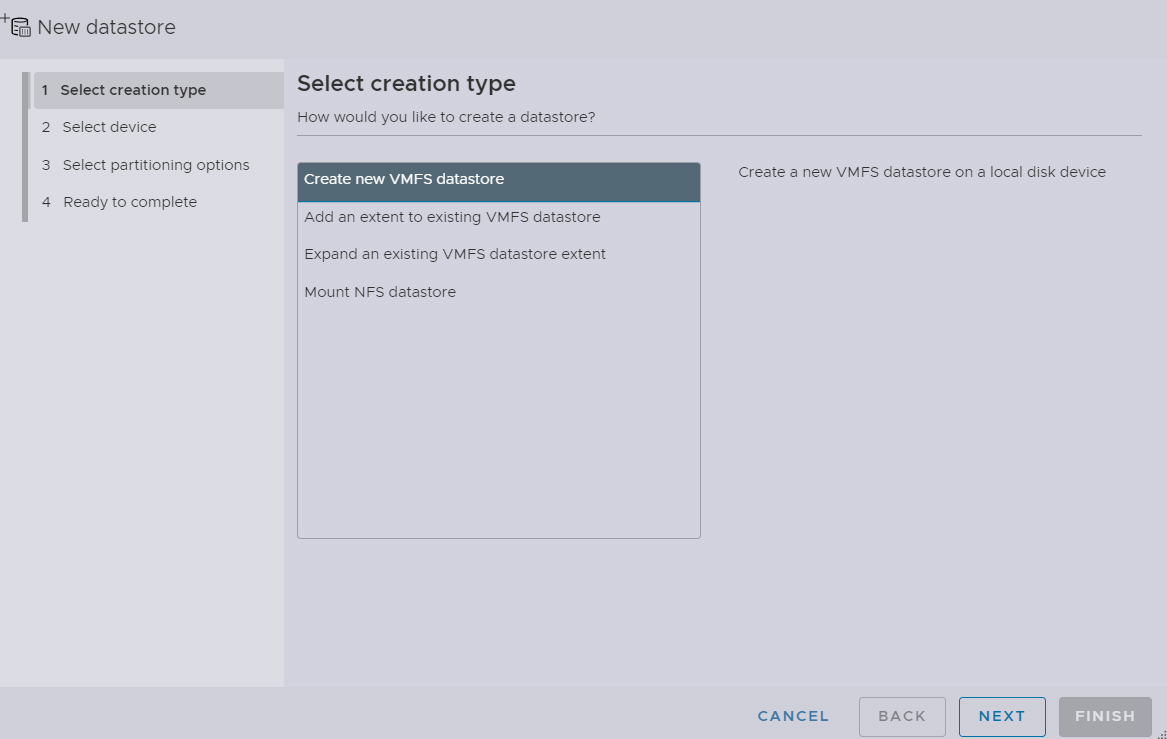
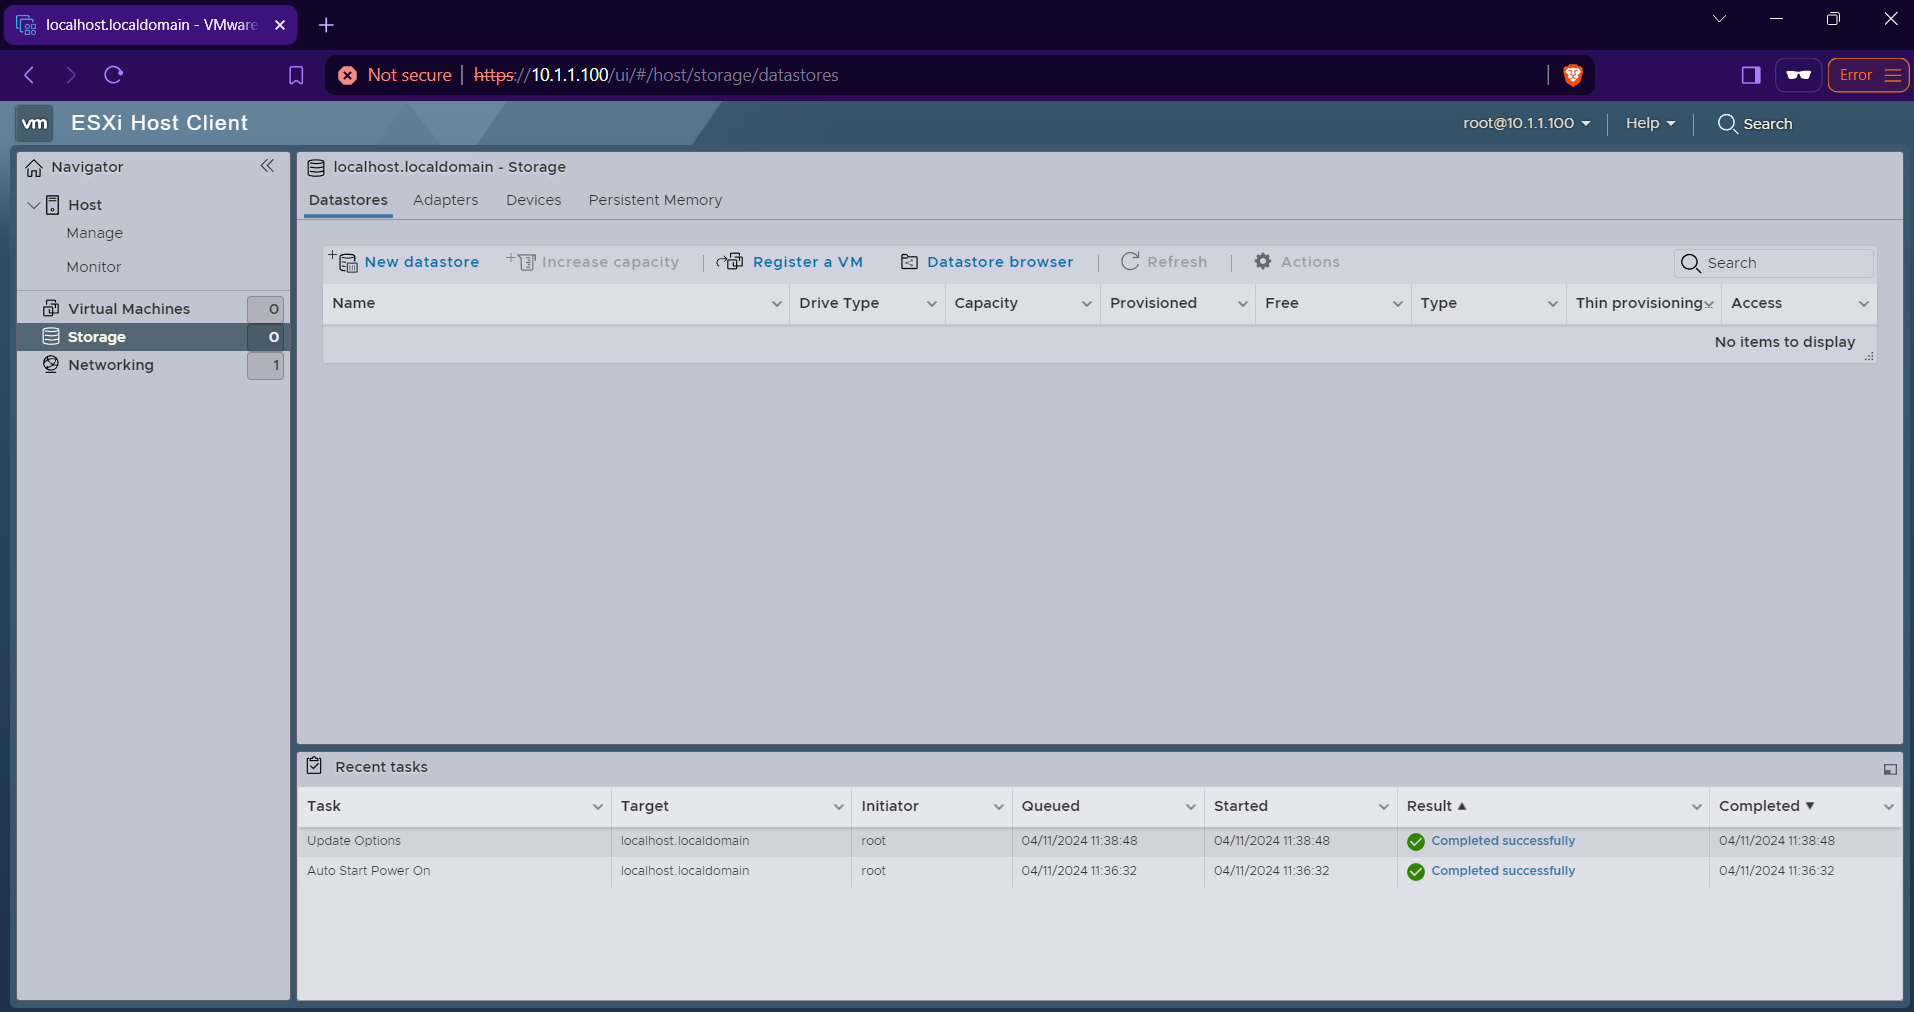 Now we need to add a “datastore” to install TrueNAS CORE on
I will click into that New datastore button
Now we need to add a “datastore” to install TrueNAS CORE on
I will click into that New datastore button
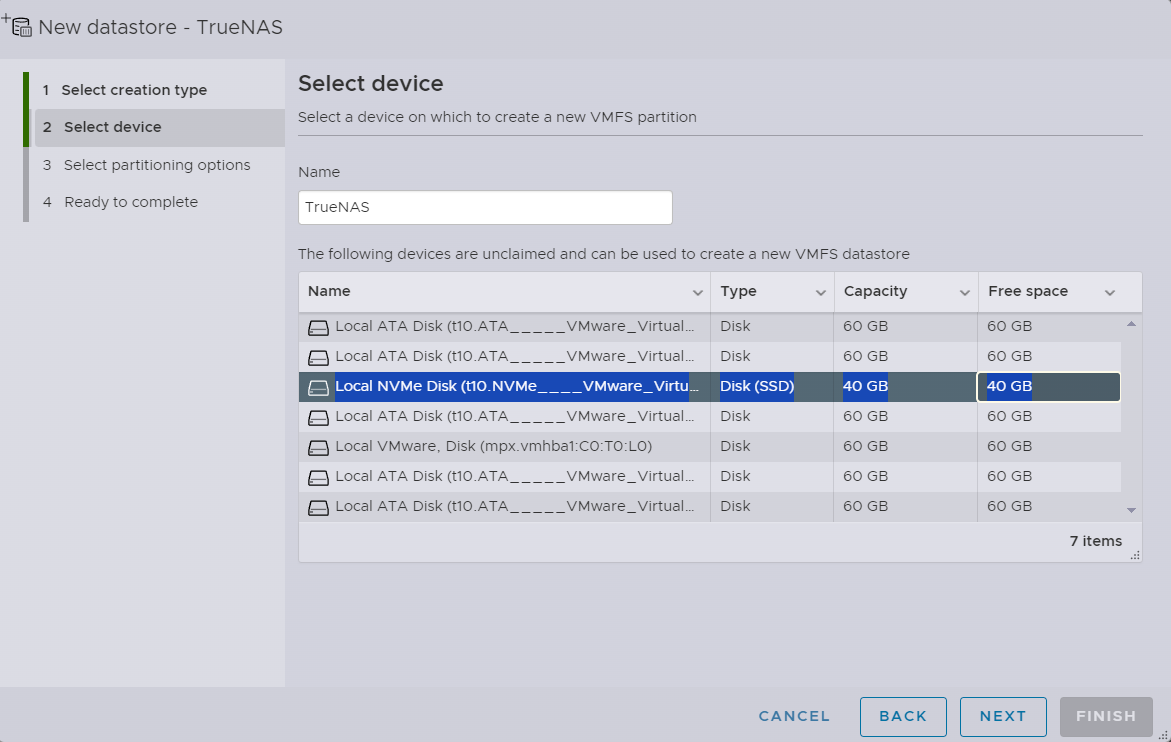 and I will select that 40GB of NVMe drive that we have earlier configured, and name it TrueNAS
 Giving it all
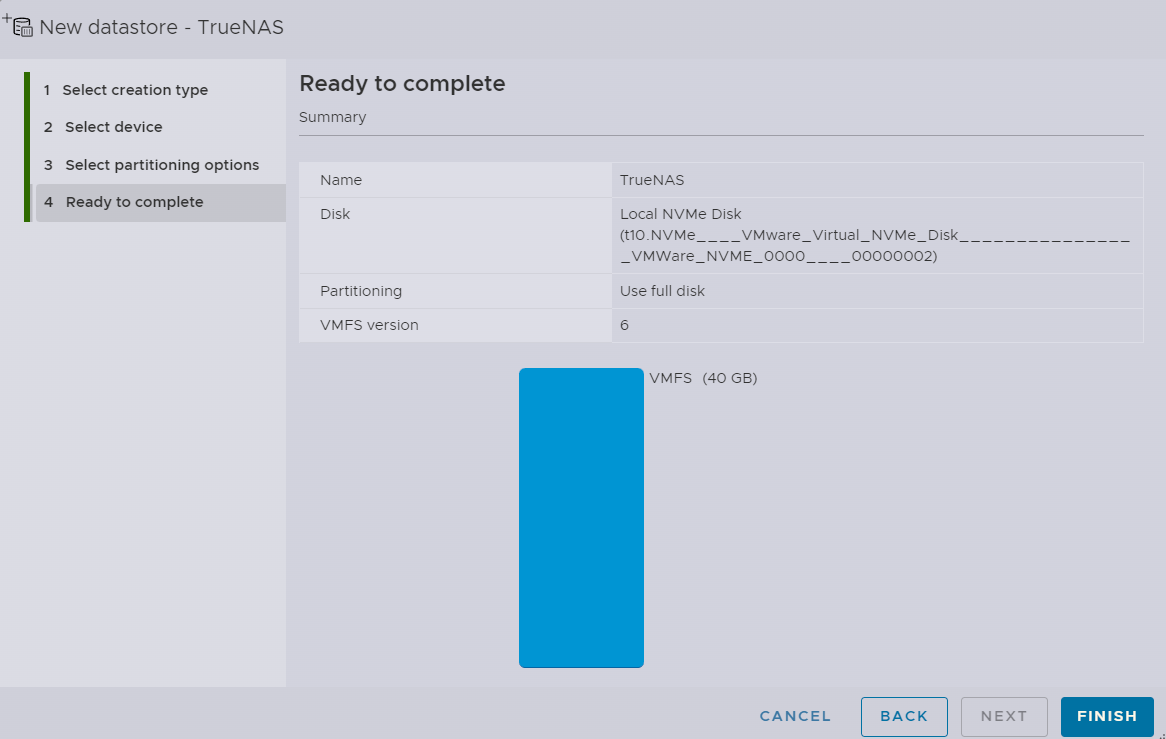 Complete
Creating a Virtual Machine TrueNAS Core
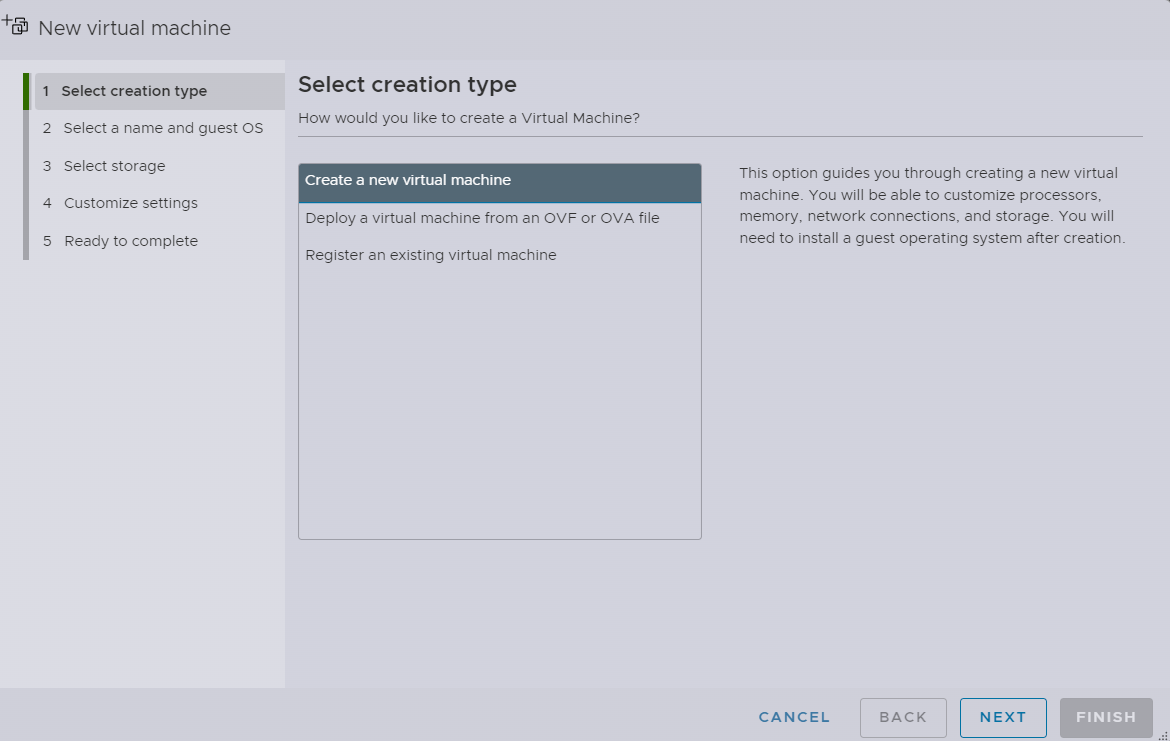
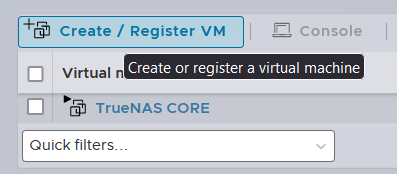
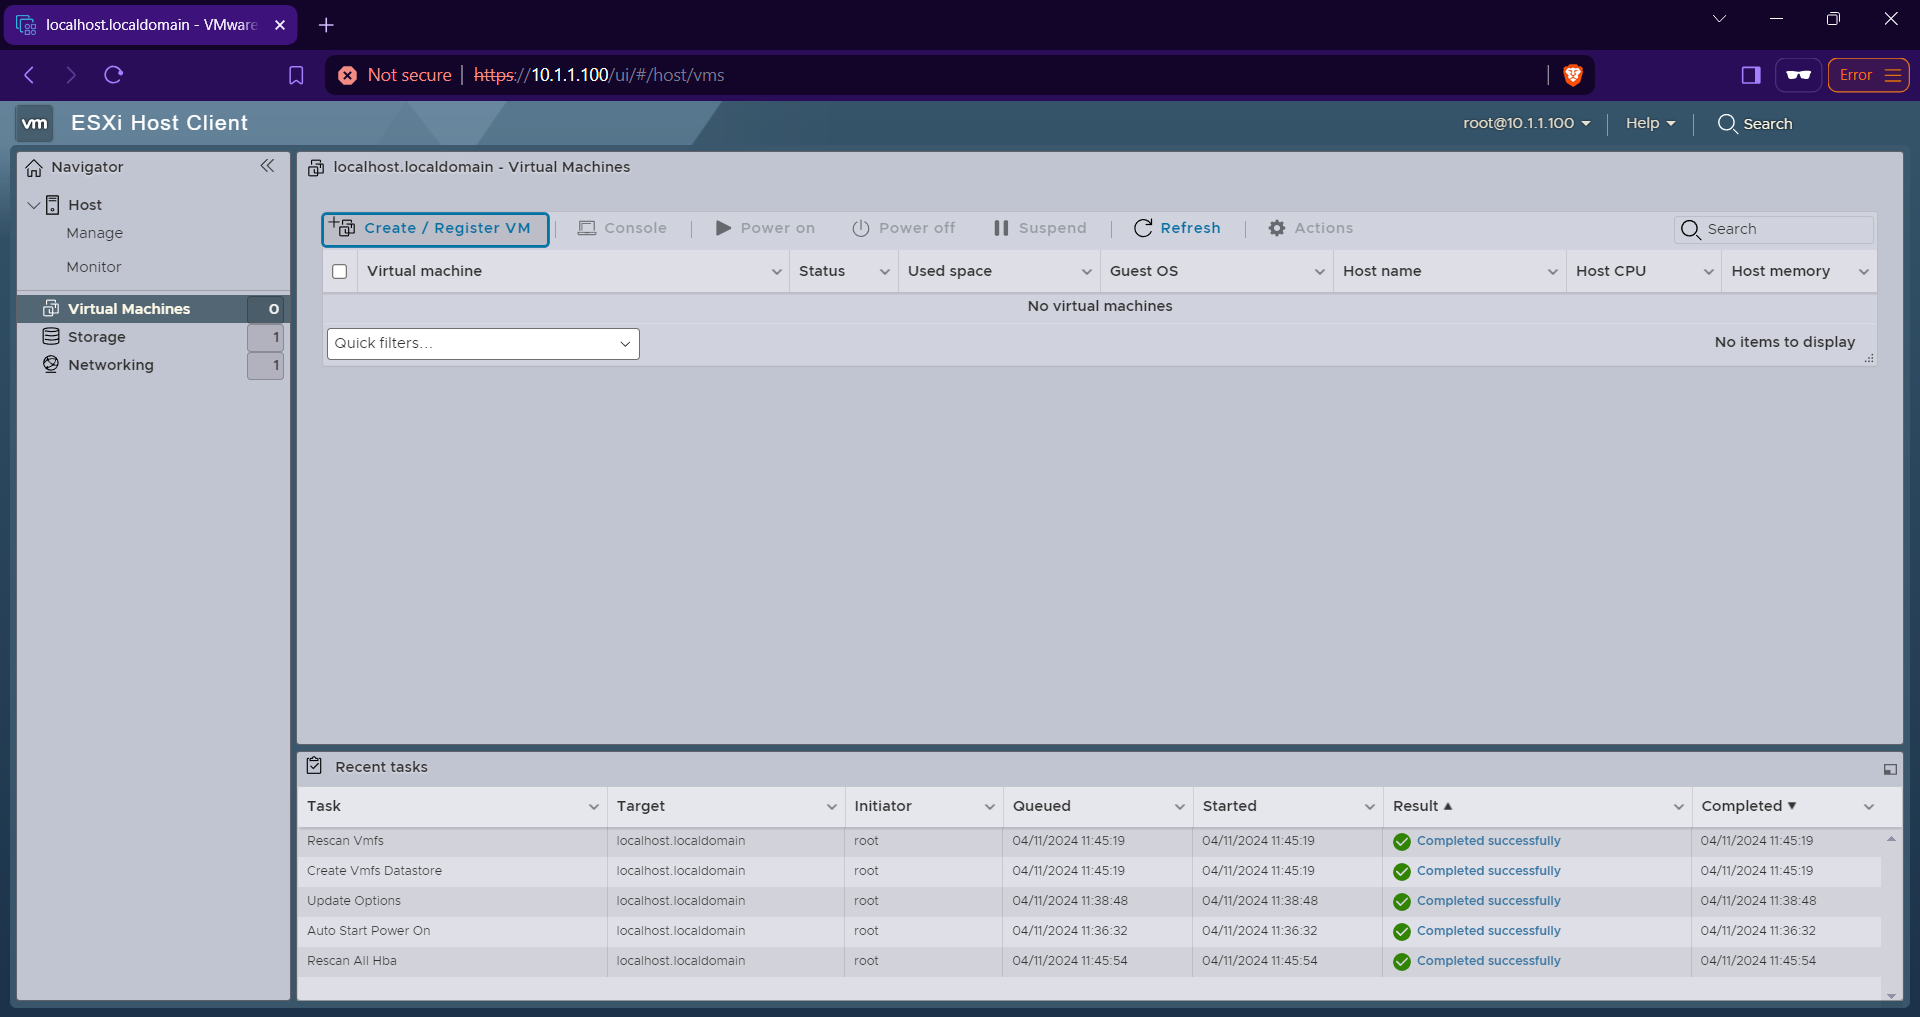 Now that we have configured a “datastore”, I can go ahead and create a new VM
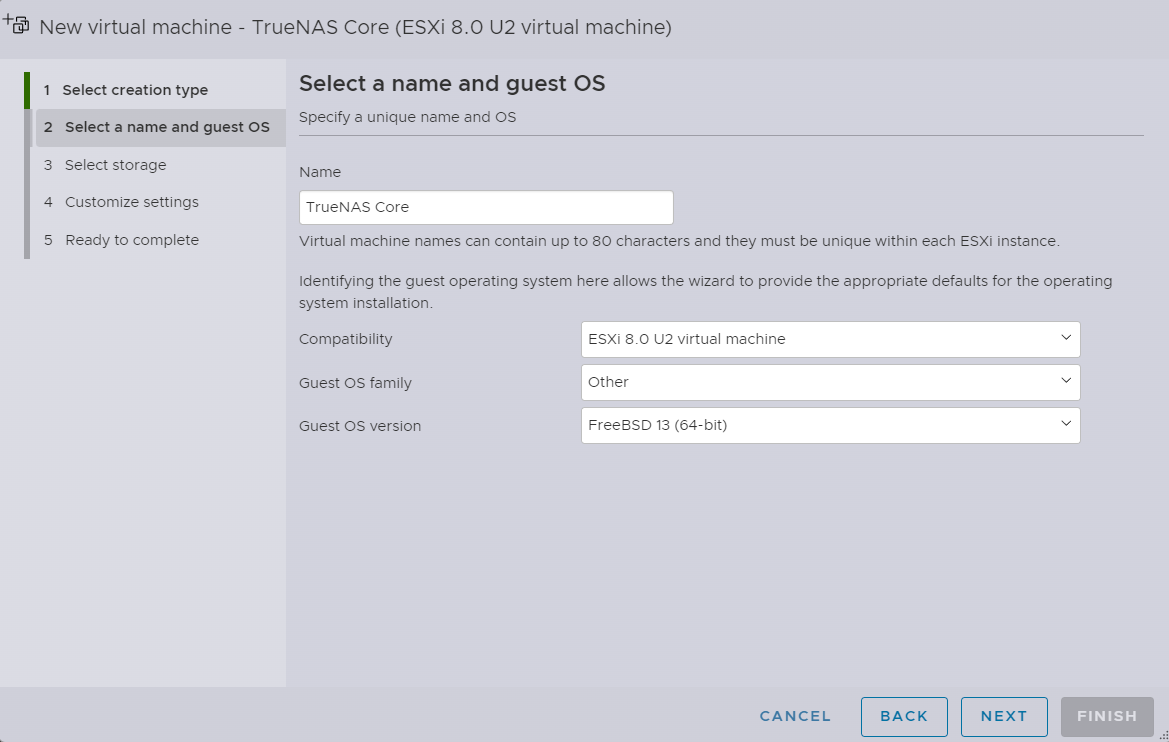 I will name it TrueNAS Core, and its version is based on FreeBSD 13
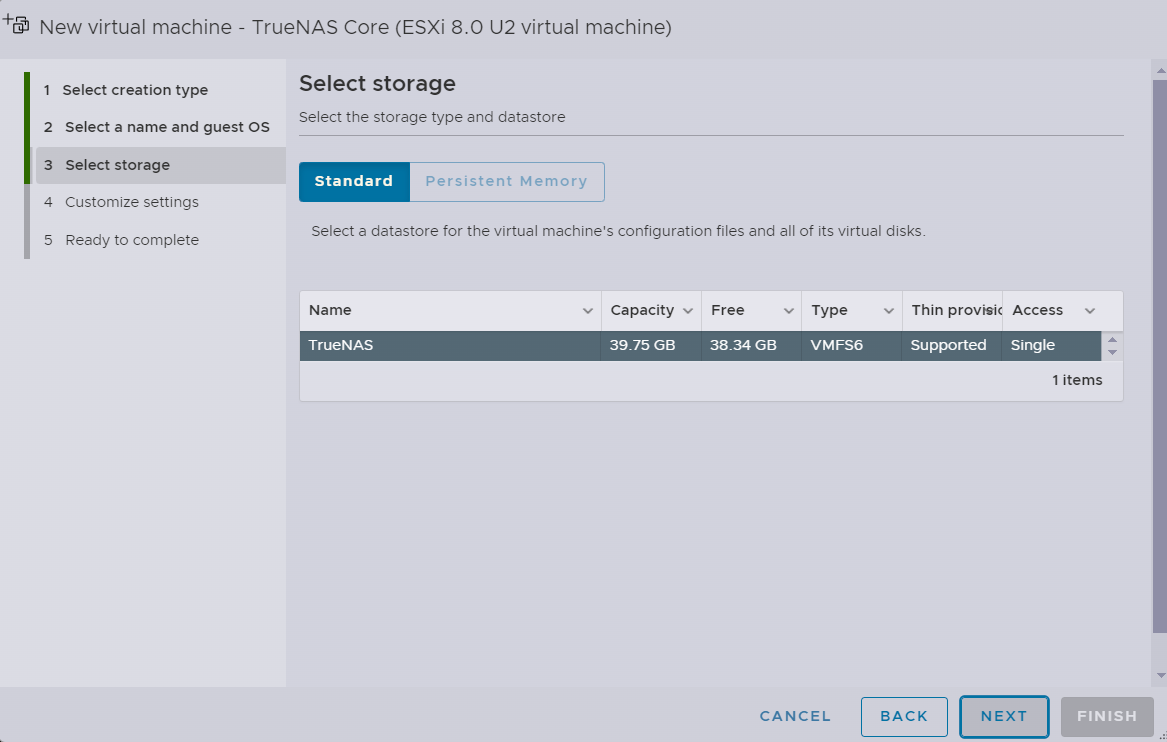 Select the newly configured “datastore” as storage
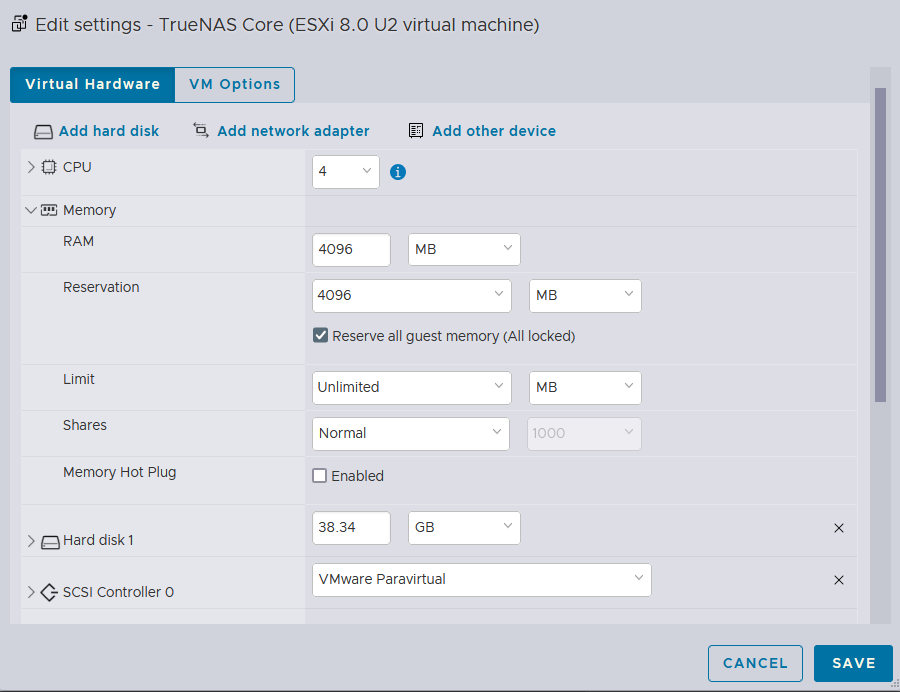 Here, I will assign 4 CPU cores with 4 GB of RAM while fully utilizing the NVMe drive space (38.34GB)
PCIe Pass-through
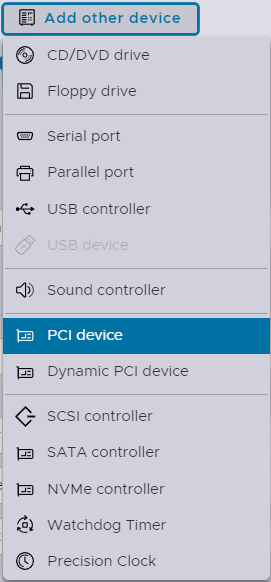 Important bit here is the Add other device button
 Because we have previously enabled the PCIe Passthrough for Virtual SATA Controller, we can use that here to pass the entire SATA drives to this VM
 CD/DVD Drive is set to the host device to load the ISO image of TrueNAS Core from VMware Workstation
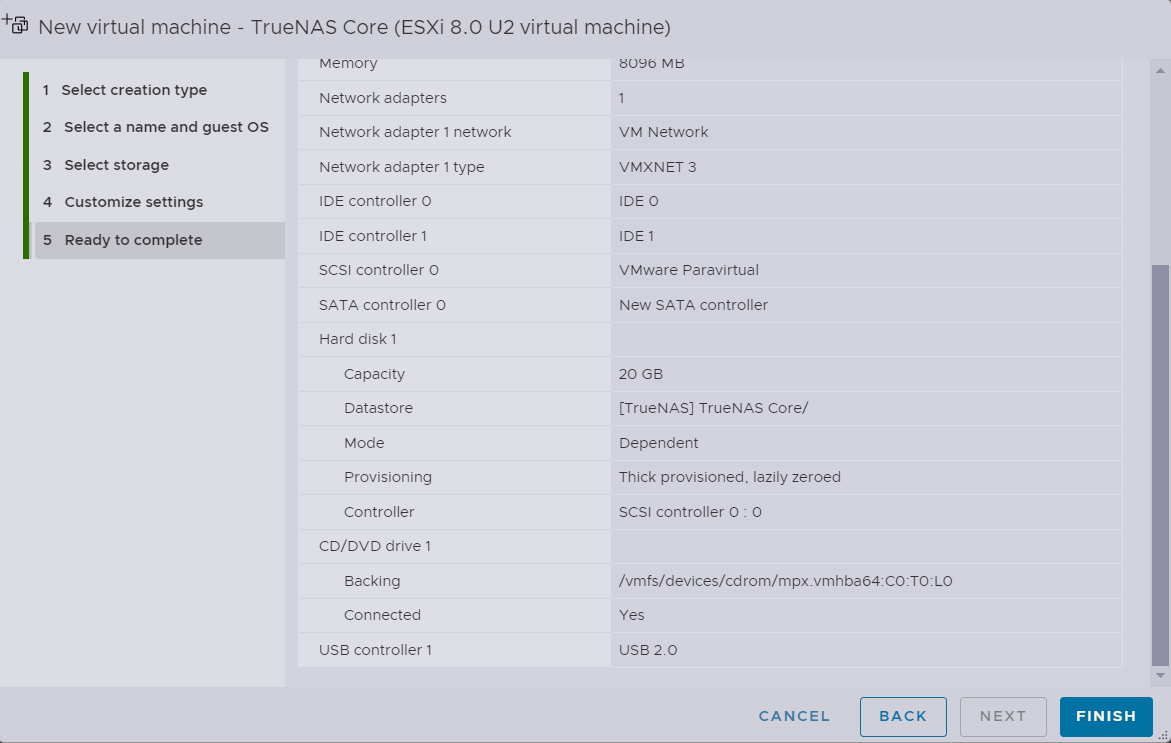
 All Set
Booting up TrueNAS Core
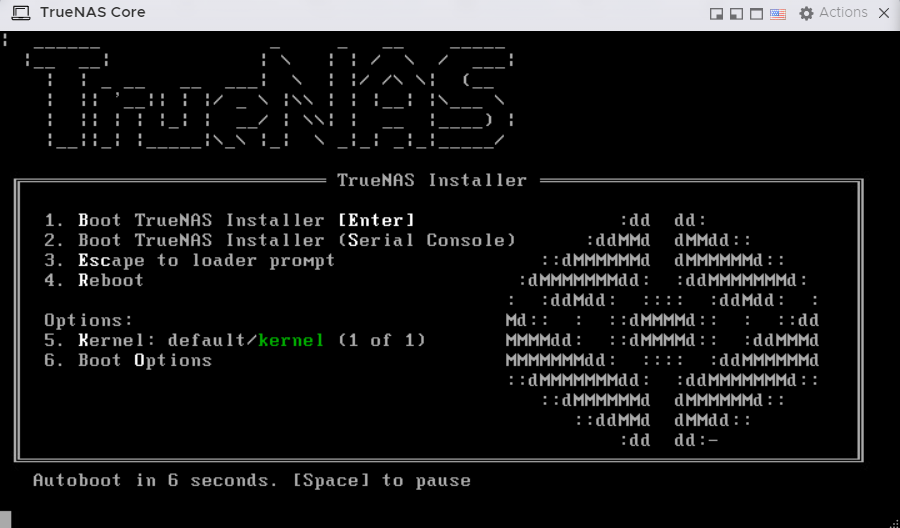 Booting up the
 TrueNAS instance
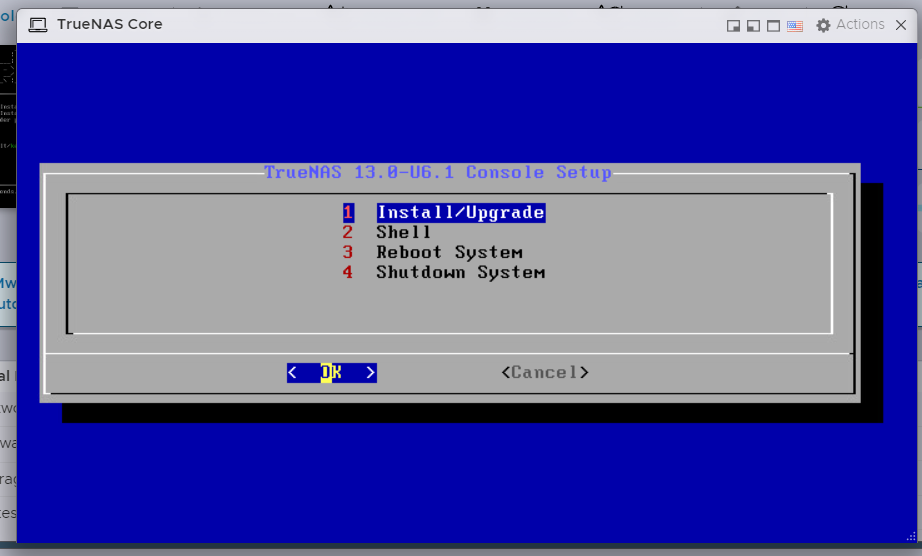 We will go with the Install/Upgrade option as the intent is installation
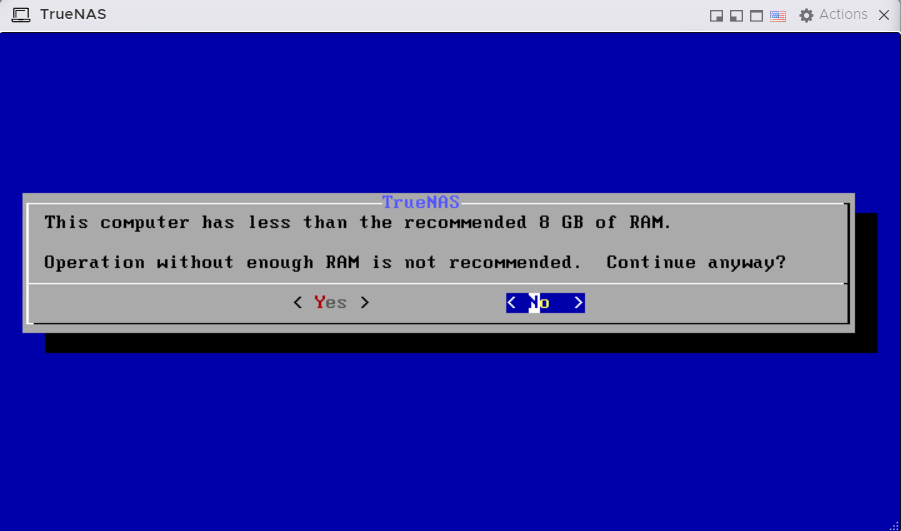 TrueNAS Core installation throws an warning for RAM
I can ignore this as this is a lab session for demonstration only
TrueNAS Core installation throws an warning for RAM
I can ignore this as this is a lab session for demonstration only
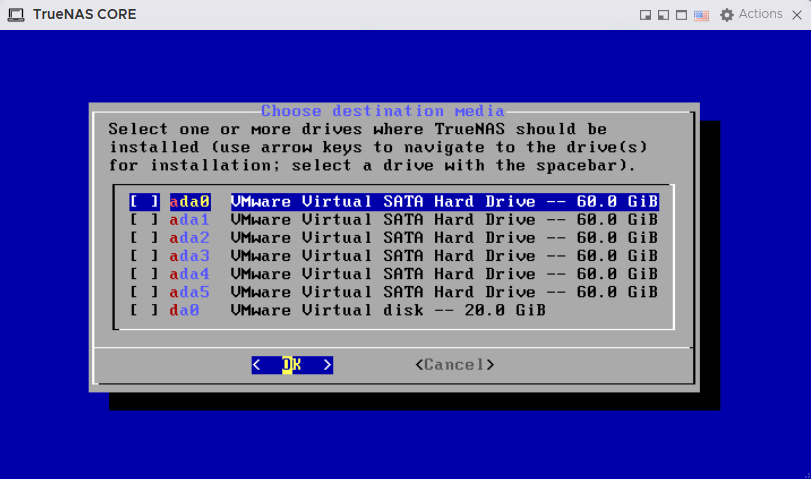 As shown above, all the 6 SATA drives have been passed through via the Virtual SATA Controller that we configured earlier. But Those SATA drives will be cross-mounted back to the ESXi host and TrueNAS Core installation will be made to the NVMe drive (
da0) of 20GB
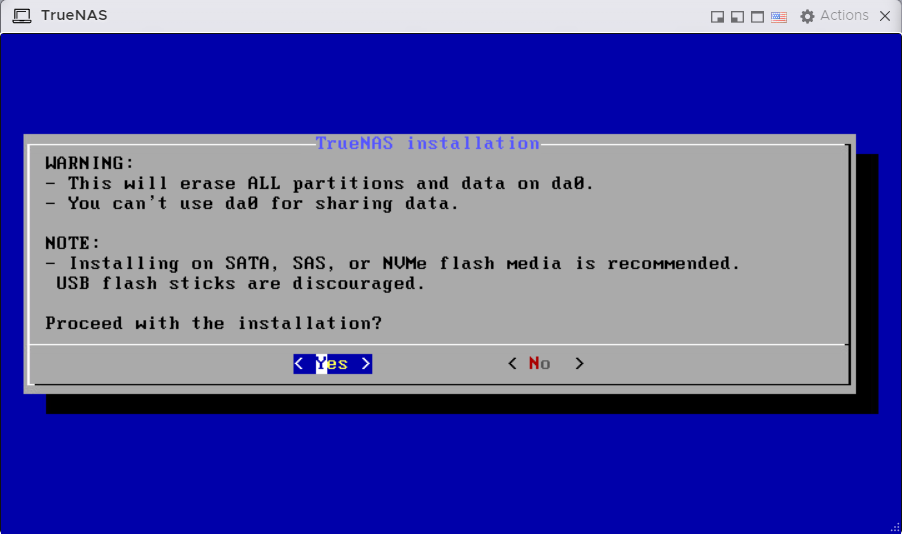 Proceeding with Yes
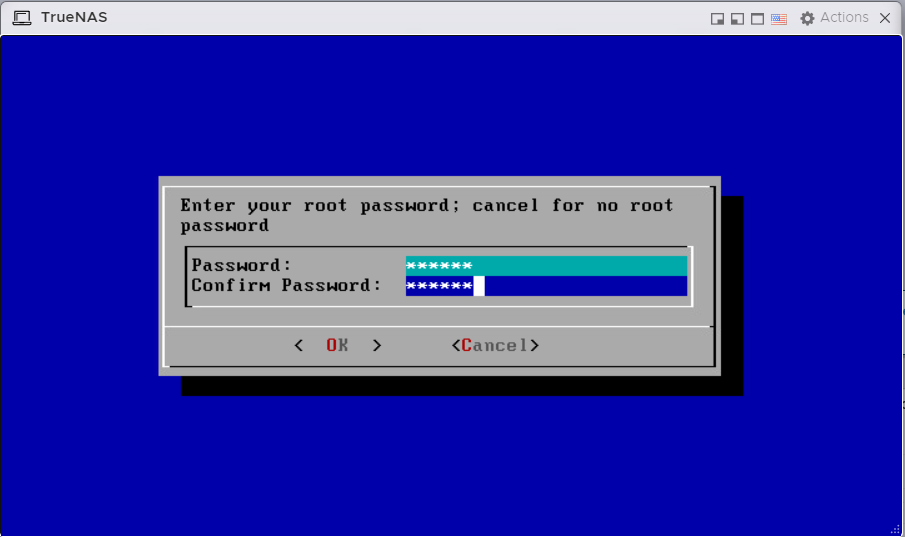 It prompts for password
Let’s give it something secure
It prompts for password
Let’s give it something secure
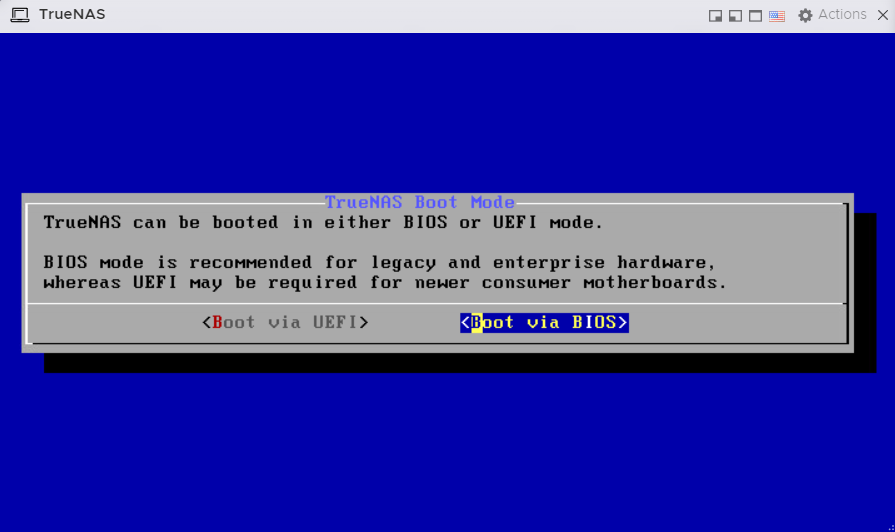 Going with the Boot via BIOS option
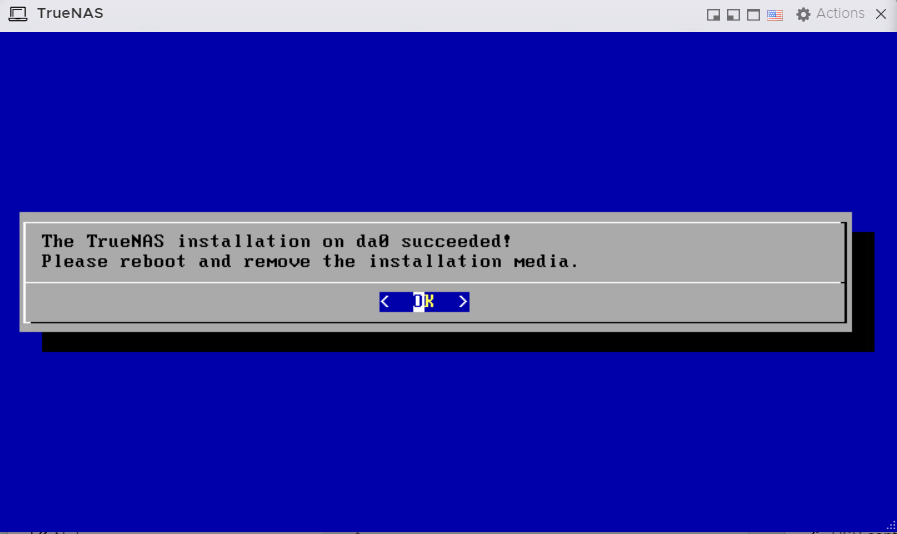 Installation complete
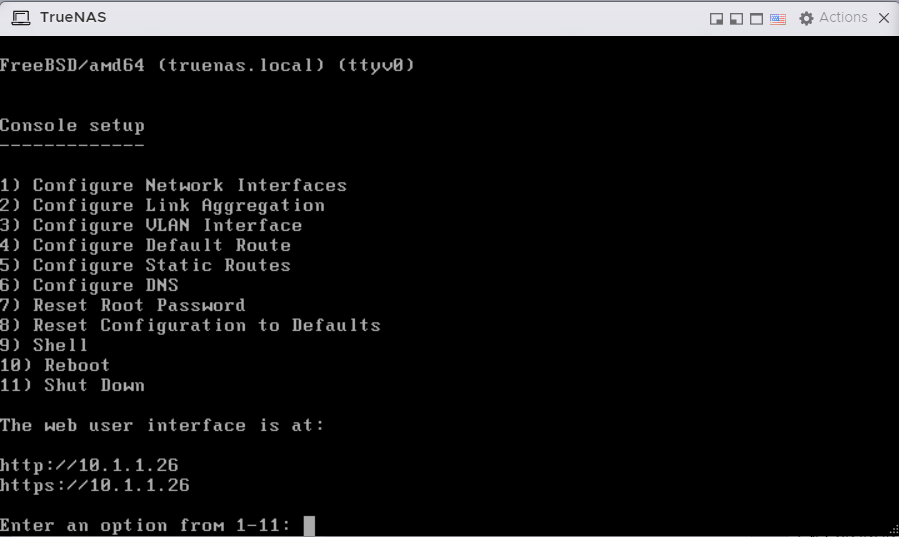 Booted up!
The IPv4 assignment is done through DHCP.
Booted up!
The IPv4 assignment is done through DHCP.
TrueNas Core Configuration
 We need to change that to static
The web GUI is now available at
We need to change that to static
The web GUI is now available at https://10.1.1.101
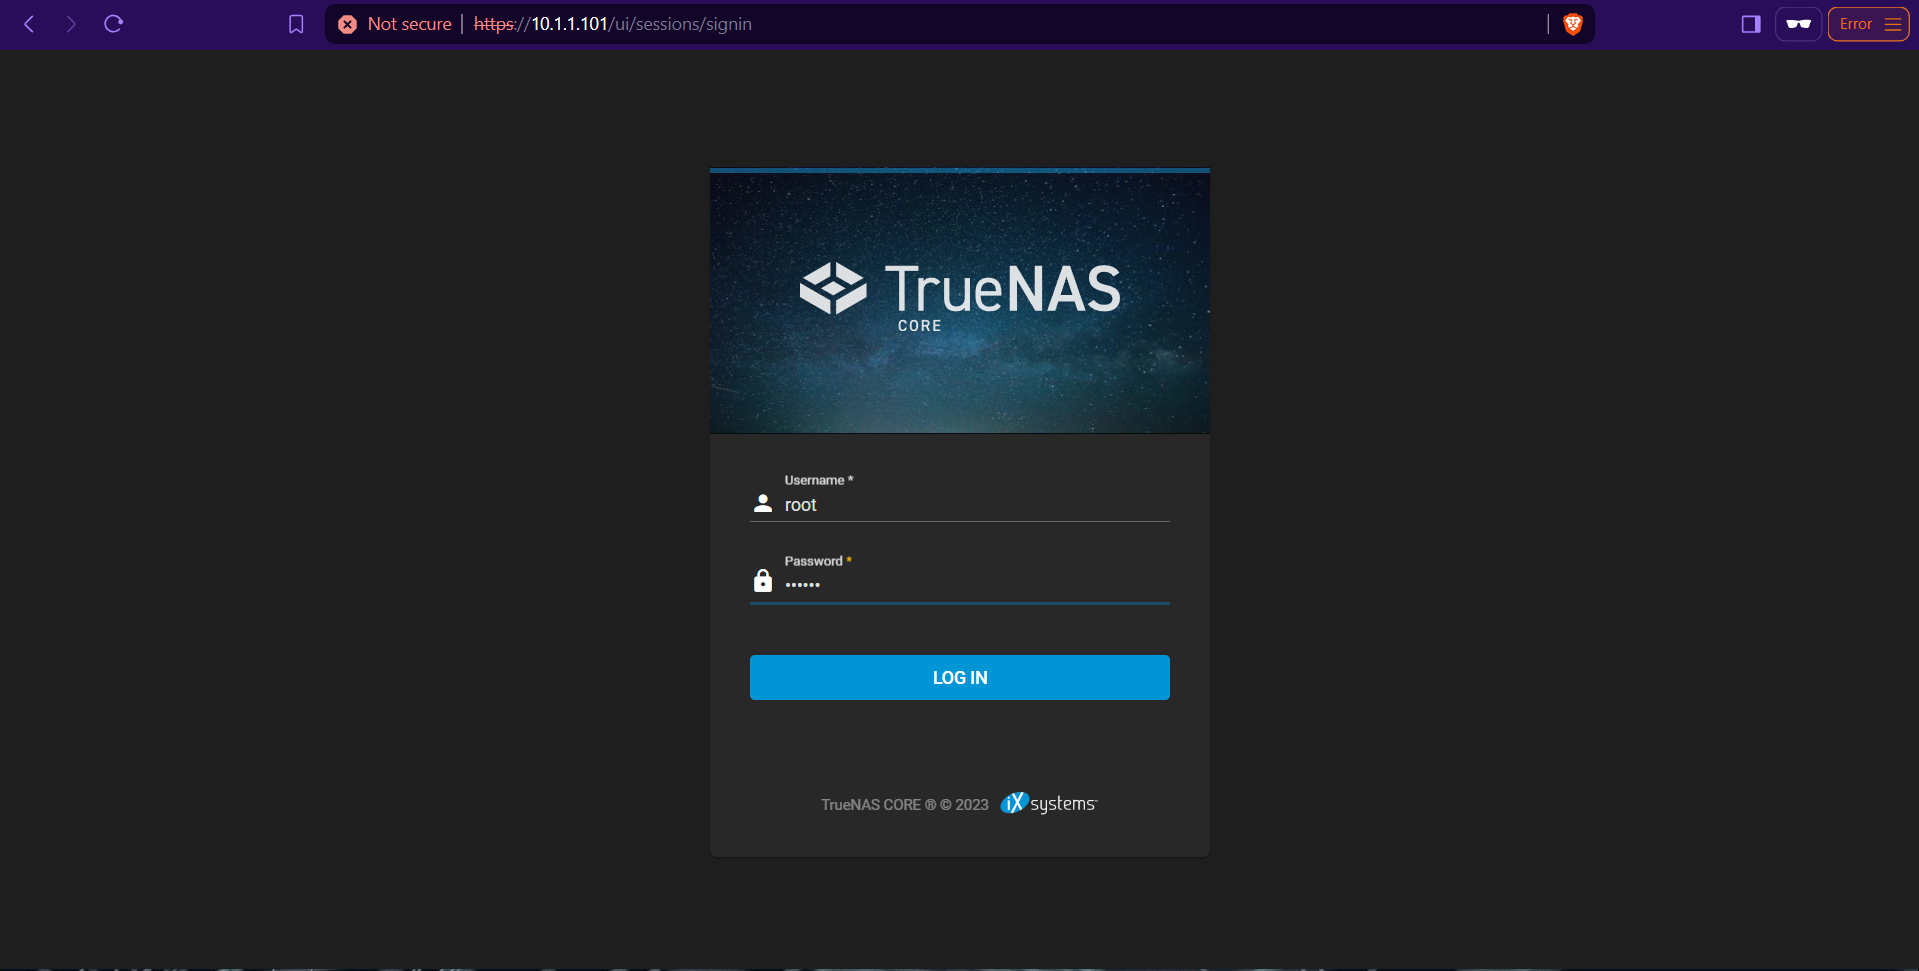 Logging in via the web GUI using the configured credentials earlier
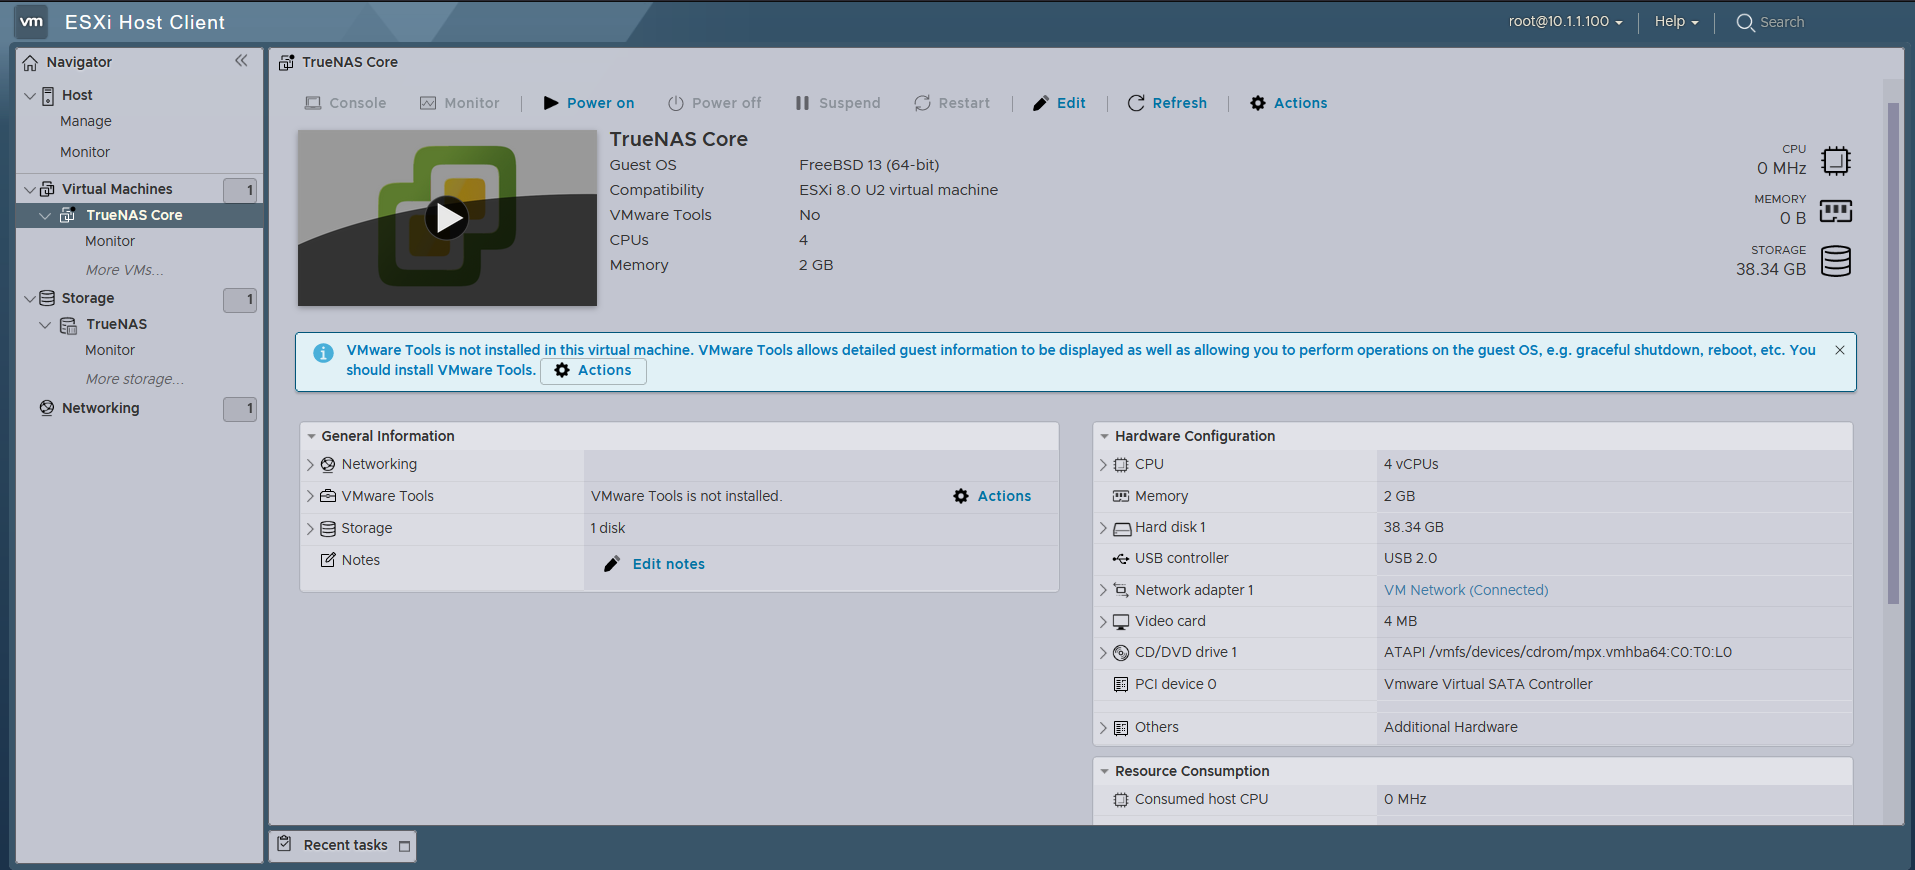
 This is the dashboard of TrueNAS Core
zpool
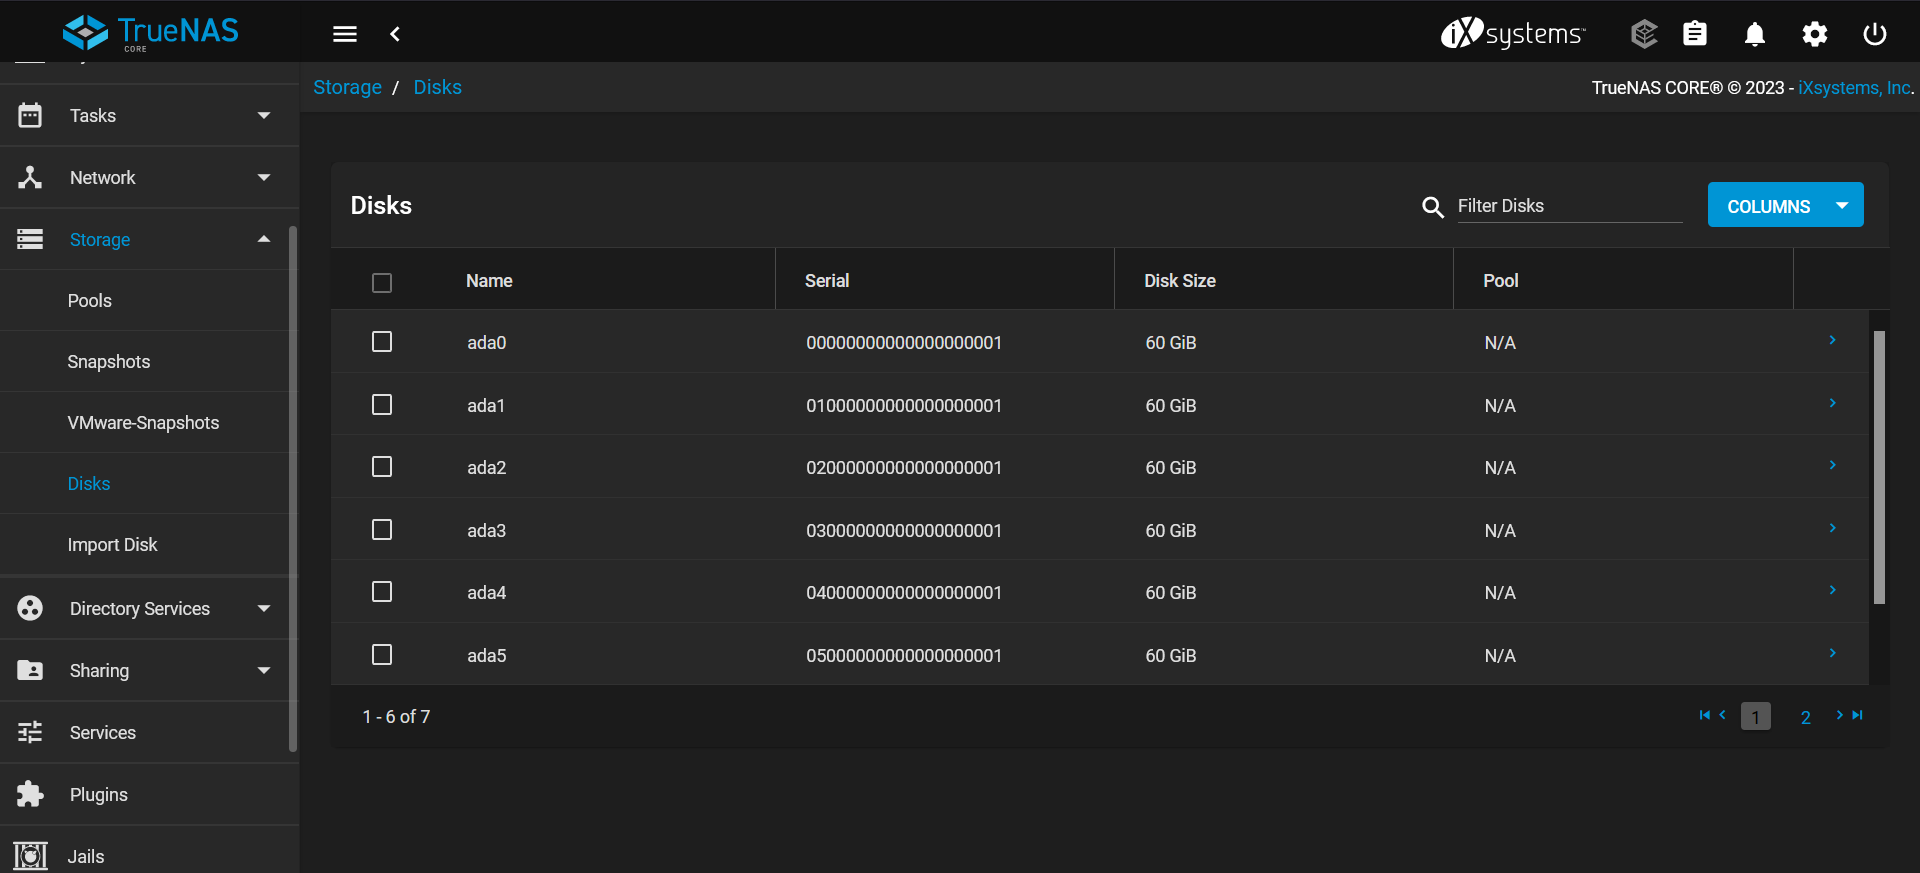 Heading over to the disk section under Storage, I can see that all the 6 SATA disks are listed here
I can use them to make a
Heading over to the disk section under Storage, I can see that all the 6 SATA disks are listed here
I can use them to make a zpool
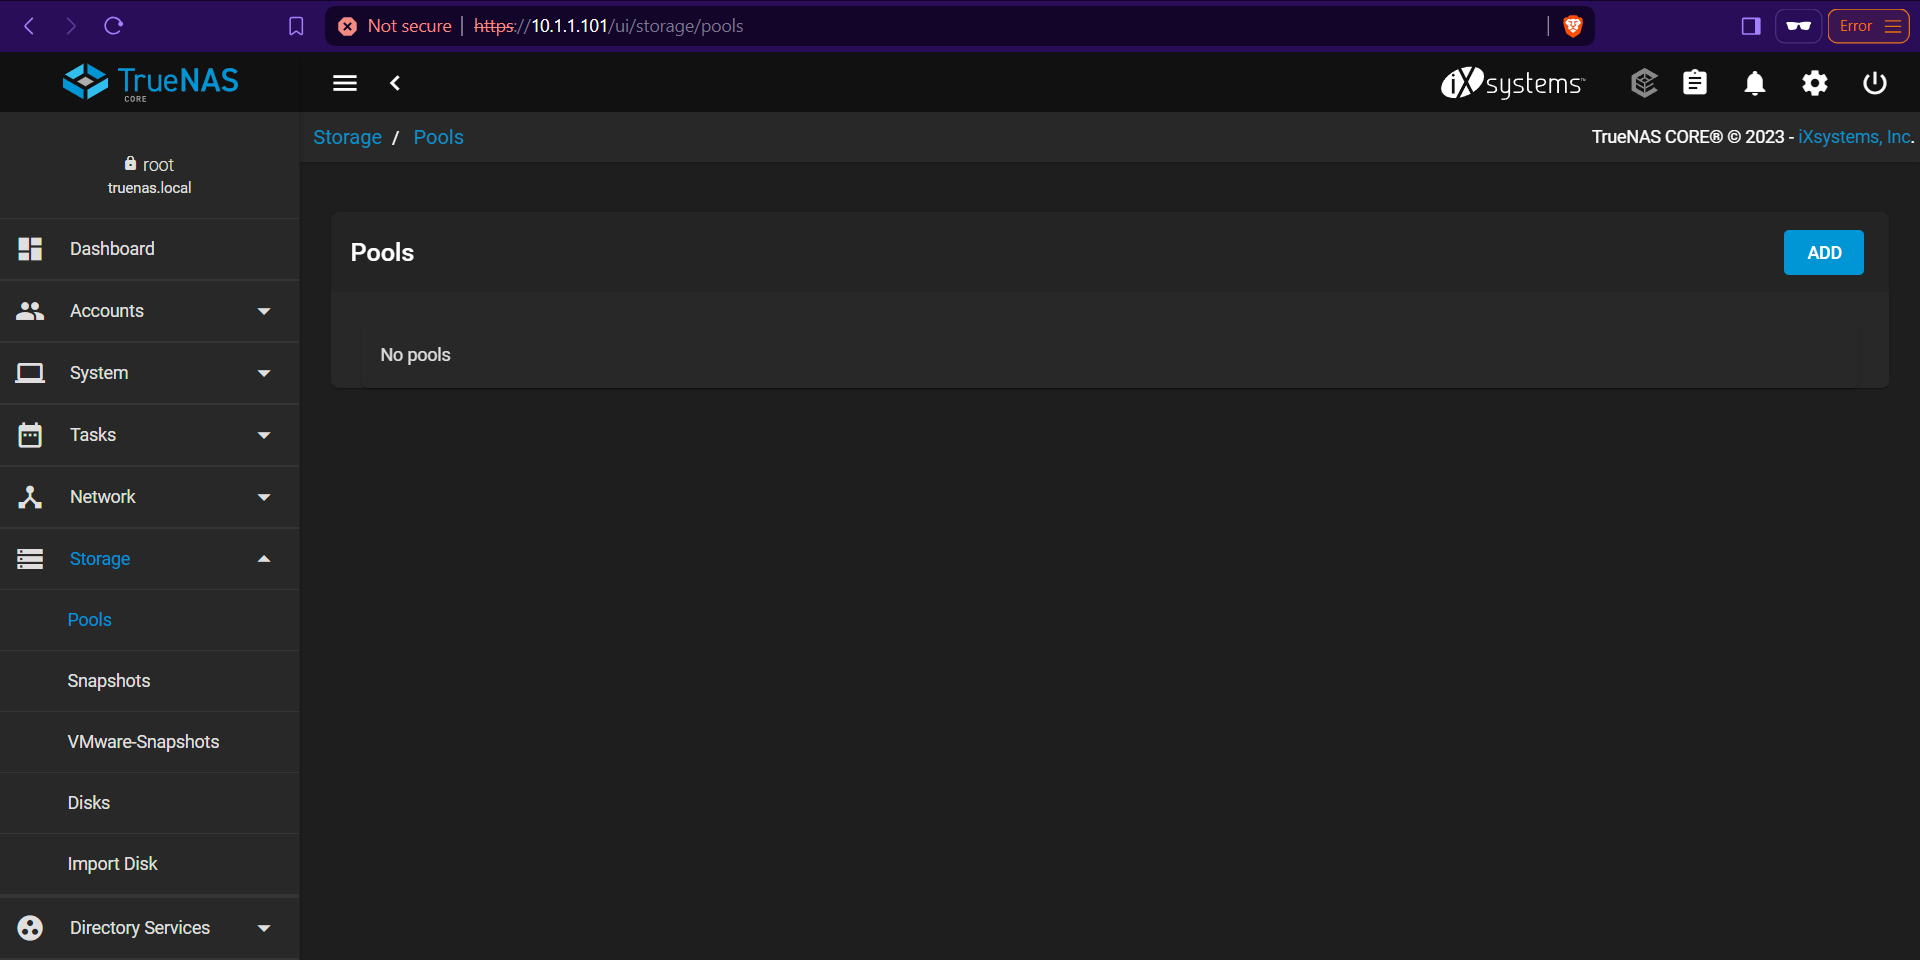 Right over here at the Pools section under Storage
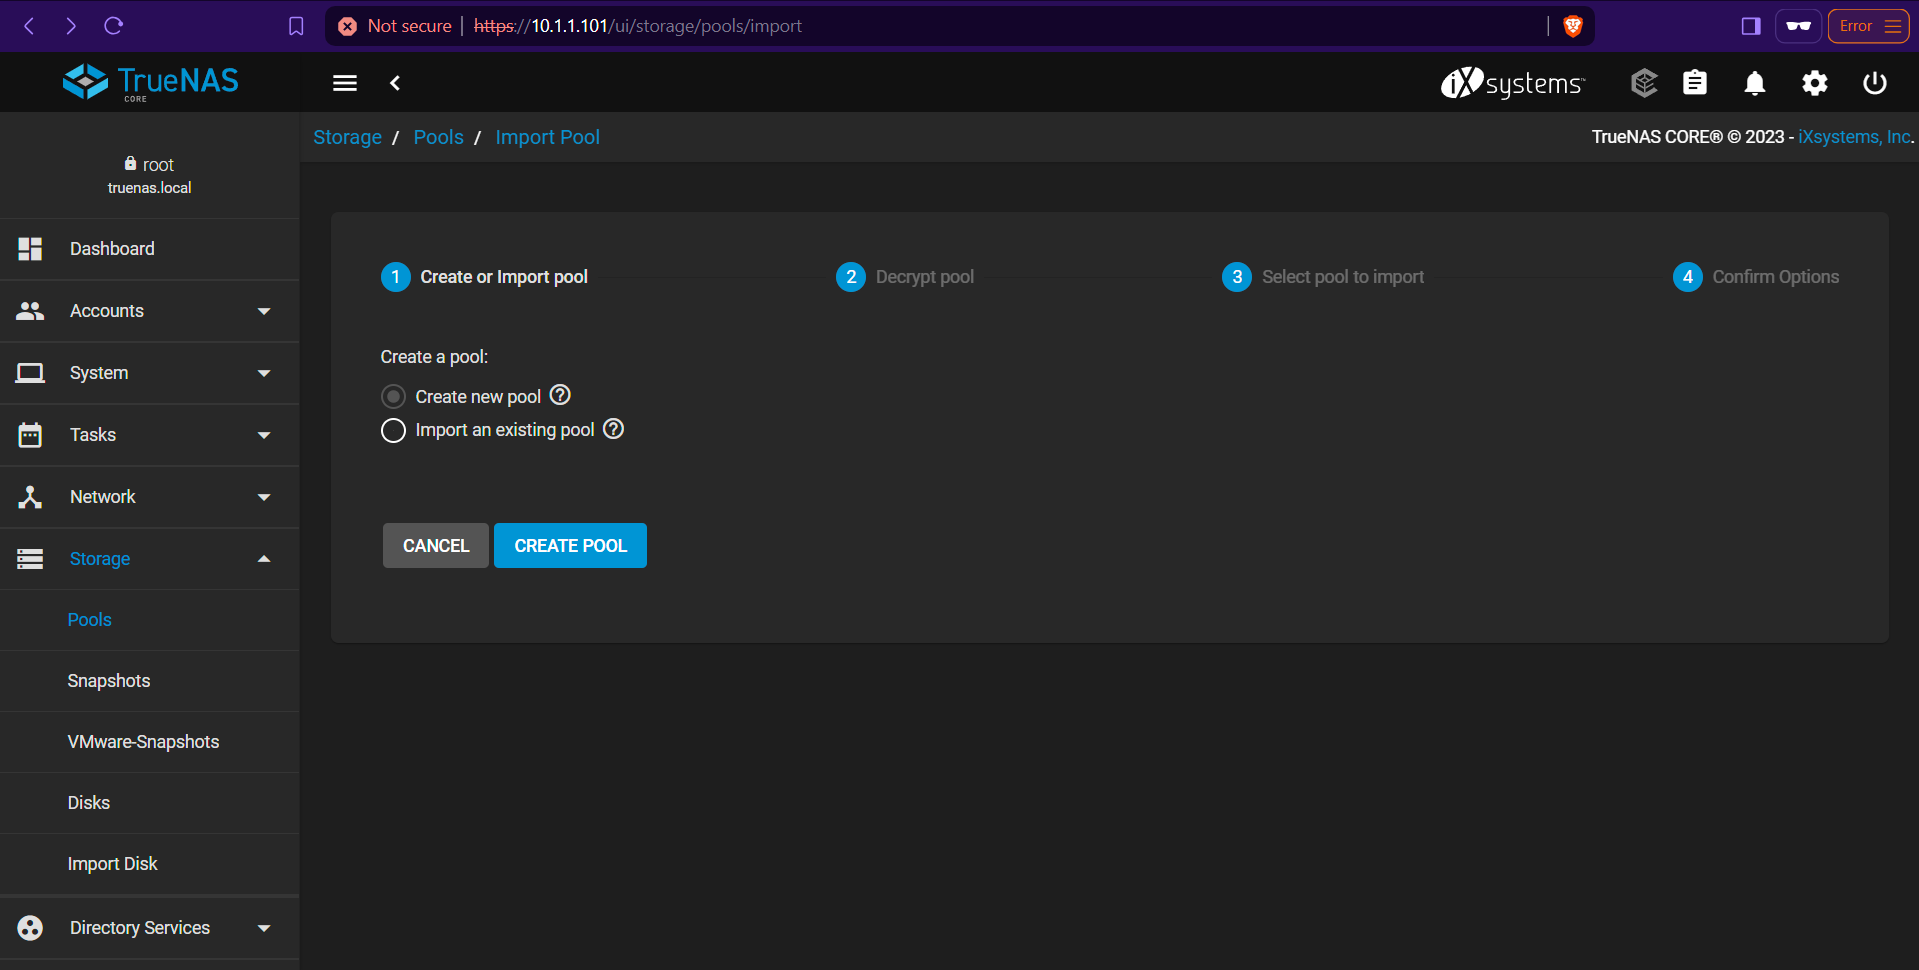 Creating a new
 zpool
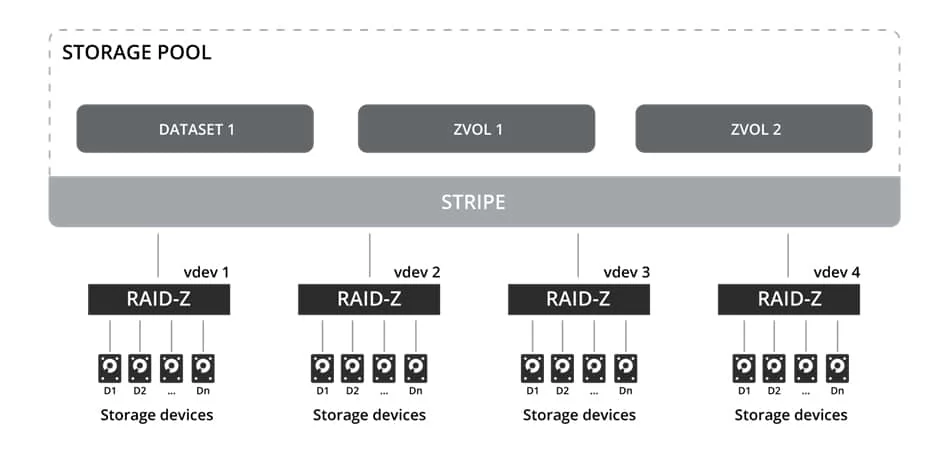
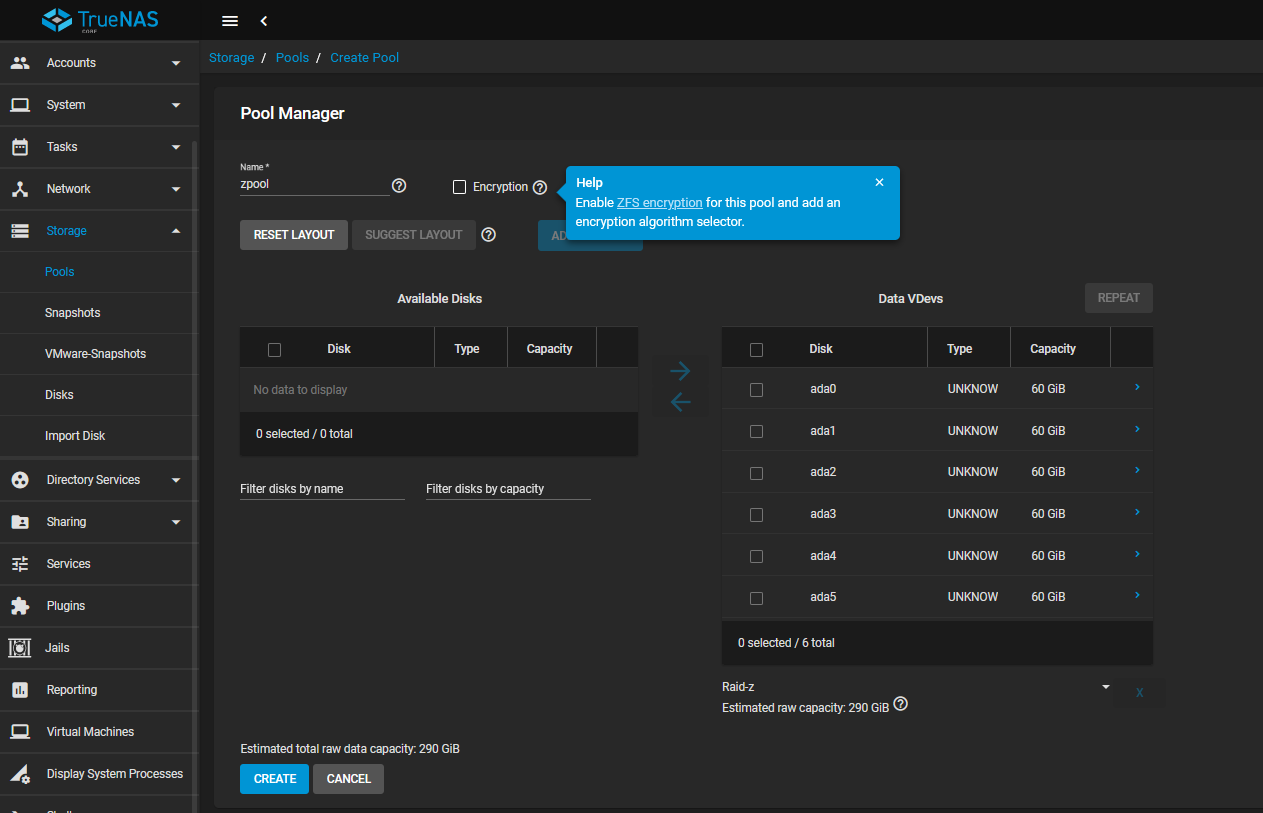 All those 5 SATA drives can be turned into “VDevs” to be within the
 zpool
With the Raid-Z option, the total raw data capacity comes out at 290 GB
Additional drives can always be appended and turned into “Vdevs” to be incorporated into the zpool
It’s the same for the bare-metal installation
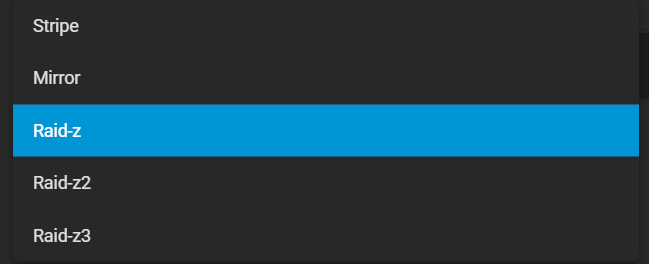 I will go with the RAID-Z option
 It works much like that
 The Encryption option is also available for added layer or security
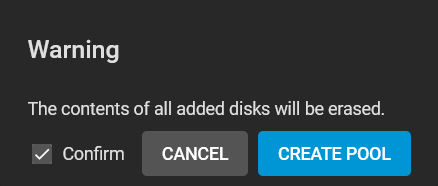
 Confirmation of creating a pool with the newly added those 6 “VDevs”
zvol

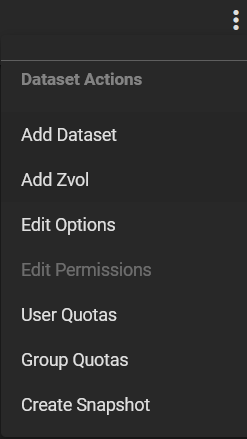 Now that
 zpool has been established with the RAID-Z option, I can go ahead and create a Zvol for ease of management
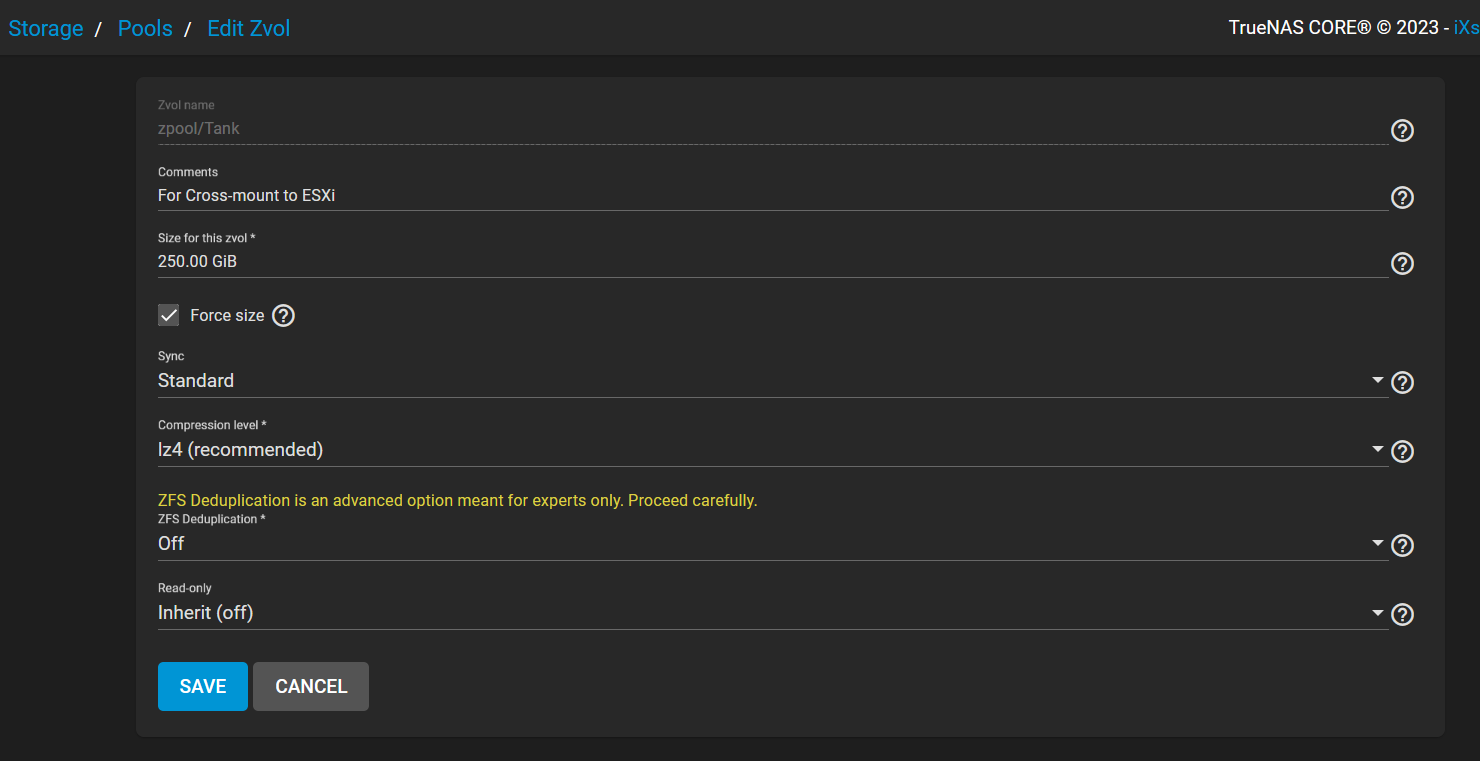 I will create a Zvol named,
 Tank, with a comment, For Cross-mount to ESXi, while giving out about 250GB of storage, using the lz4 compression , and disabling the infamous deduplication of ZFS.
As far as the ZFS deduplication goes, it requires immense amount of RAM, so I will skip it out for the sake of demonstration, but you may turn this on if it suits your needs
The Force size option was checked for demonstration only. TrueNAS restricts a zvol that bring the overhead pool over 80% to prevent potential data loss.
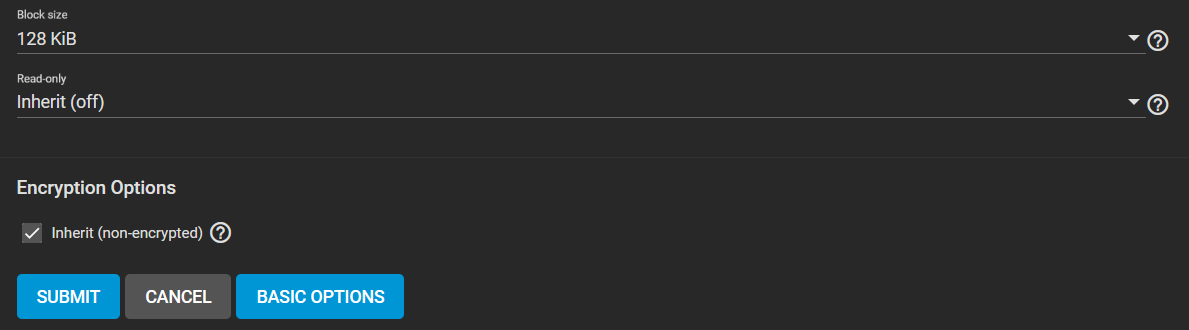 Taking a look into the advance option reveals the Block size option, which determines the size of each block
Larger means faster data transfer while not being as efficient, and lower implies the other way around
Taking a look into the advance option reveals the Block size option, which determines the size of each block
Larger means faster data transfer while not being as efficient, and lower implies the other way around
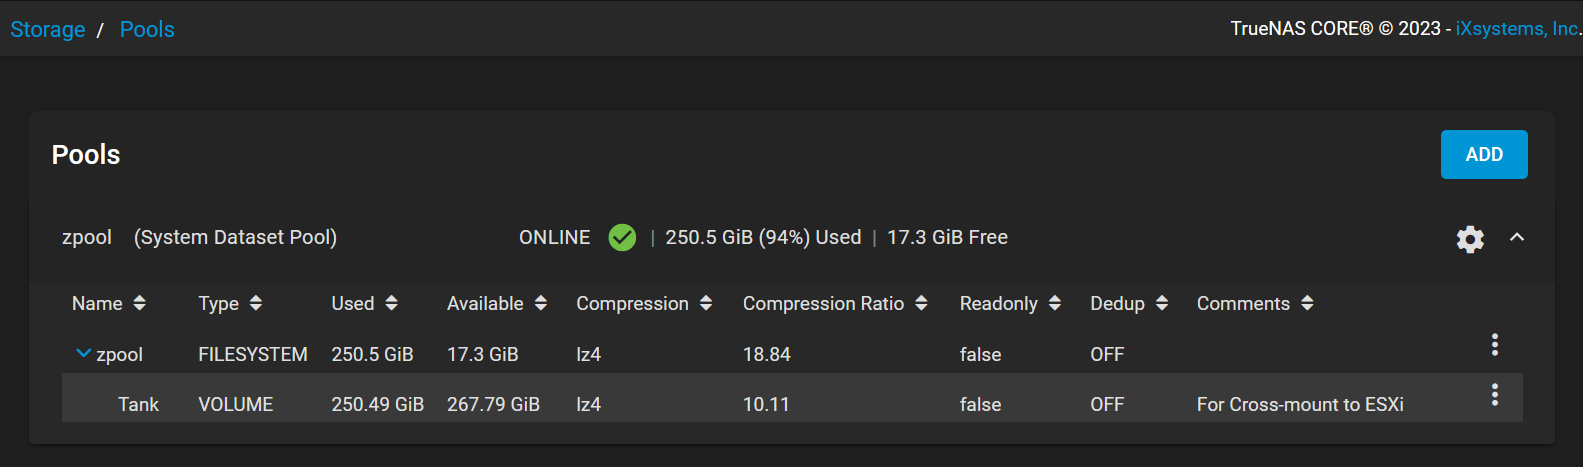 The Zvol,
 Tank, within the zpool has been established
iSCSI
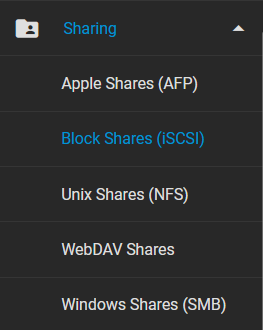 Now, we are going to setup an iSCSI share for cross-mounting the
 zDataset to the ESXi host
You may choose to opt out to other options if needed, and there are so many.
- AFP: For sharing files with Apple devices.
- iSCSI: Provides block-level access, ideal for VMware ESXi and high-performance applications.
- NFS: Simple and efficient for Unix-based systems.
- WebDAV: Enables web-based file management and collaboration.
- SMB: Widely used in Windows environments for file sharing.
 In the context of setting up a cross-mounted share from TrueNAS back to ESXi, iSCSI is superior due to its block-level access, better performance, and seamless integration with VMware.
Additionally, iSCSI can only be connect a single target host, more complex to configure, and manage compared to file-level protocols like NFS or SMB.
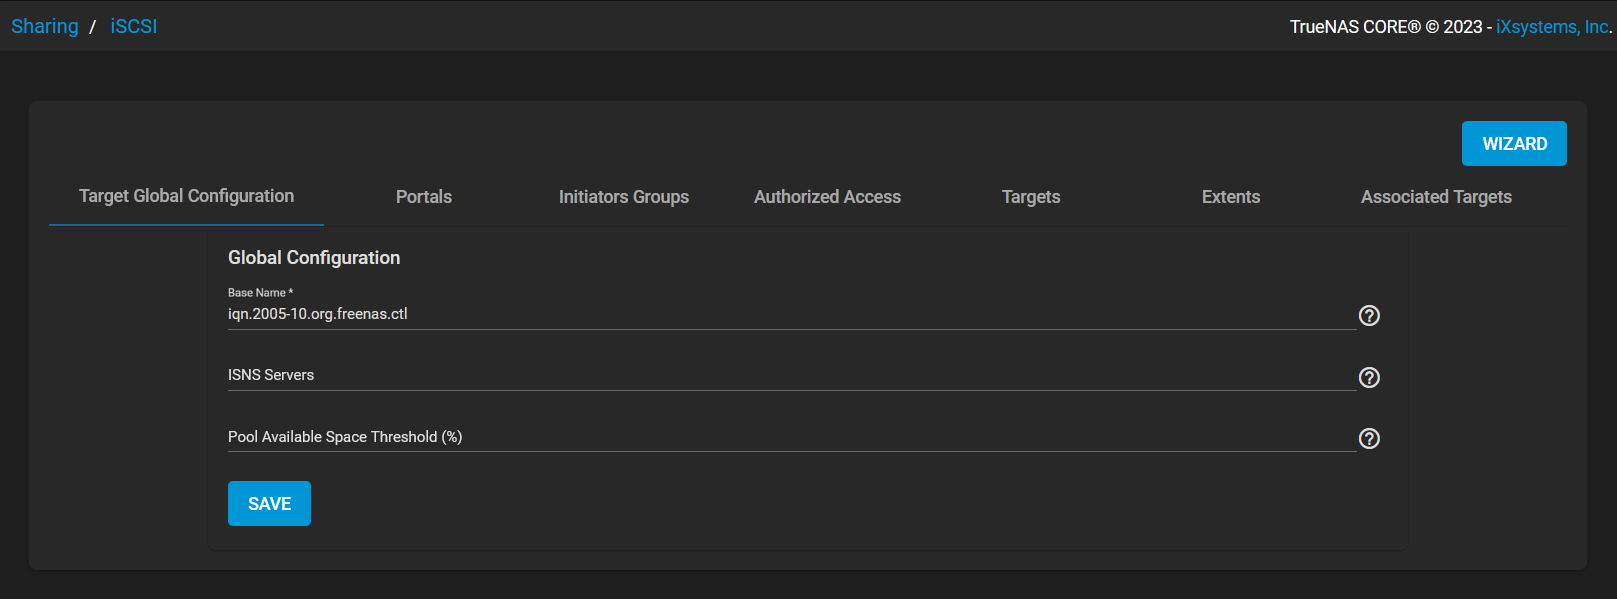
While manual configuration is possible, we will go with the Wizard option for ease of understanding
In the context of setting up a cross-mounted share from TrueNAS back to ESXi, iSCSI is superior due to its block-level access, better performance, and seamless integration with VMware.
Additionally, iSCSI can only be connect a single target host, more complex to configure, and manage compared to file-level protocols like NFS or SMB.
While manual configuration is possible, we will go with the Wizard option for ease of understanding
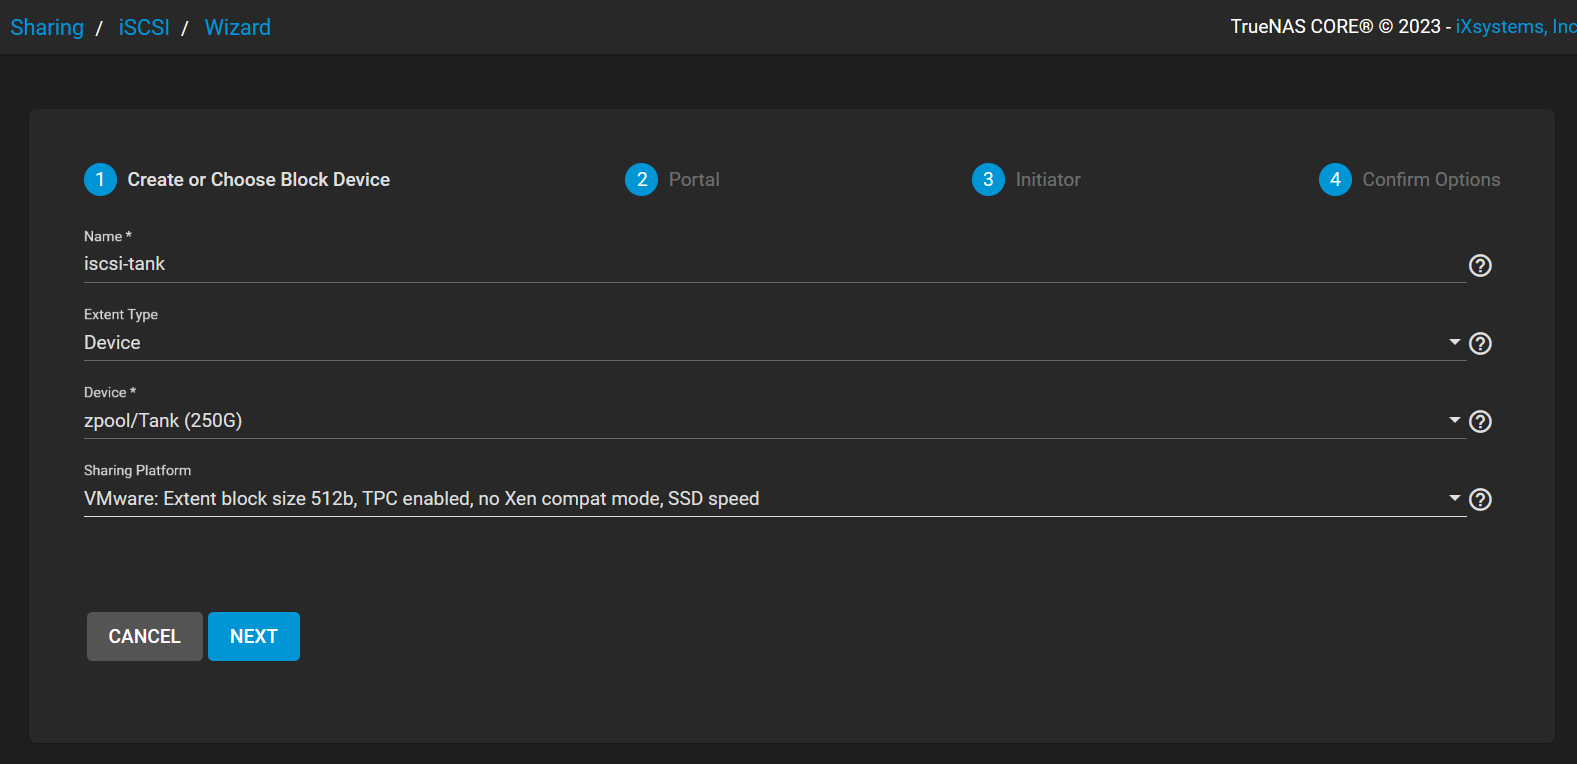 Within the WIzard, I named the iSCSI block device,
 iscsi-tank, with the Extent Type being Device as we are loading the newly created Zvol, Tank, and the Sharing Platform is set to VMware: Extent block size 512b, TPC enabled, no Xen compact mode, SSD speed option as we are cross-mounting the iSCSI block device back to the ESXi host
 Next, we are configuring portal setup
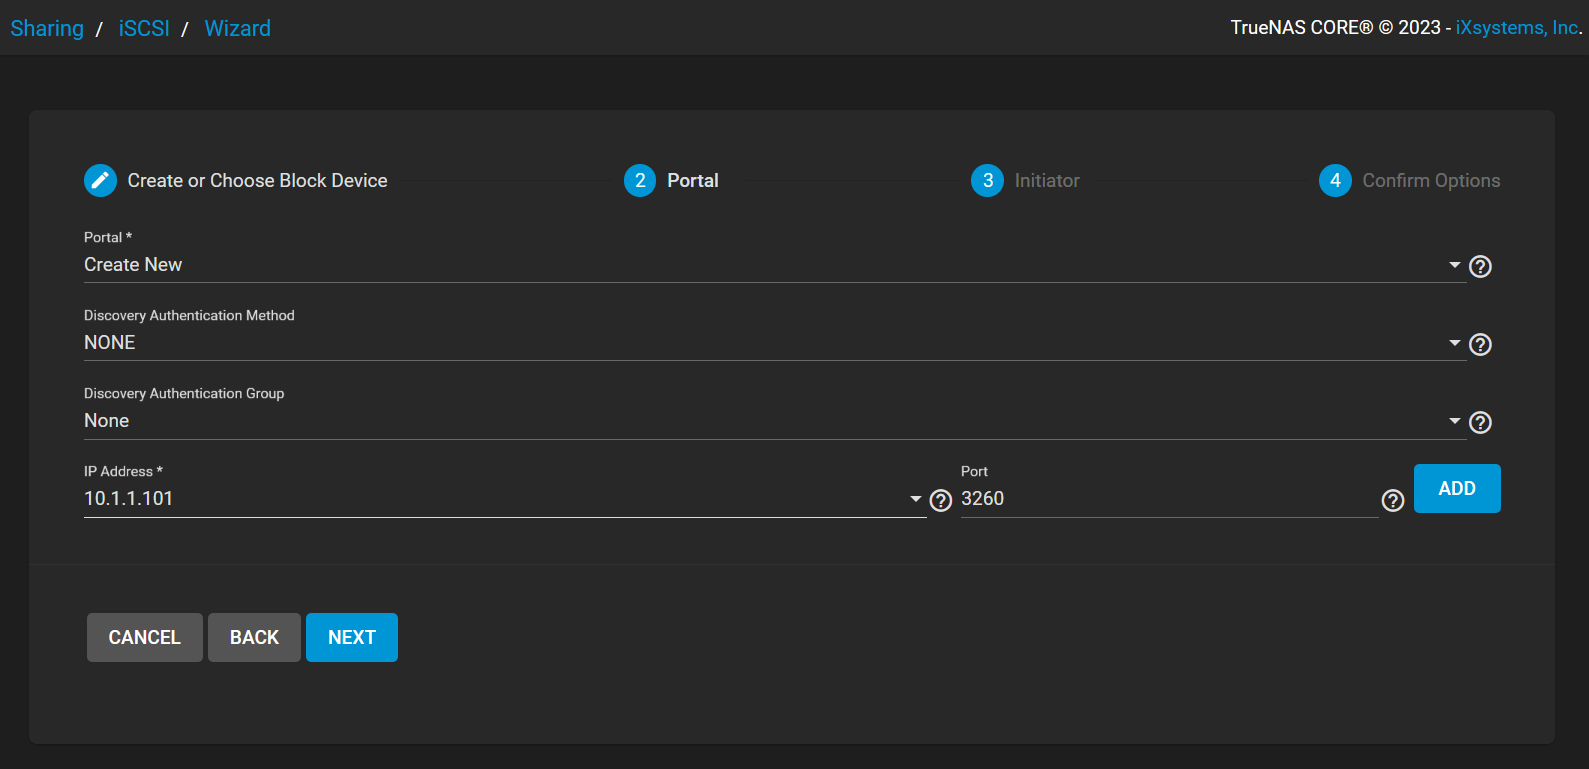 The following has been done:
- configuring both the Discovery Authentication Method option and the Discovery Authentication Group option to NONE as authentication is not needed as this is a lab session and
- However, CHAP or Mutual CHAP can be used for authentication
- assigning a IPv4 address to listen on. This could be configured to be
0.0.0.0, but I set it specifically to the current IPv4 address assigned to the NIC - lastly, leaving it to the default iSCSI port at
3260
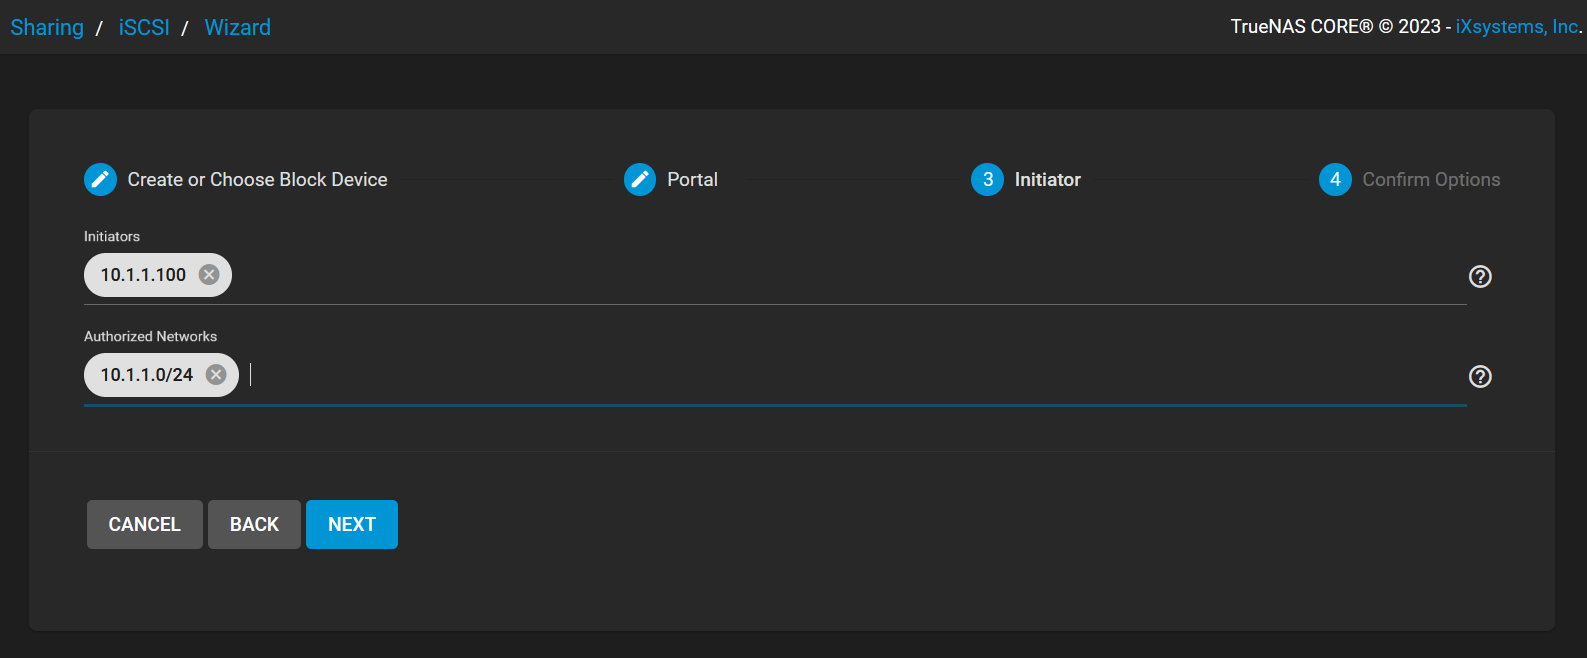 Now on to the initiator setup.
I configured it to be only initiable by the ESXi host within its subnet as I want to restrict access for a better security practice
Now on to the initiator setup.
I configured it to be only initiable by the ESXi host within its subnet as I want to restrict access for a better security practice
 Here is the complete summary
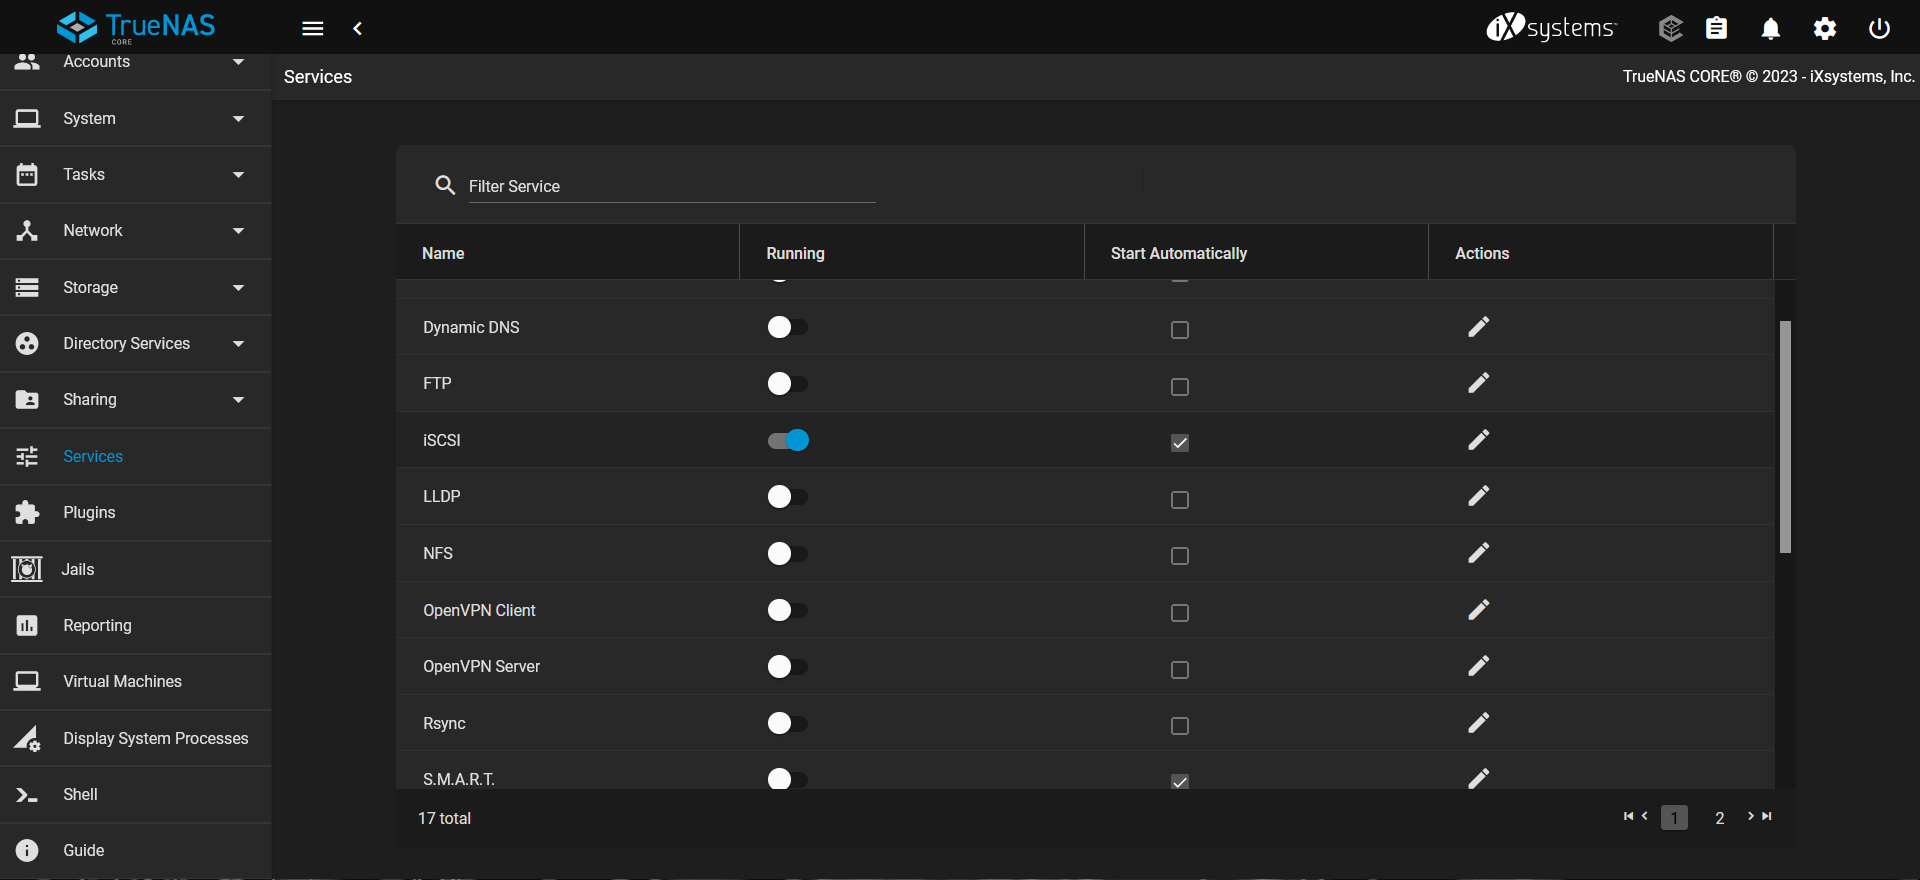 Now that we have configured the iSCSI block share, mapped to the
 Tank zvol, we need to start up the iSCSI server
It can be found under the Services tab
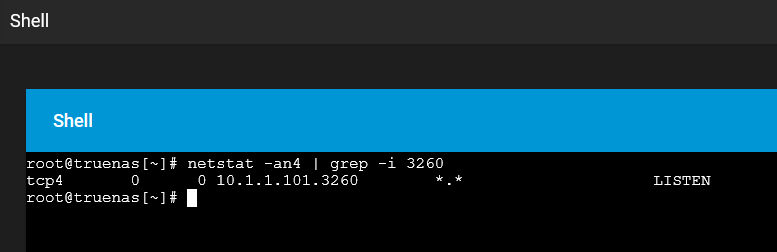 Through the built-in shell session, I can confirm that the iSCSI server is up and listening on the
 10.1.1.101:3260 socket
Cross-Mount iSCSI Block Device
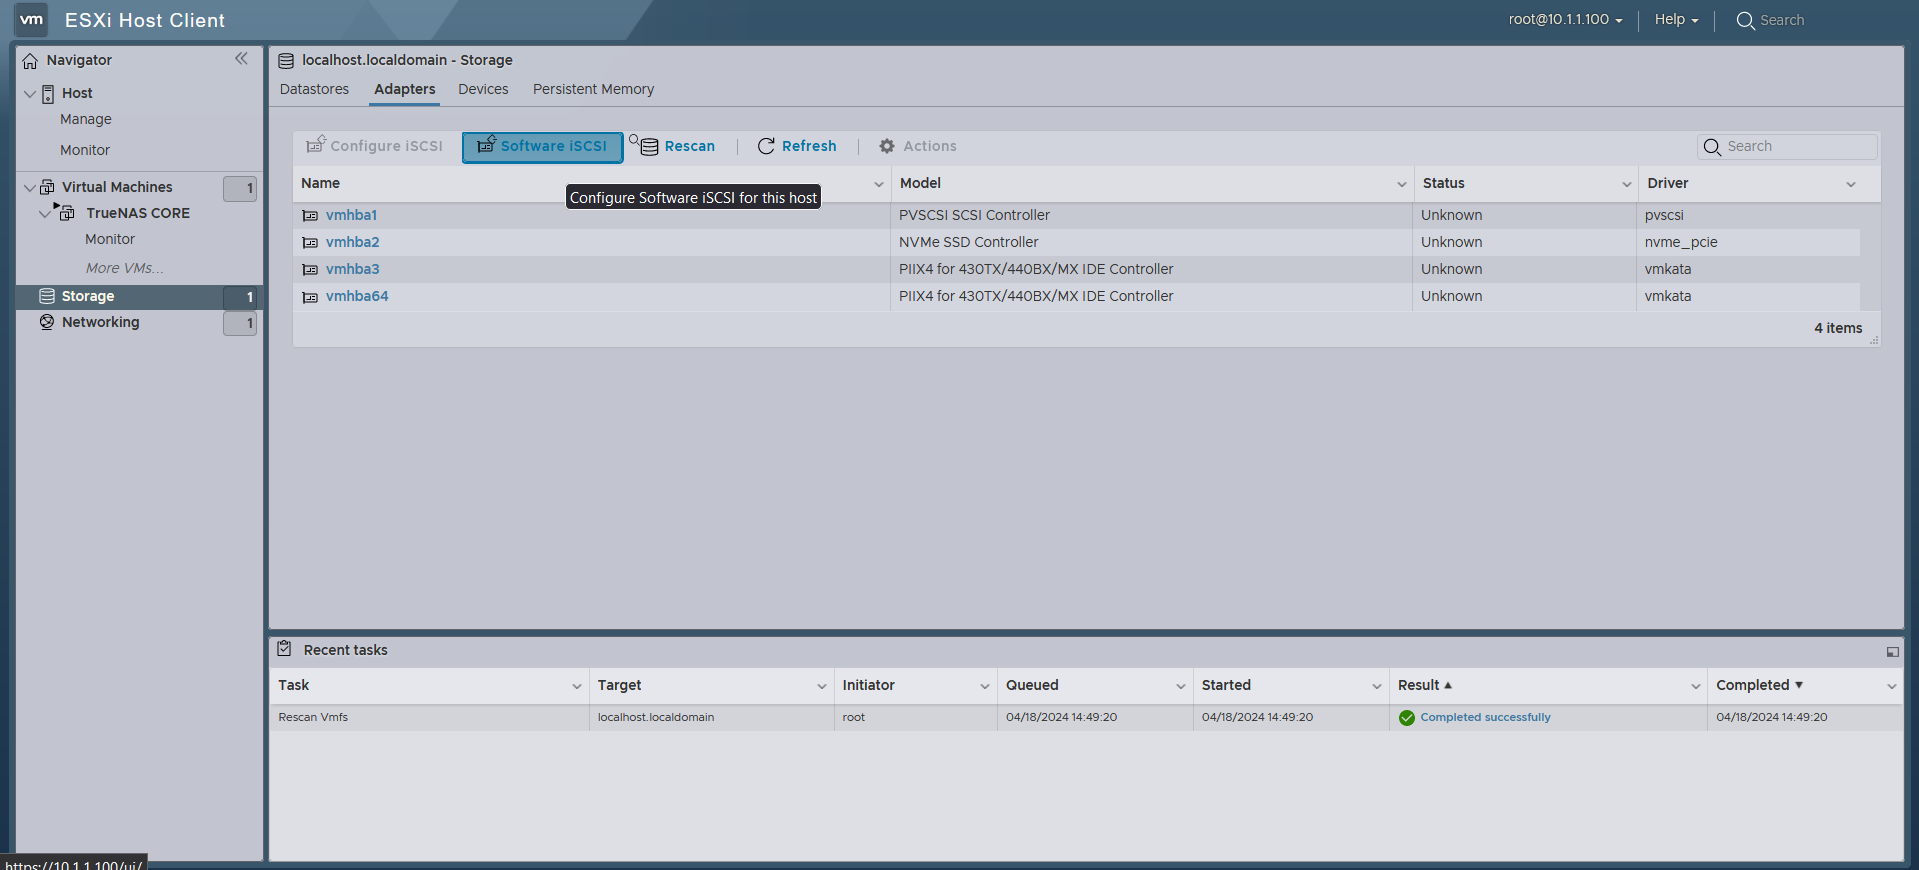 Back on to the web GUI of the ESXi host, cross-mounting can be done via the Software iSCSI button under the Storage tab
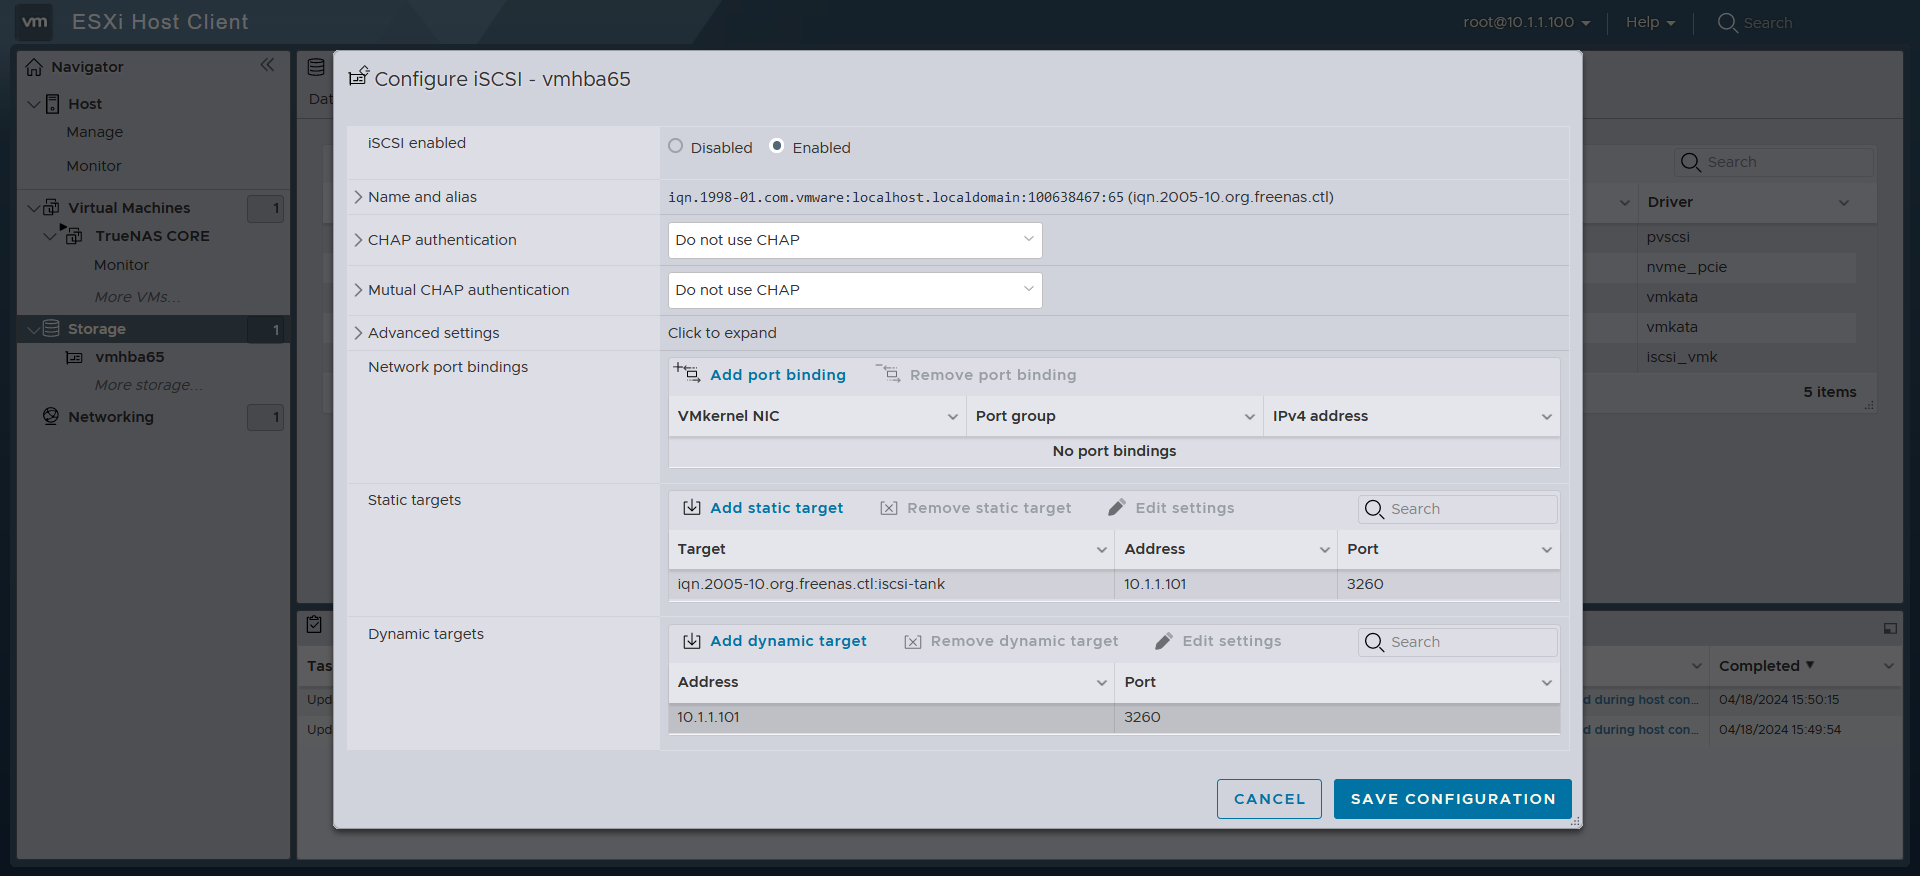 Then we just need to enable it and follow it up by filling out the Dynamic targets section
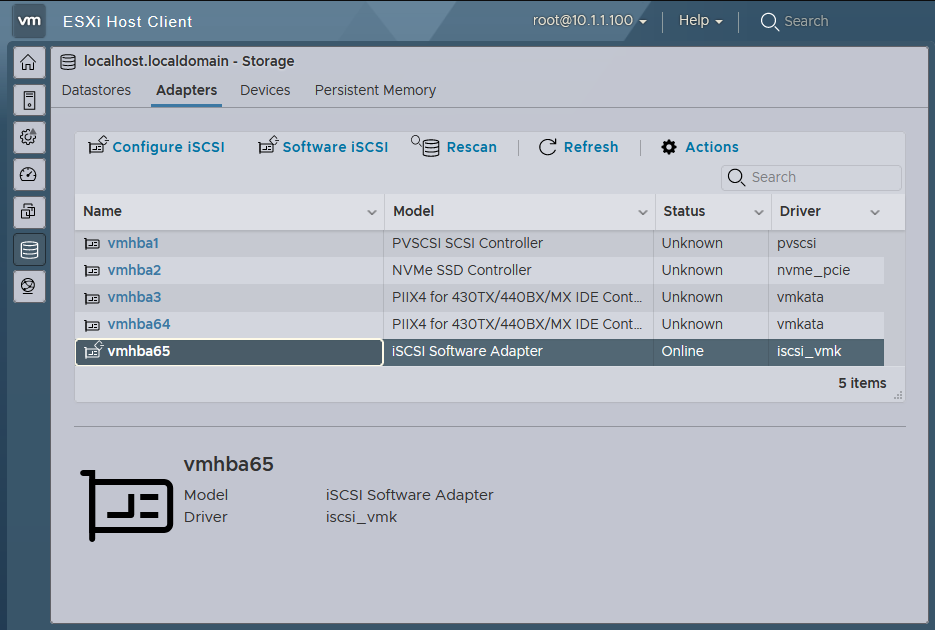 It’s named
 iscsi_vmk on the client side and connected
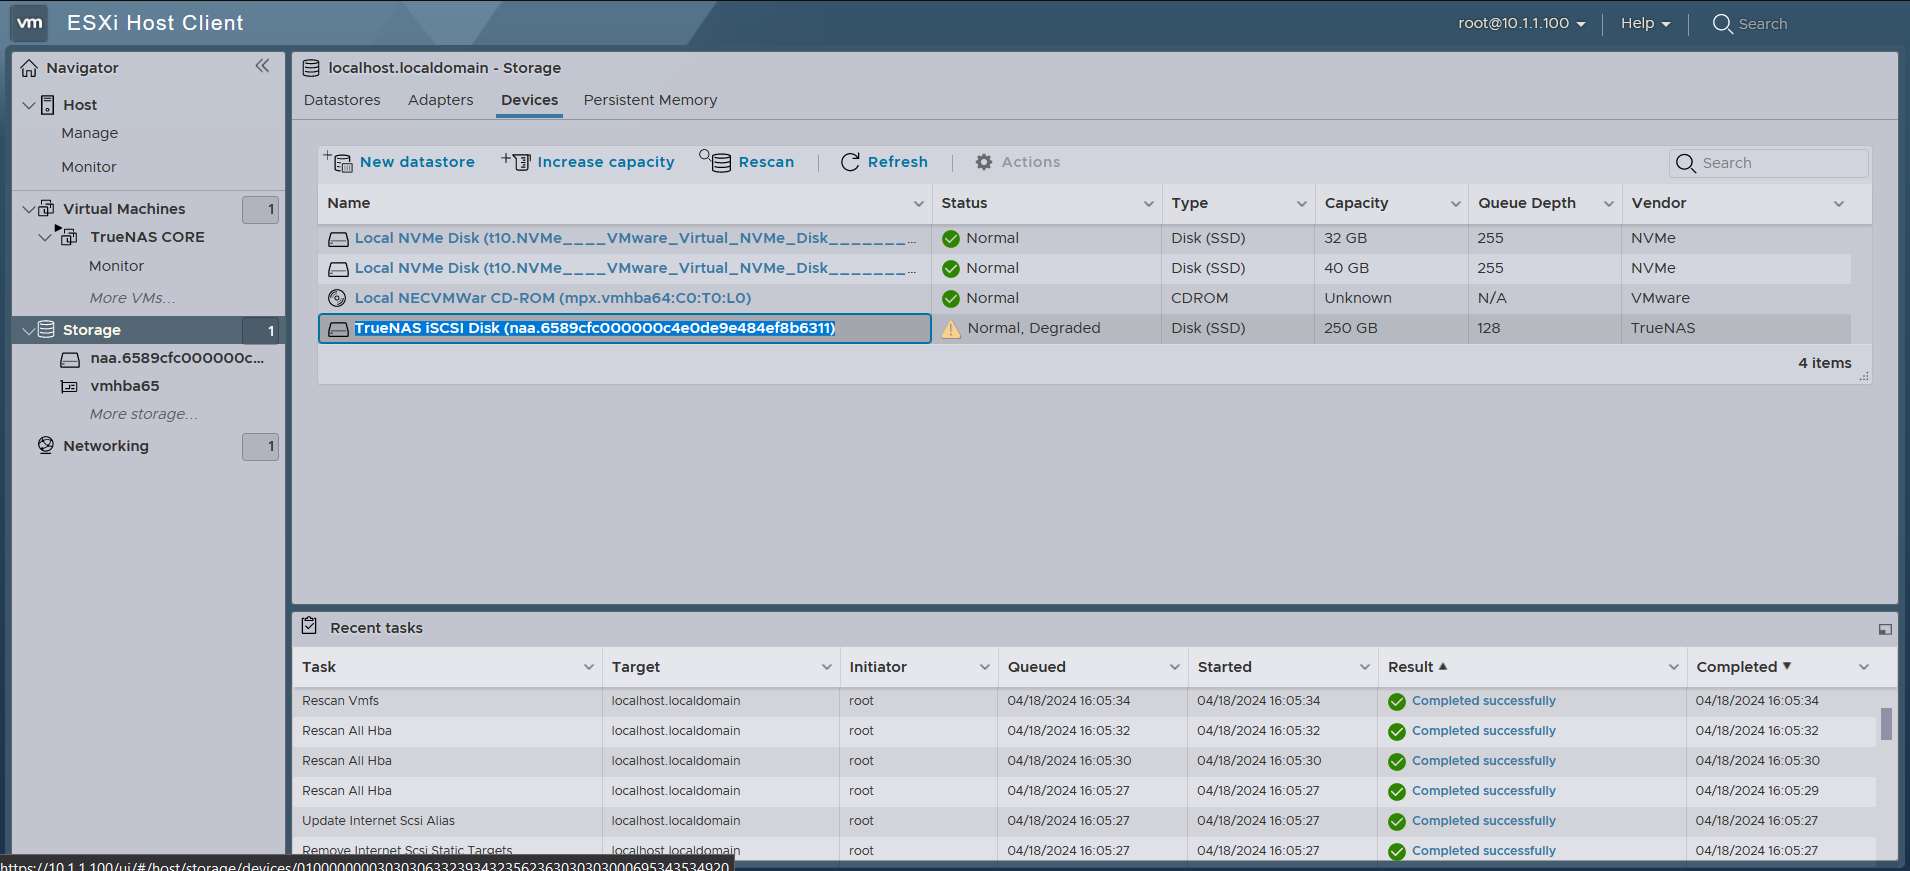 Heading over to the Devices tab and clicking into both the Rescan and Refresh buttons reveals a new device, which is the
 TrueNAS iSCSI Disk

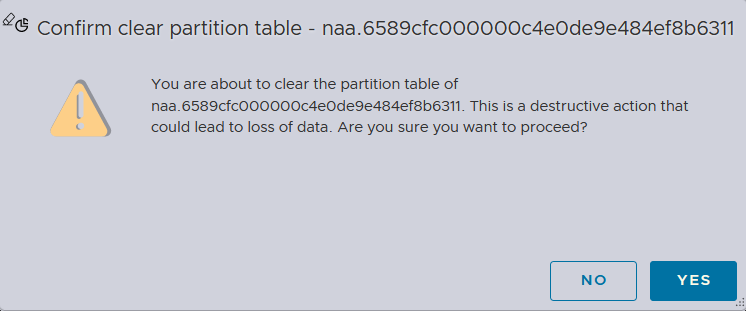 The partition table must be cleared first in order to become a datastore
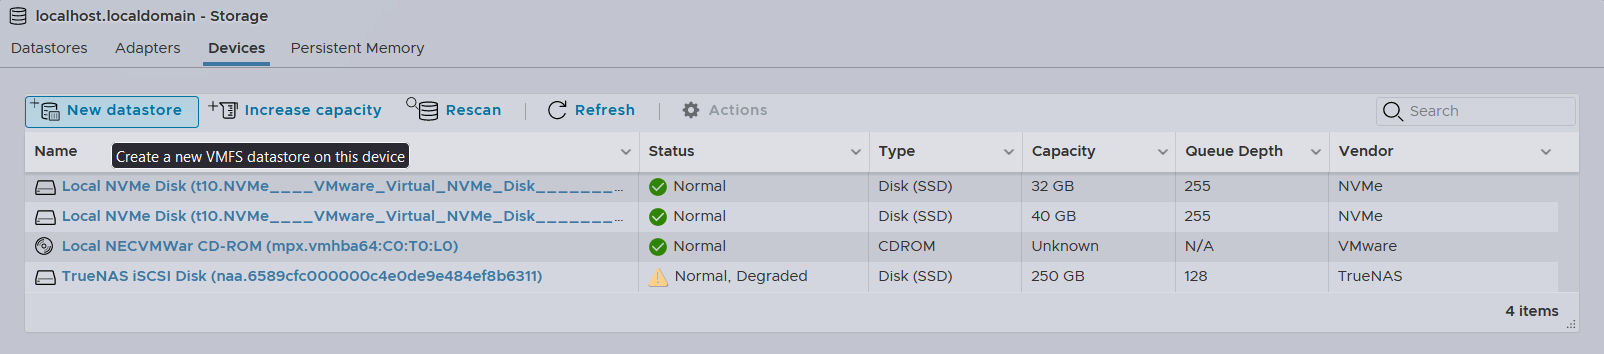 We can then proceed to create a new datastore by clicking into the New datastore button
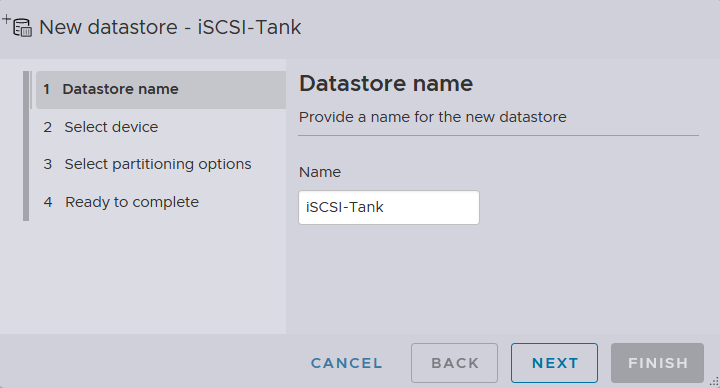 I will name it
 iSCSI-Tank
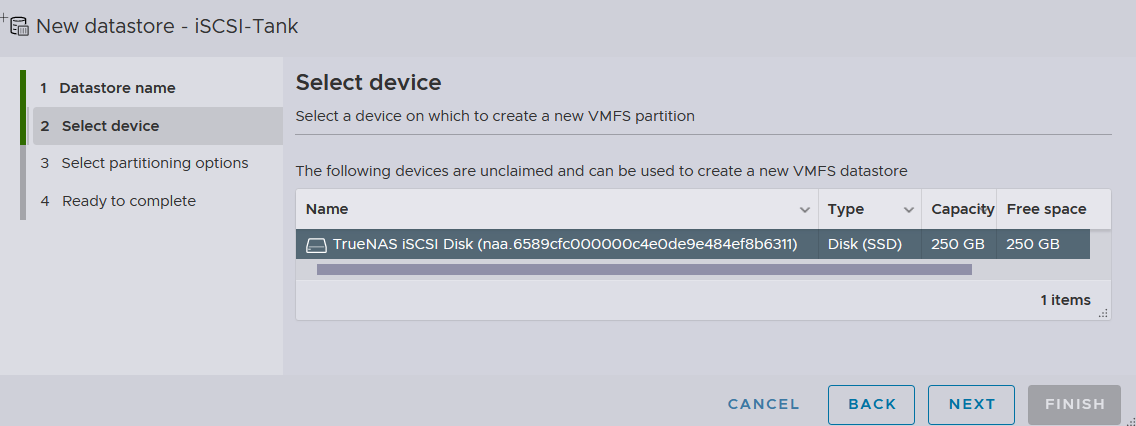 We can then select the iSCSI block device that we just cleared for partitioning
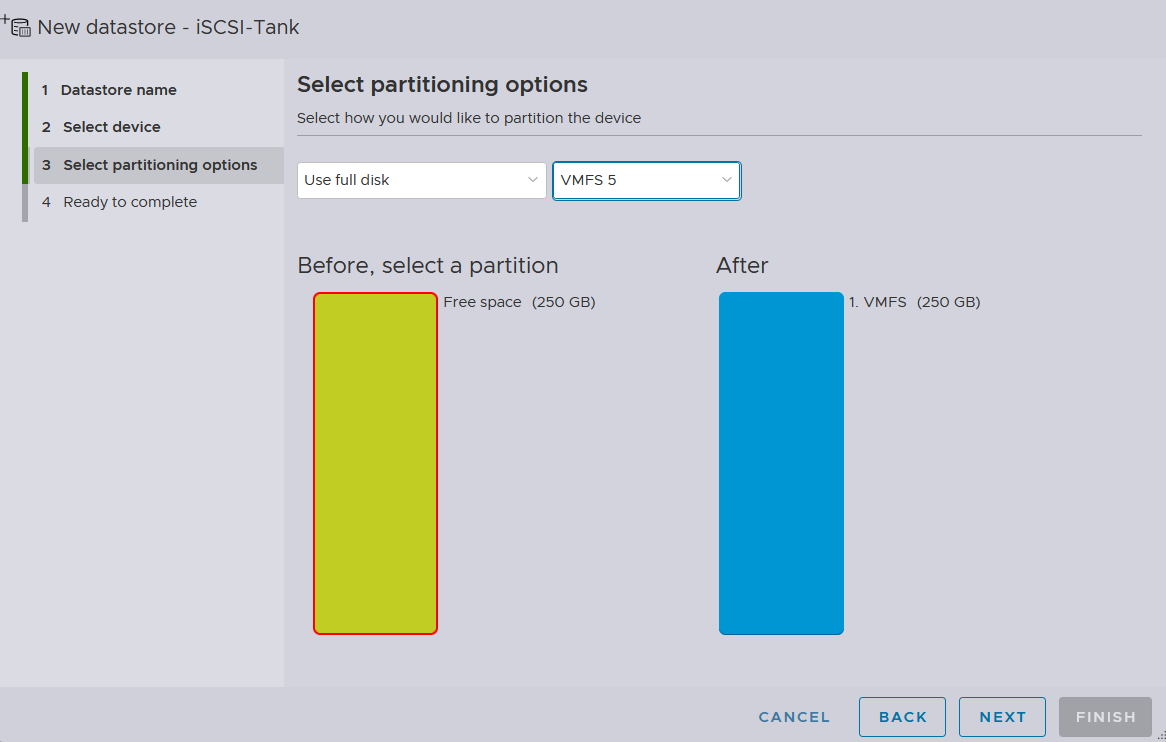 Then, re-partitioning it to VMFS version 5
The version 6 doesn’t appear to be supported for iSCSI block device
Then, re-partitioning it to VMFS version 5
The version 6 doesn’t appear to be supported for iSCSI block device
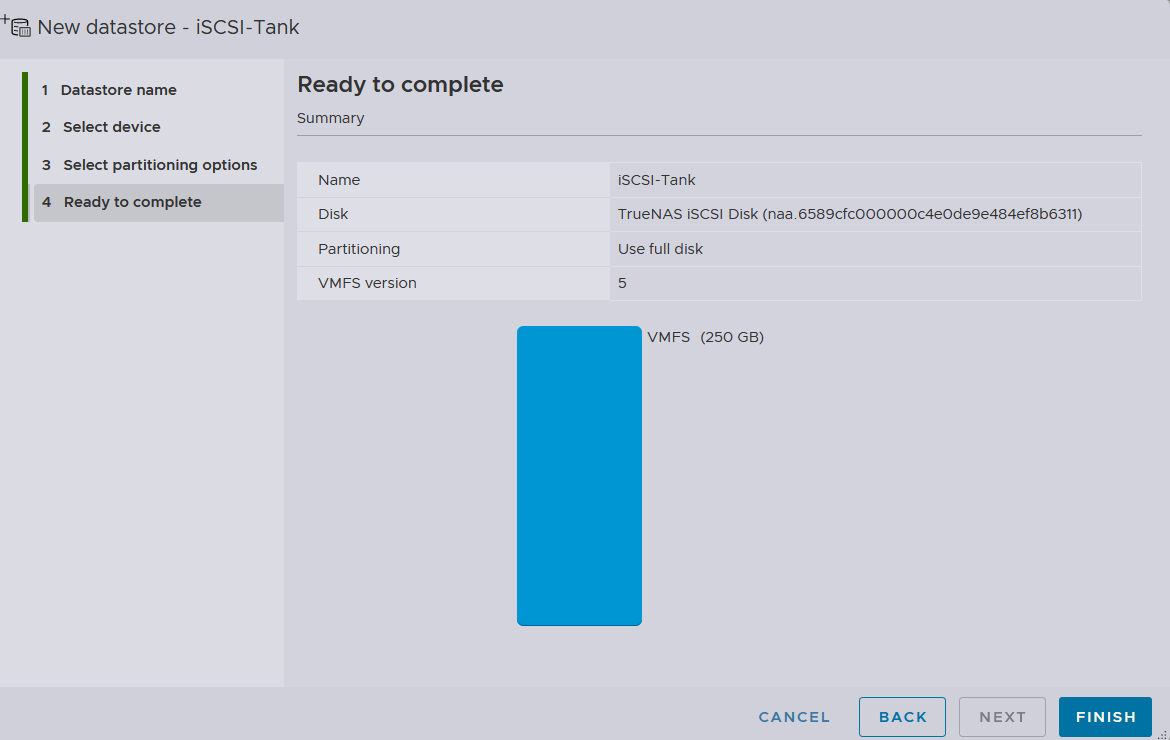 This is the summary
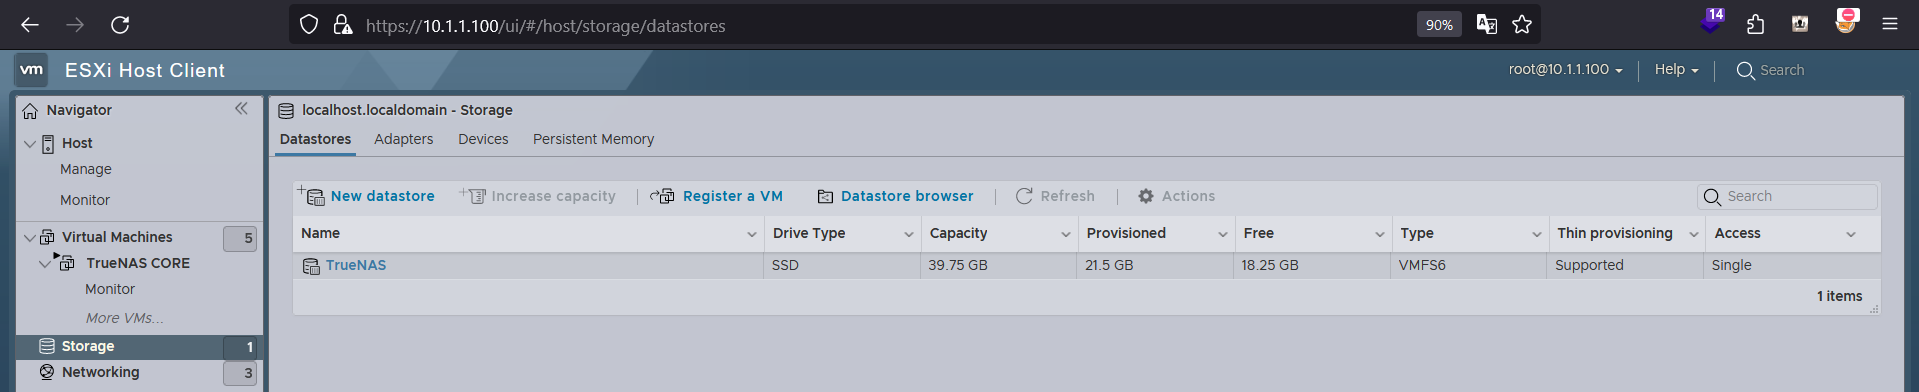
 Notice now the
 iSCSI-Tank datastore can be seen alongside the initial TrueNAS datastore that we created earlier
Autostart

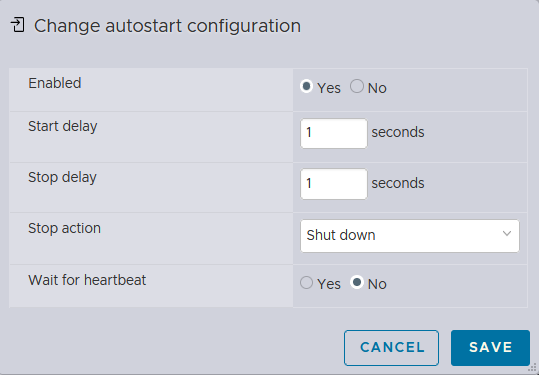
 I can also configure the Autostart option for the
 TrueNAS CORE instance, so that it would start with the ESXi instance
Networking
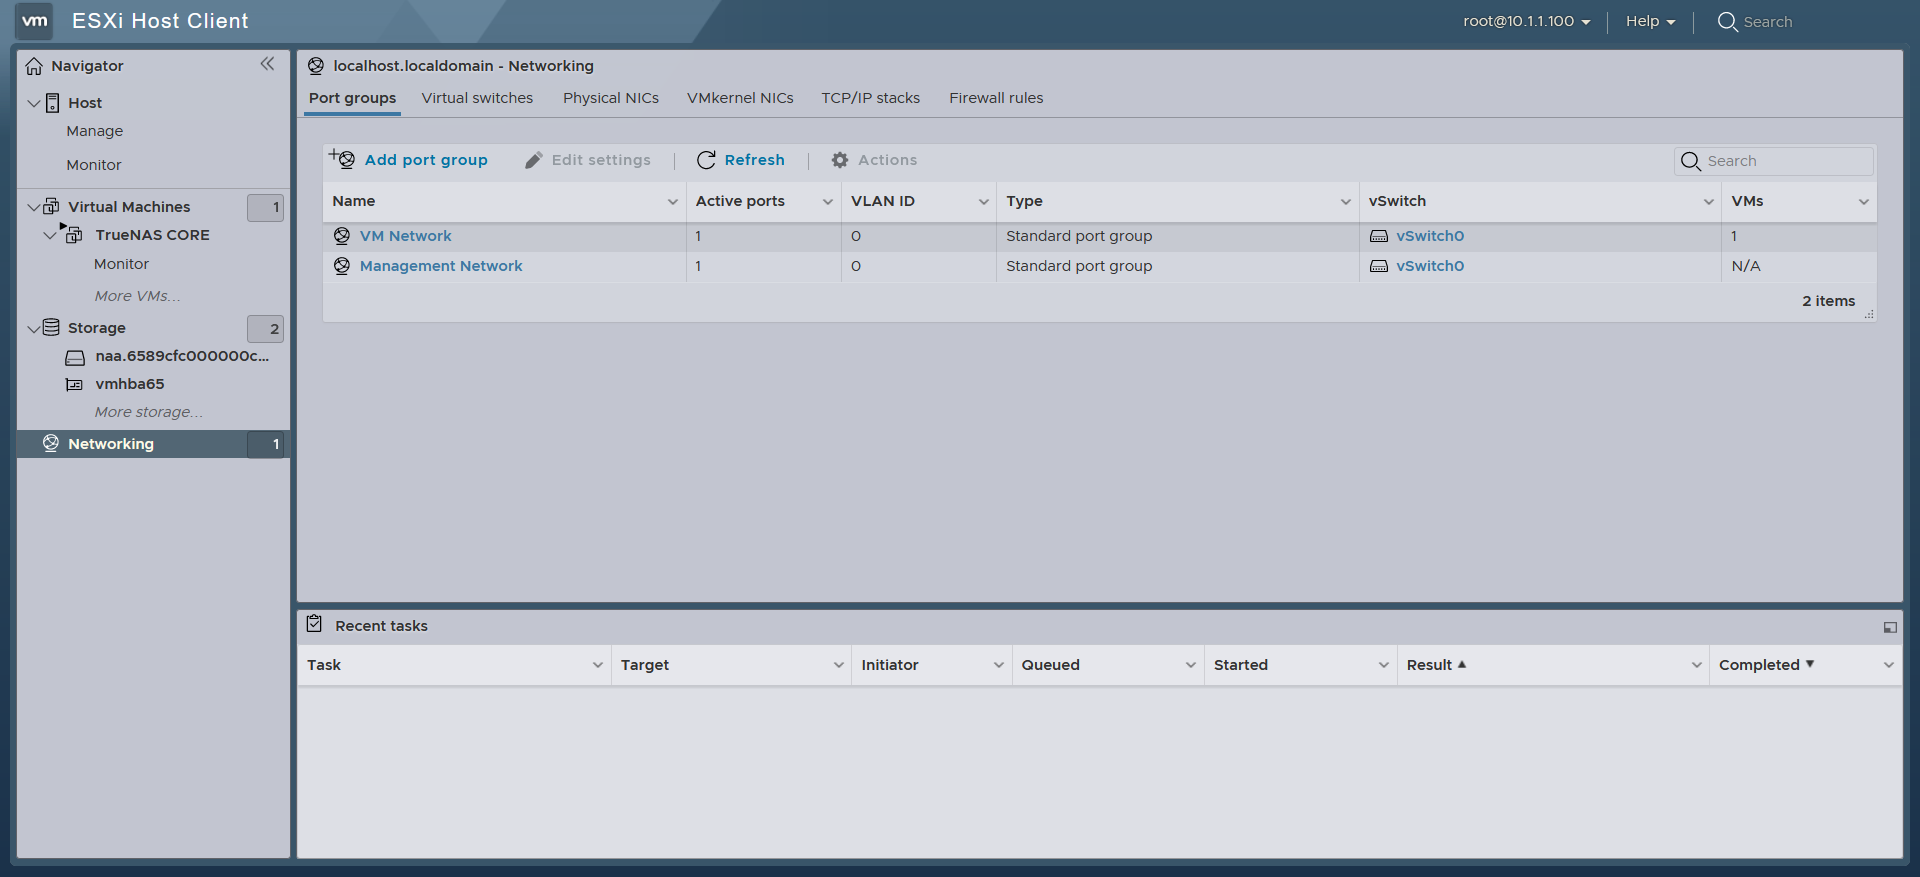 While there are dedicated means of networking provided VMware vSphere, we will focus on the traditional networking feature as we are solely working on the ESXi Host Client web GUI
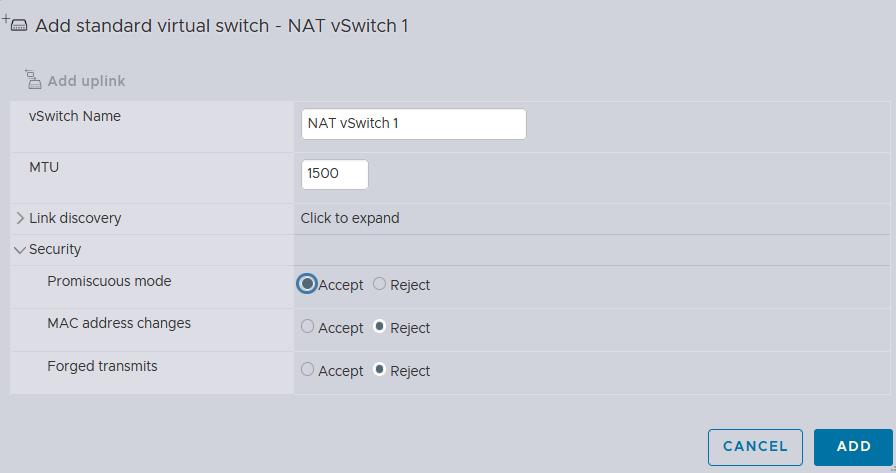
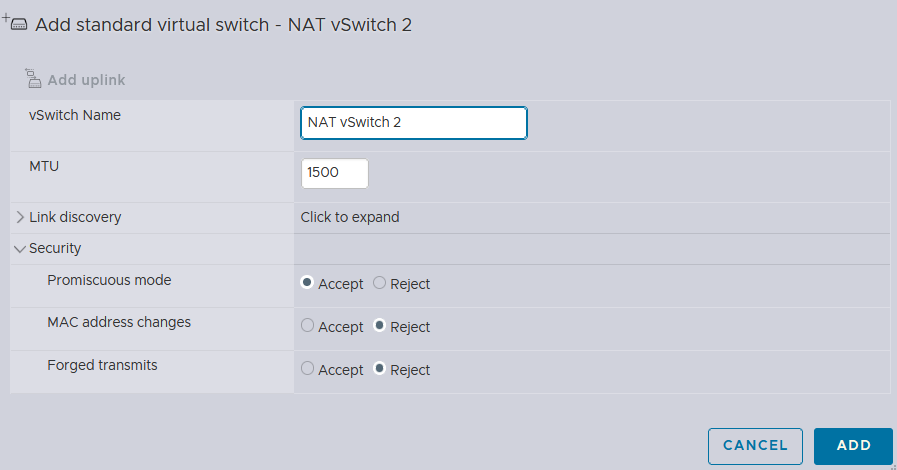 I will first create 2 virtual switches with the Promiscuous mode ENABLED, because it allows the network interface to intercept and modify outgoing packets, ensuring proper NAT functionality by replacing private IP addresses with the public IP address of the router, while also facilitating the handling of DHCP requests broadcasted within the network for efficient IP address allocation.
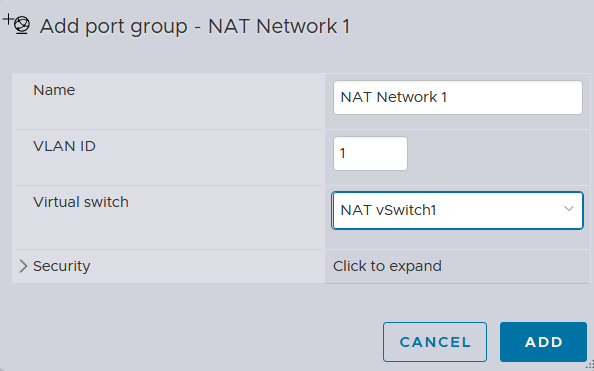
 I will create 2 NAT network port groups with VLAN tags assigned accordingly
pfSense Installation
 pfSense is an open-source firewall and router platform based on FreeBSD, renowned for its robust security features and flexibility. It offers a wide range of network services, including NAT, DHCP, VPN, and firewall functionality, making it suitable for both small businesses and large enterprises. With its intuitive web interface and extensive documentation, pfSense simplifies network configuration and administration tasks. Its active community support and regular updates ensure ongoing development and reliability for diverse networking needs.
However, you may opt out to alternative options, such as OPNsense, OpenWrt, or even build one yourself as the whole idea behind is to provide a DHCP and NAT services, along with some other additional features if applicable
Creating a Virtual Machine pfSense
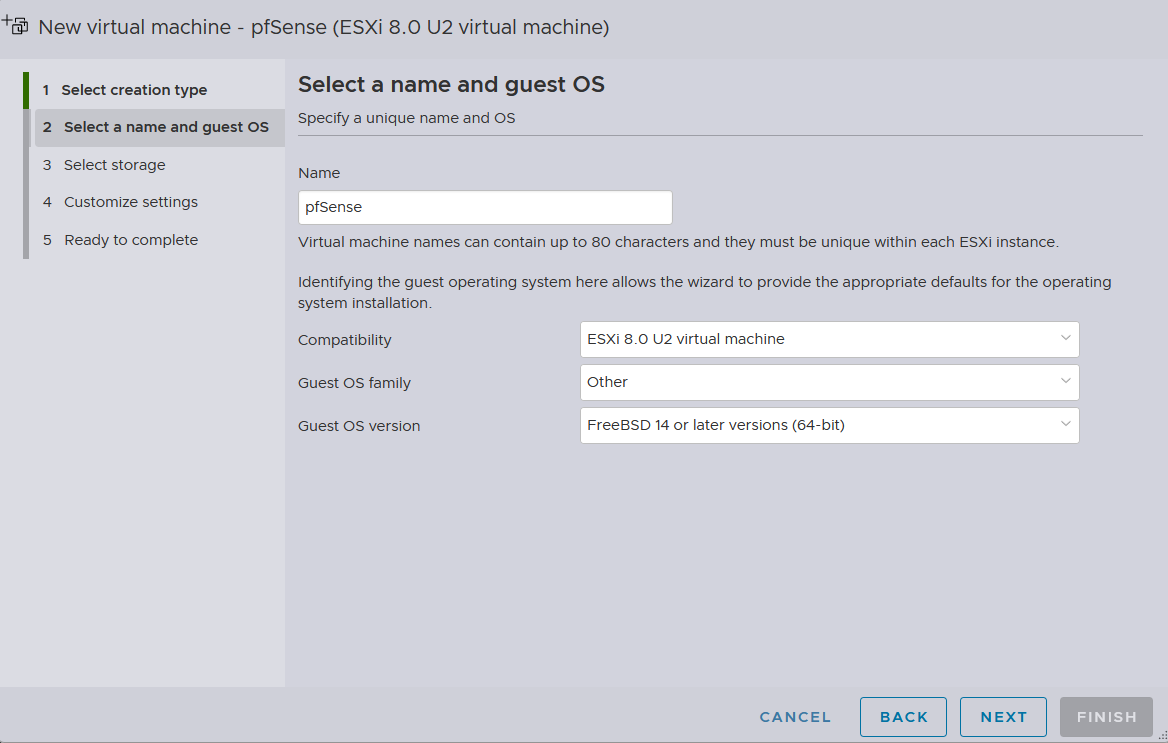 We will name this machine
 pfSense as the installation will be made for pfSense Community Edition 2.7.2, which is based on FreeBSD 14
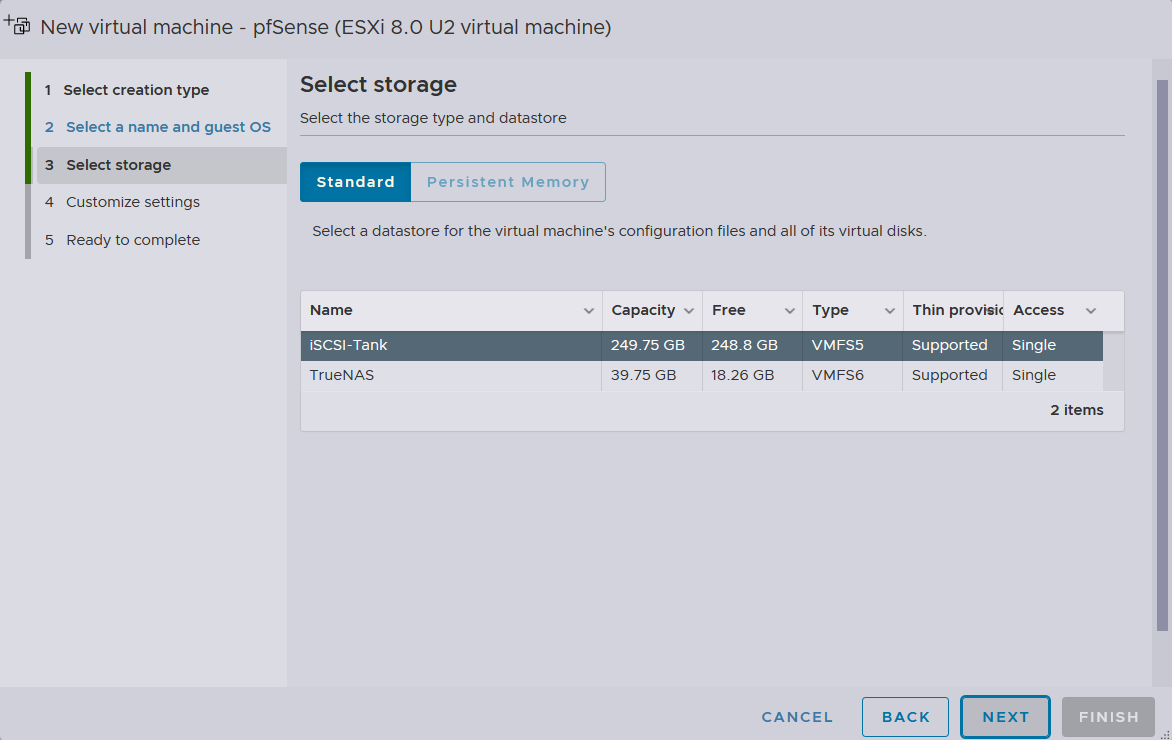 The installation will be made to the newly appended iSCSI block device,
 iSCSI-Tank, which runs off TrueNAS
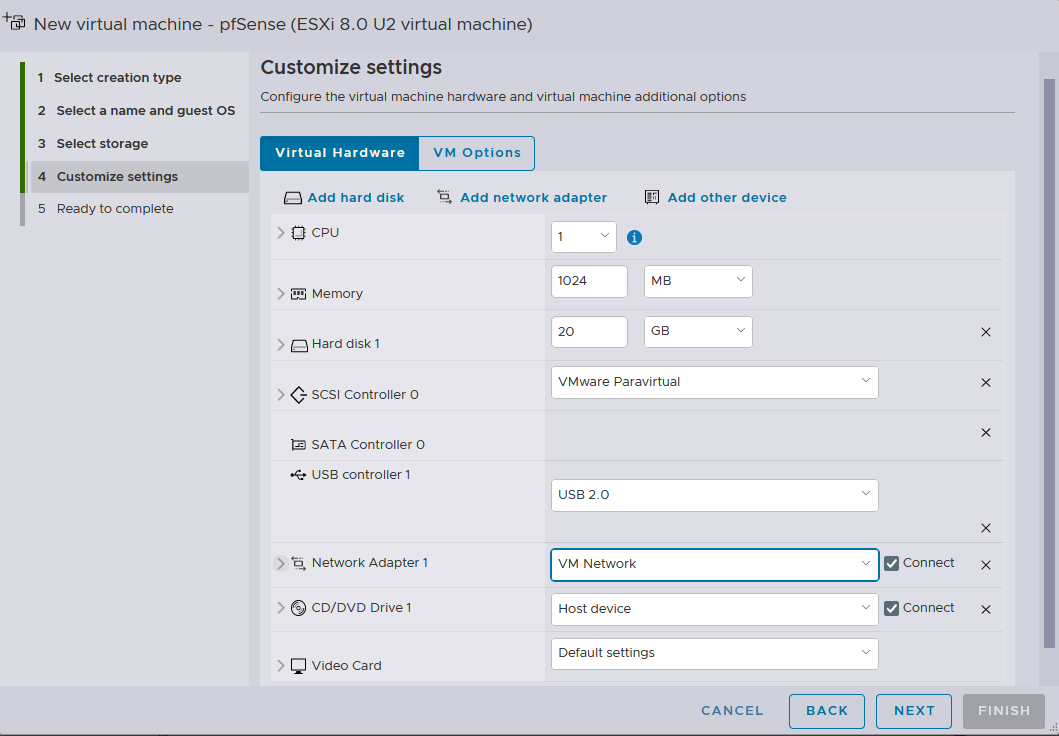 pfSense does not require as much computing resource
I will also use the default
pfSense does not require as much computing resource
I will also use the default VM Network for installation first, and then go about implementing the newly created NAT networks earlier
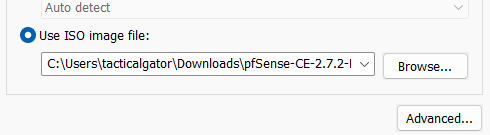 I will add the ISO file on the ESXi host for installation
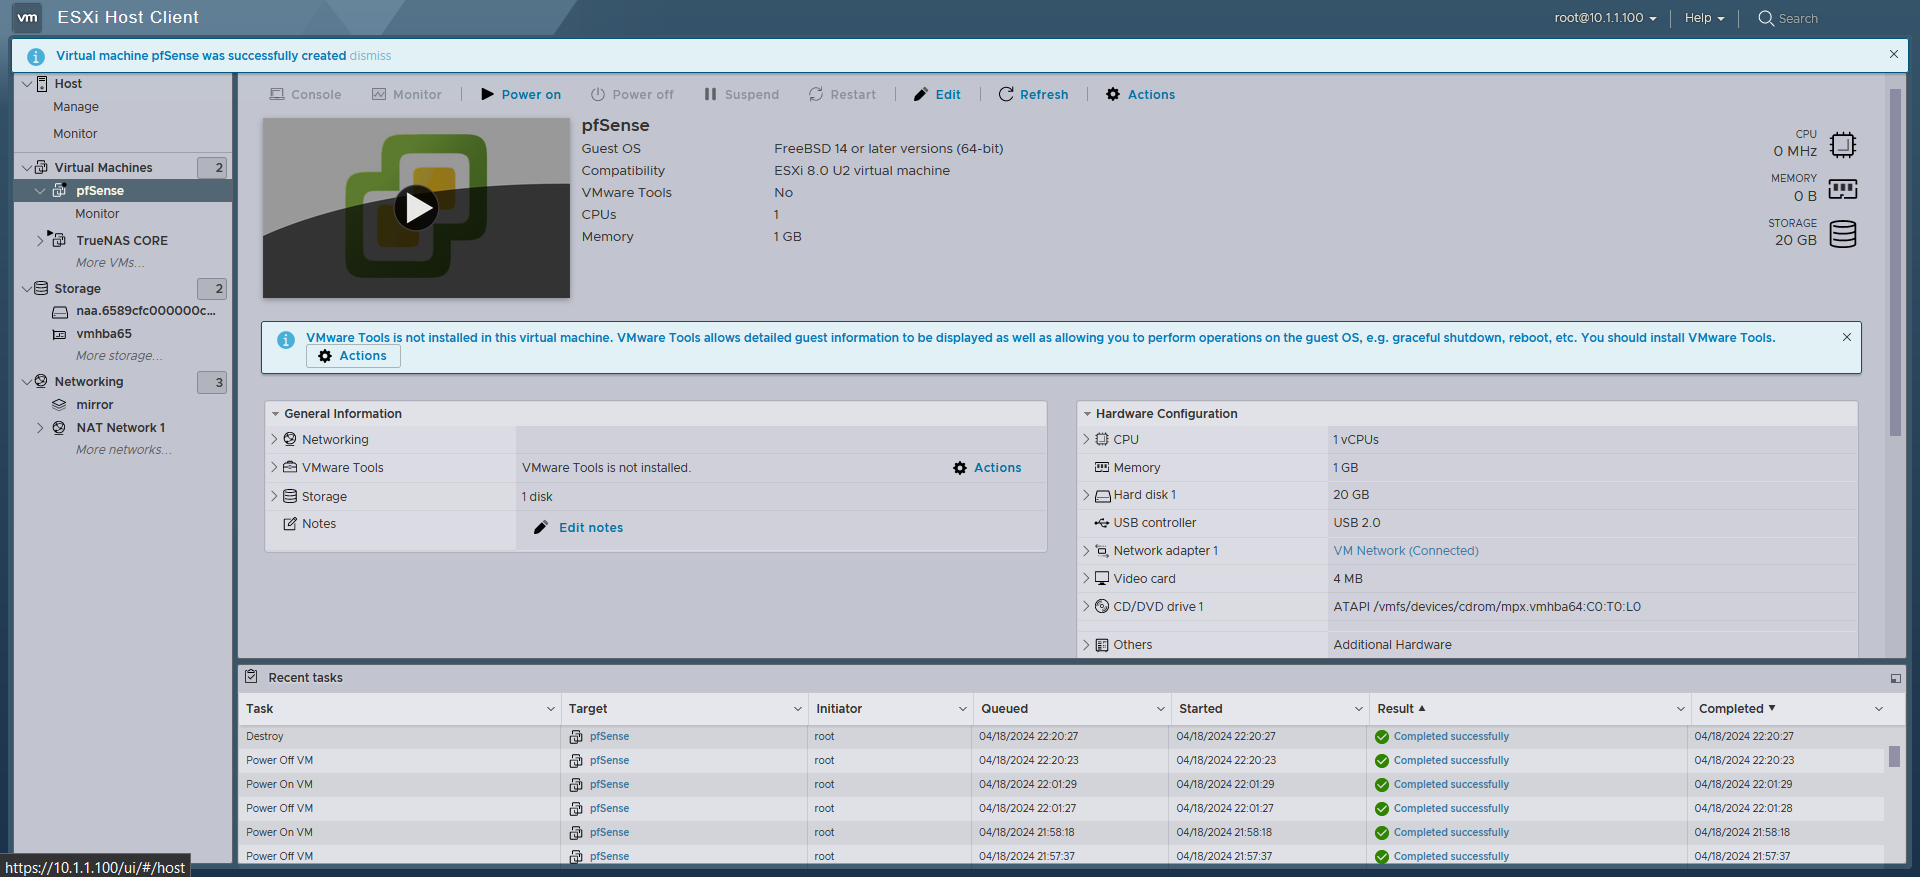 All Set
Booting up pfSense
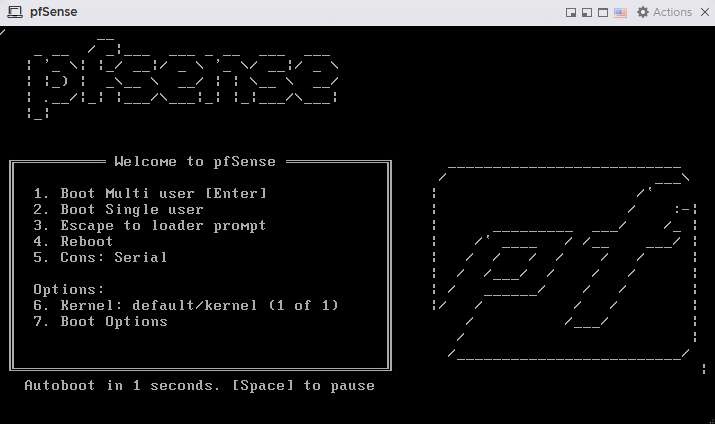 Successfully booted into the installation media
 Let’s accept the EULA, and go through the installation
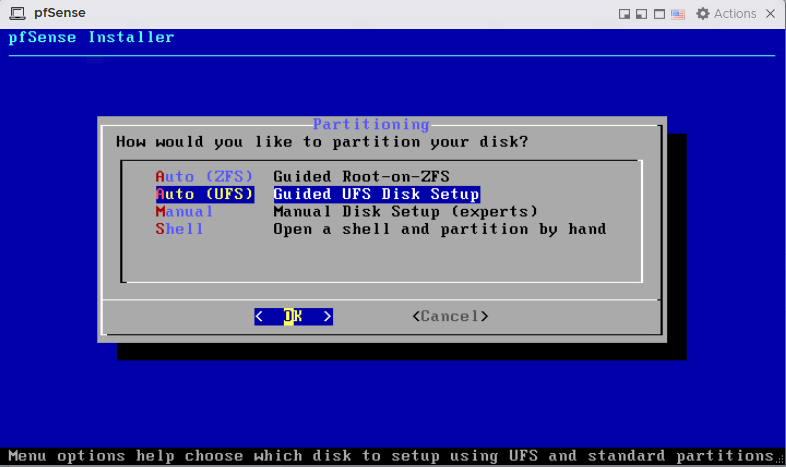 pfSense offers ZFS filesystem, but we will go with the generic UFS for demonstration purpose
Additionally, the pfSense instance will be installed on to a ZFS filesystem from the
pfSense offers ZFS filesystem, but we will go with the generic UFS for demonstration purpose
Additionally, the pfSense instance will be installed on to a ZFS filesystem from the TrueNAS instance, so it makes it completely unnecessary
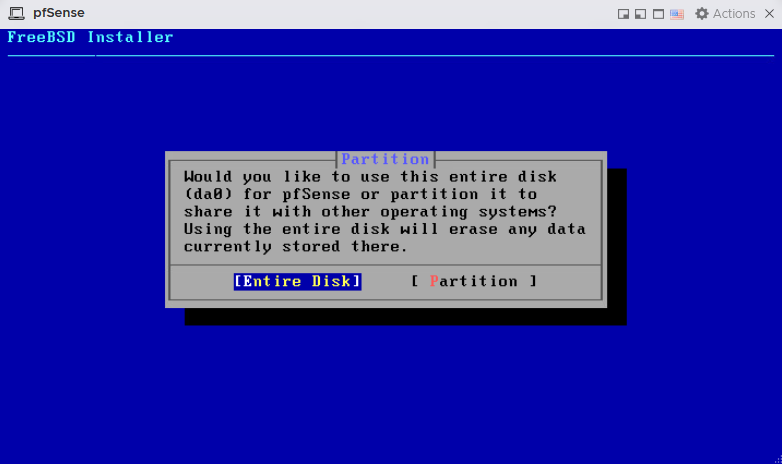
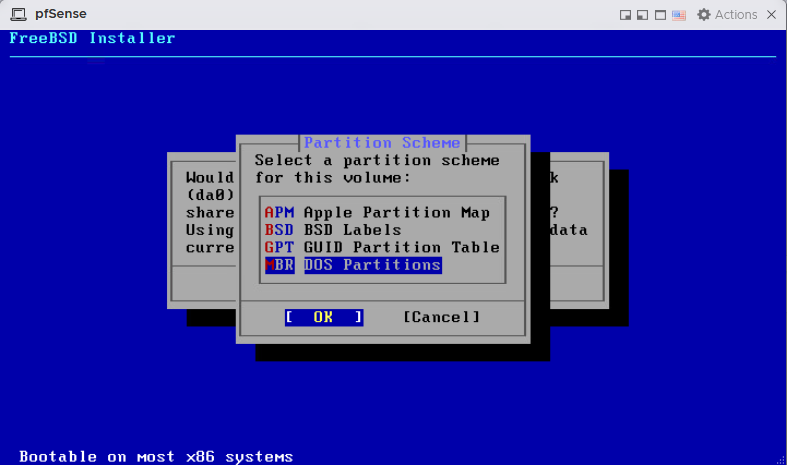 Using the entire disk with the MBR option
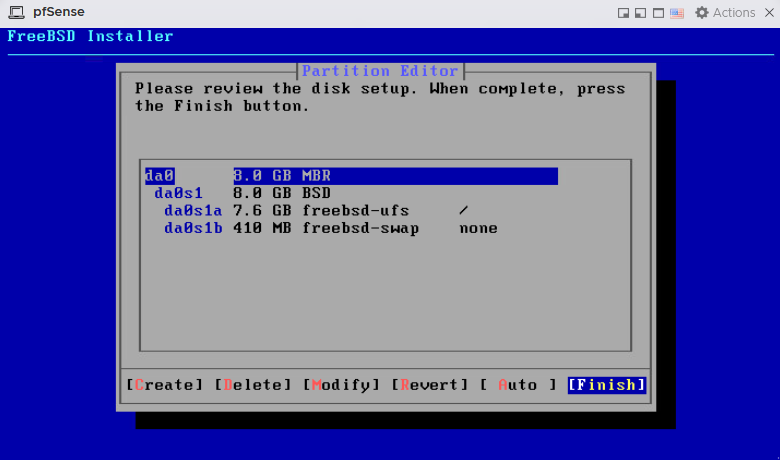 Finalizing the partitioning with the default option
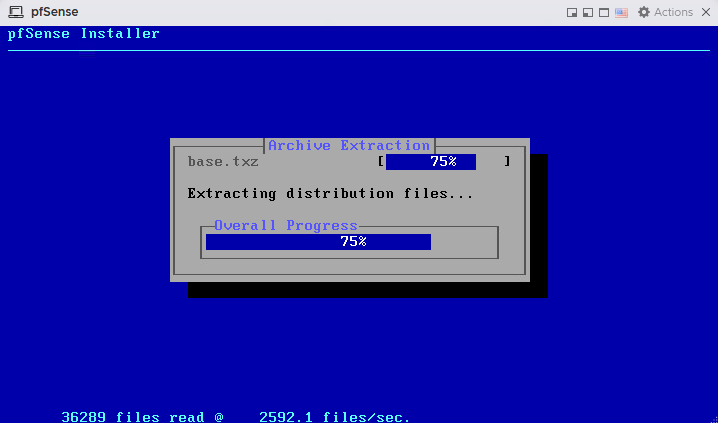
 Complete! now rebooting into the newly installed
 pfSense instance
pfSense Configuration
 We won’t be going over VLAN configuration for this lab

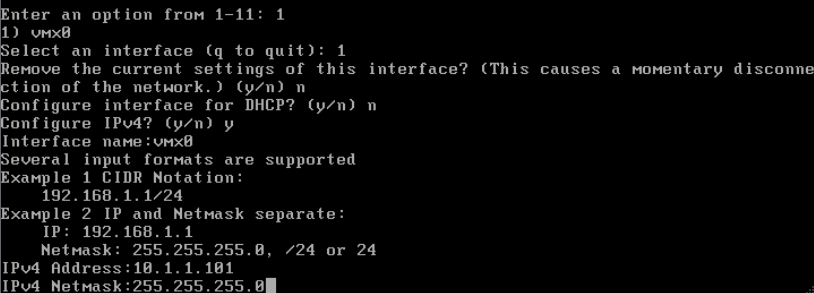
vmx0 is the WAN interface
 It also prompts for LAN interface.
Skipping this for now as those 2 NAT networks that were configured in the earlier stage will be set here later.
It also prompts for LAN interface.
Skipping this for now as those 2 NAT networks that were configured in the earlier stage will be set here later.
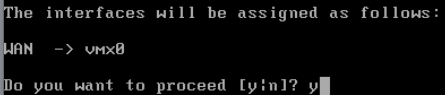 Proceeding with
 vmx0 being the WAN interface
 The initial configuration is complete and the WAN interface(
vmx0) received an IPv4 address of 10.1.1.23 from the overhead VMware Workstation host’s DHCP service.
Now the web GUI is available at https://10.1.1.23
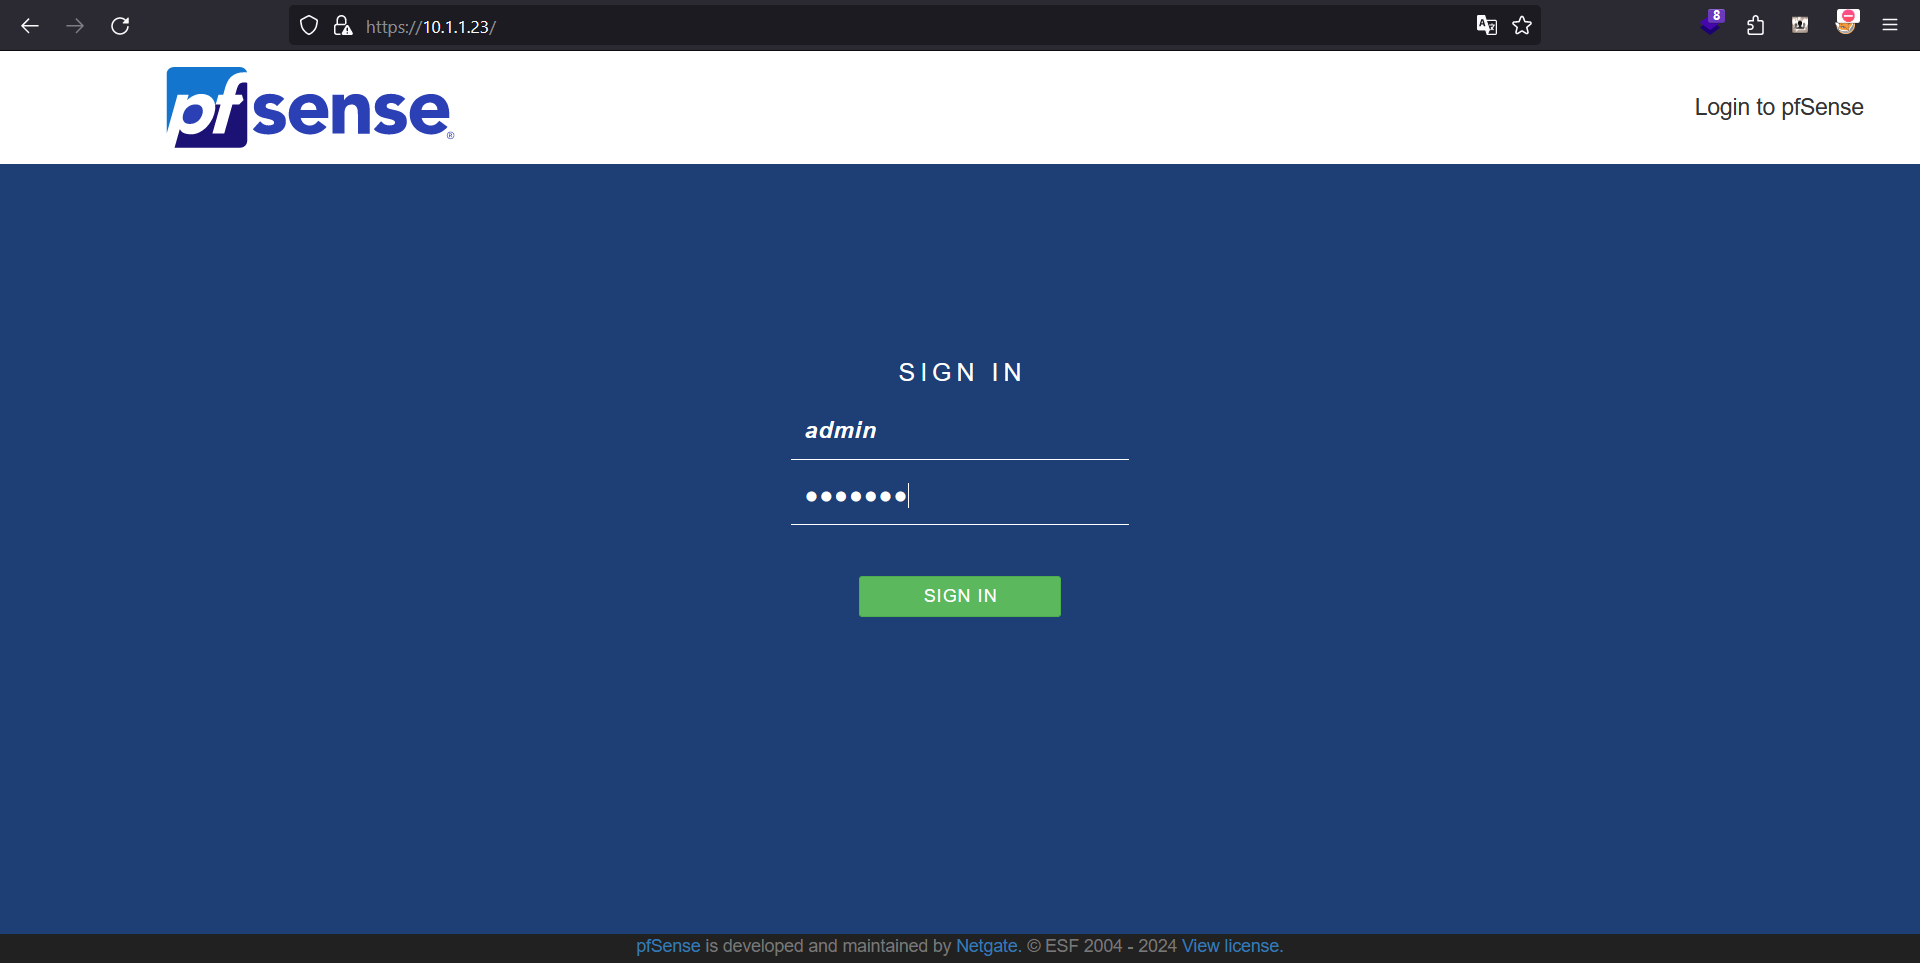
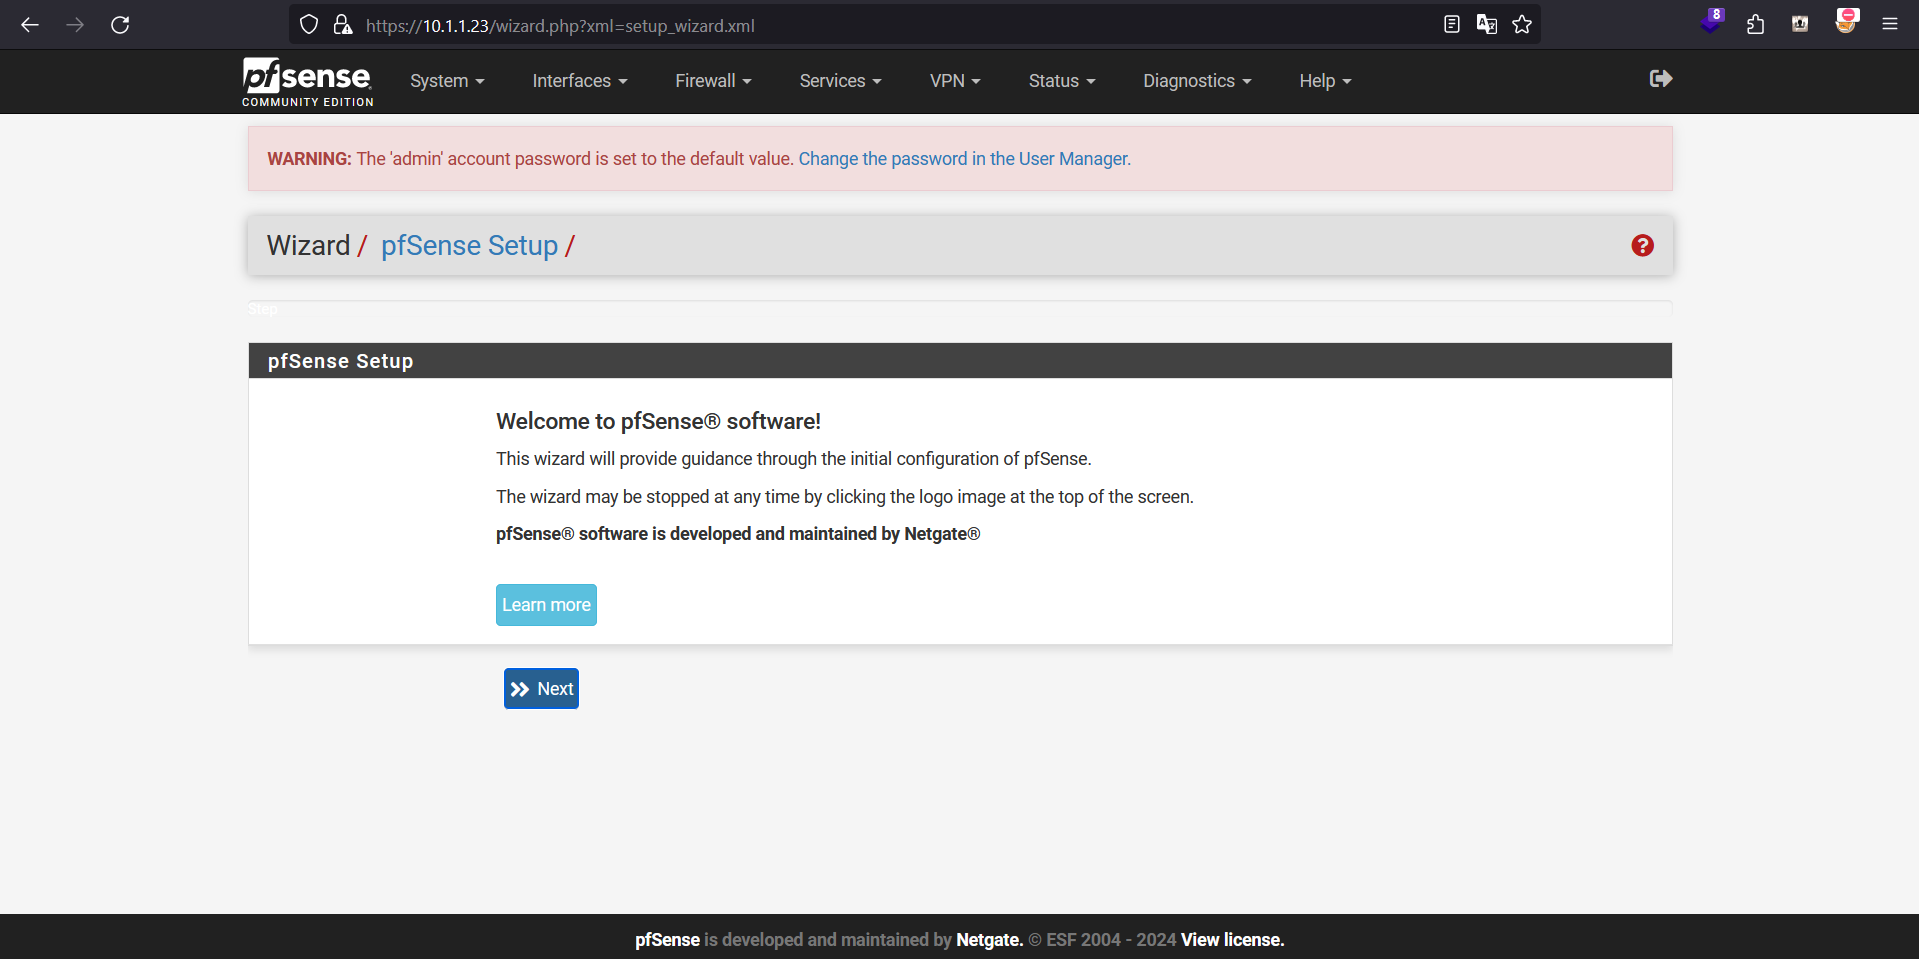 Setup wizard is presented, we will go through it
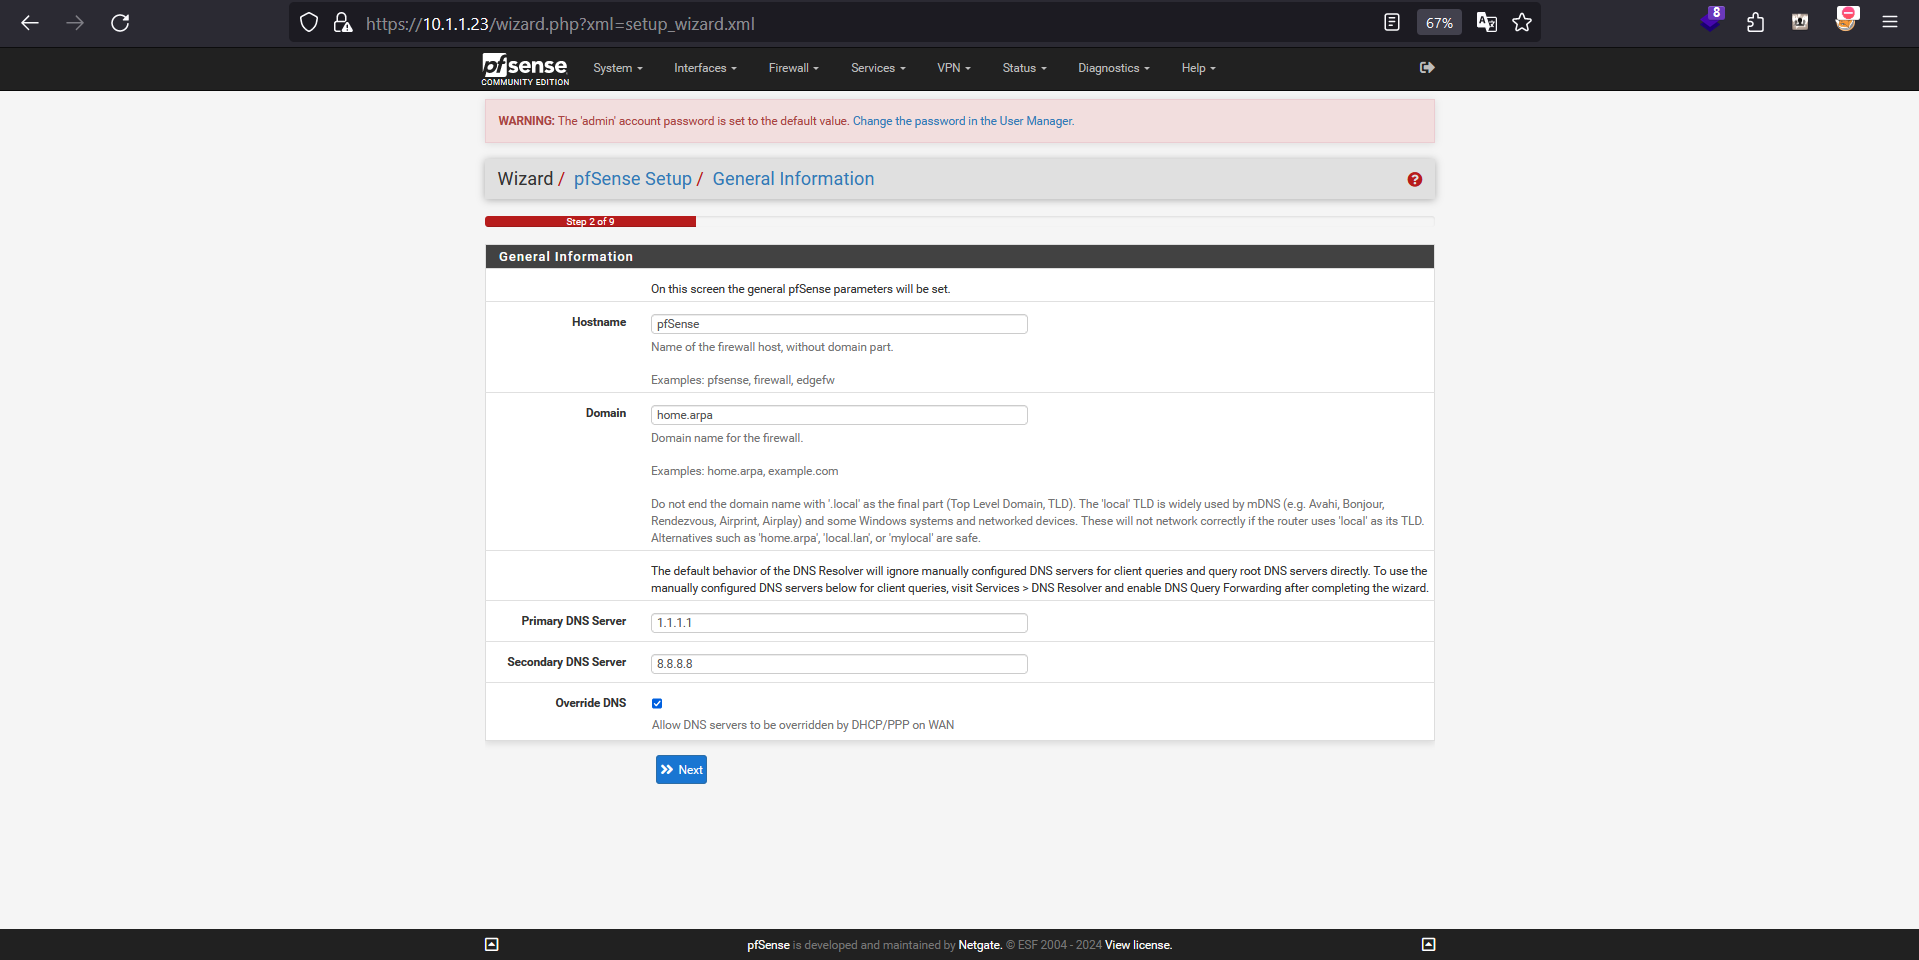 Configuring the DNS server
You may opt out a custom DNS server here
Configuring the DNS server
You may opt out a custom DNS server here
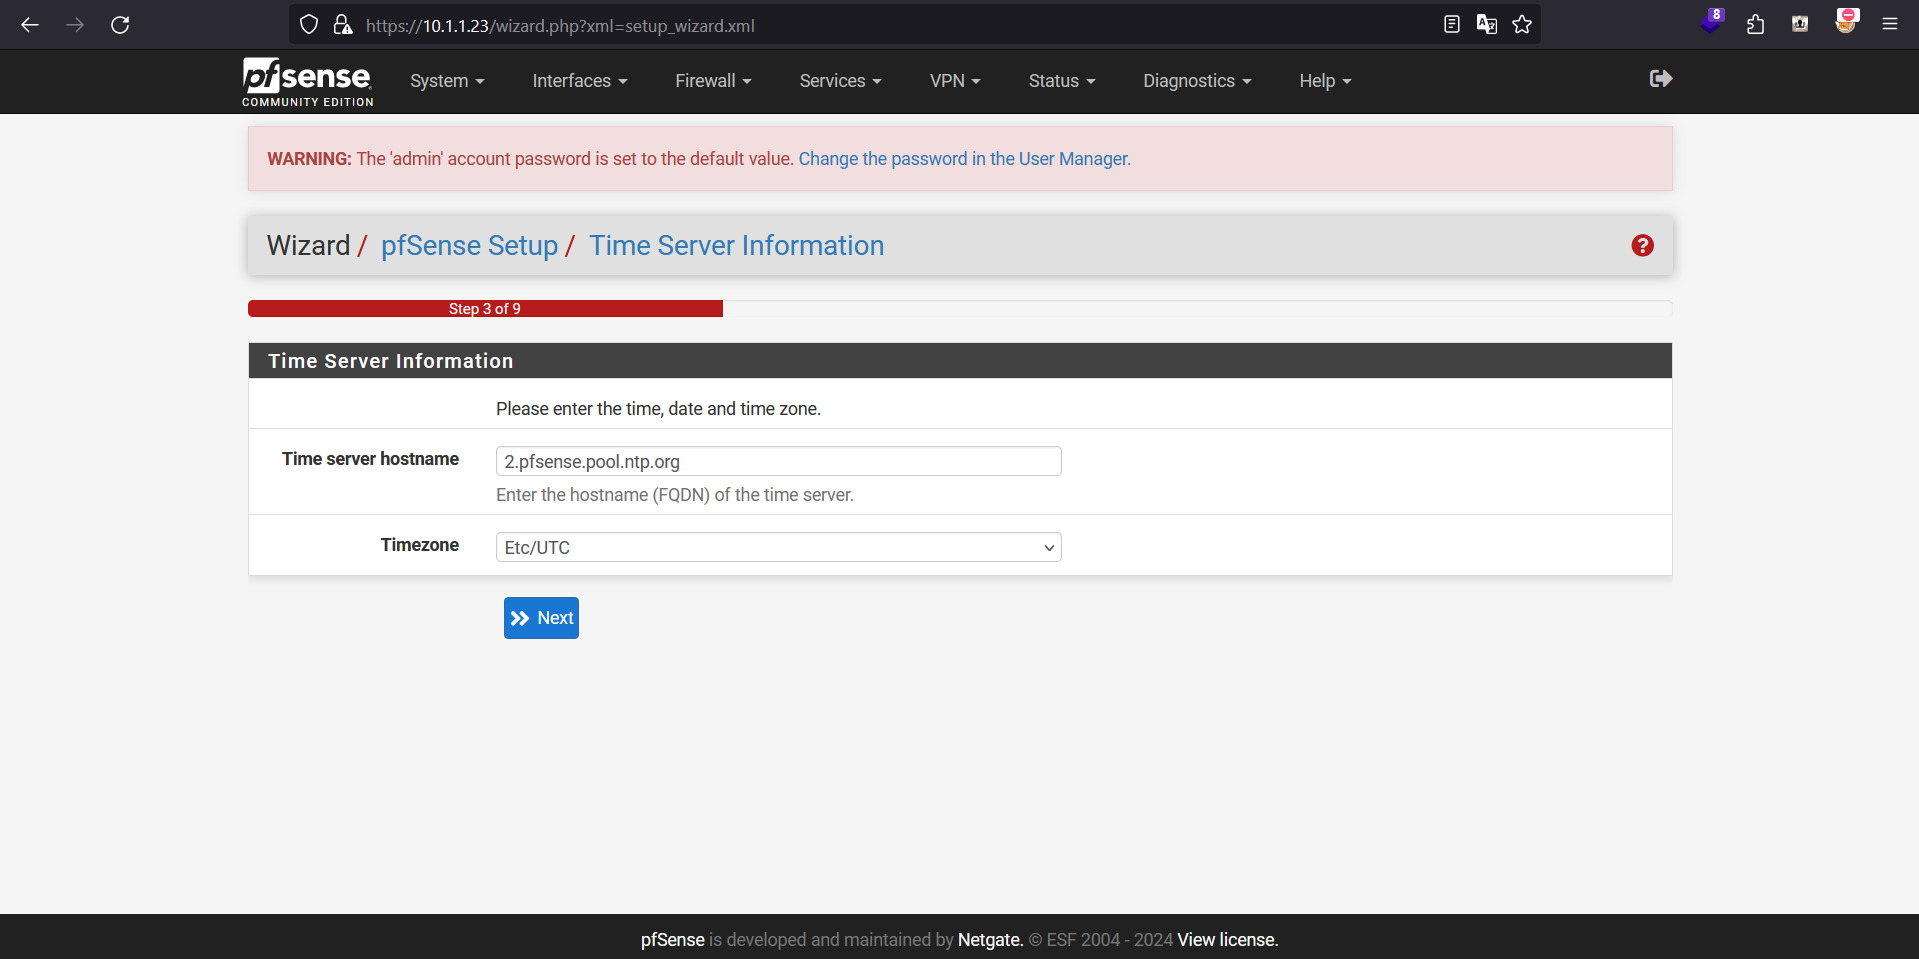 Configuring NTP server

 Next, we will configure the WAN interface (
vmx0) to have a static IPv4 address
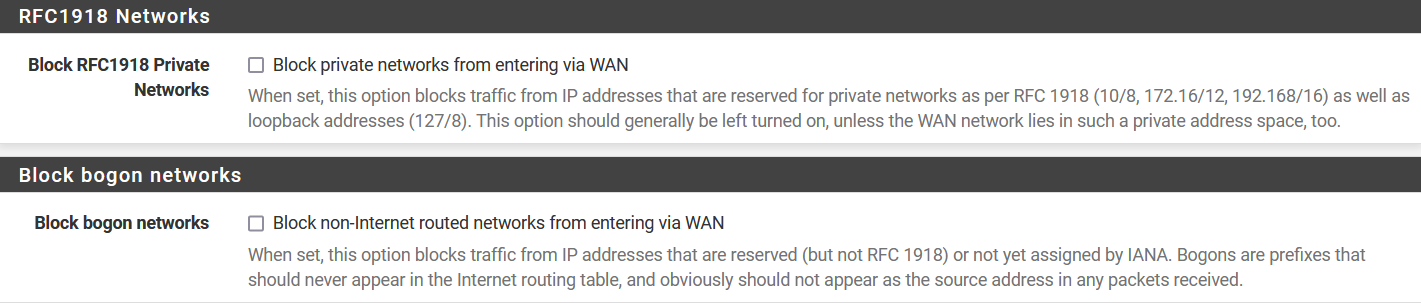 By default, pfSense blocks non-Internet routed networks from entering via WAN
Since this is a lab session for demonstration we will uncheck that option so that we can access the web GUI via the WAN interface. However, these configuration may be further explore to suit your need if you are doing this on bare-metal installation
By default, pfSense blocks non-Internet routed networks from entering via WAN
Since this is a lab session for demonstration we will uncheck that option so that we can access the web GUI via the WAN interface. However, these configuration may be further explore to suit your need if you are doing this on bare-metal installation
 I will also change the default admin password here as well
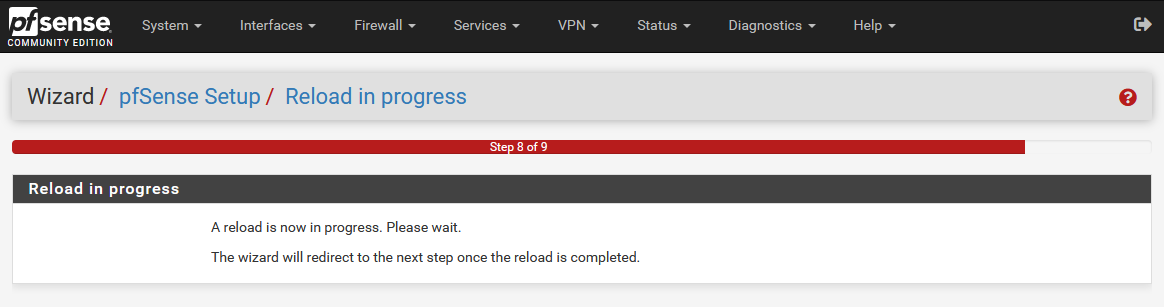 Reloading
 Reloading is complete
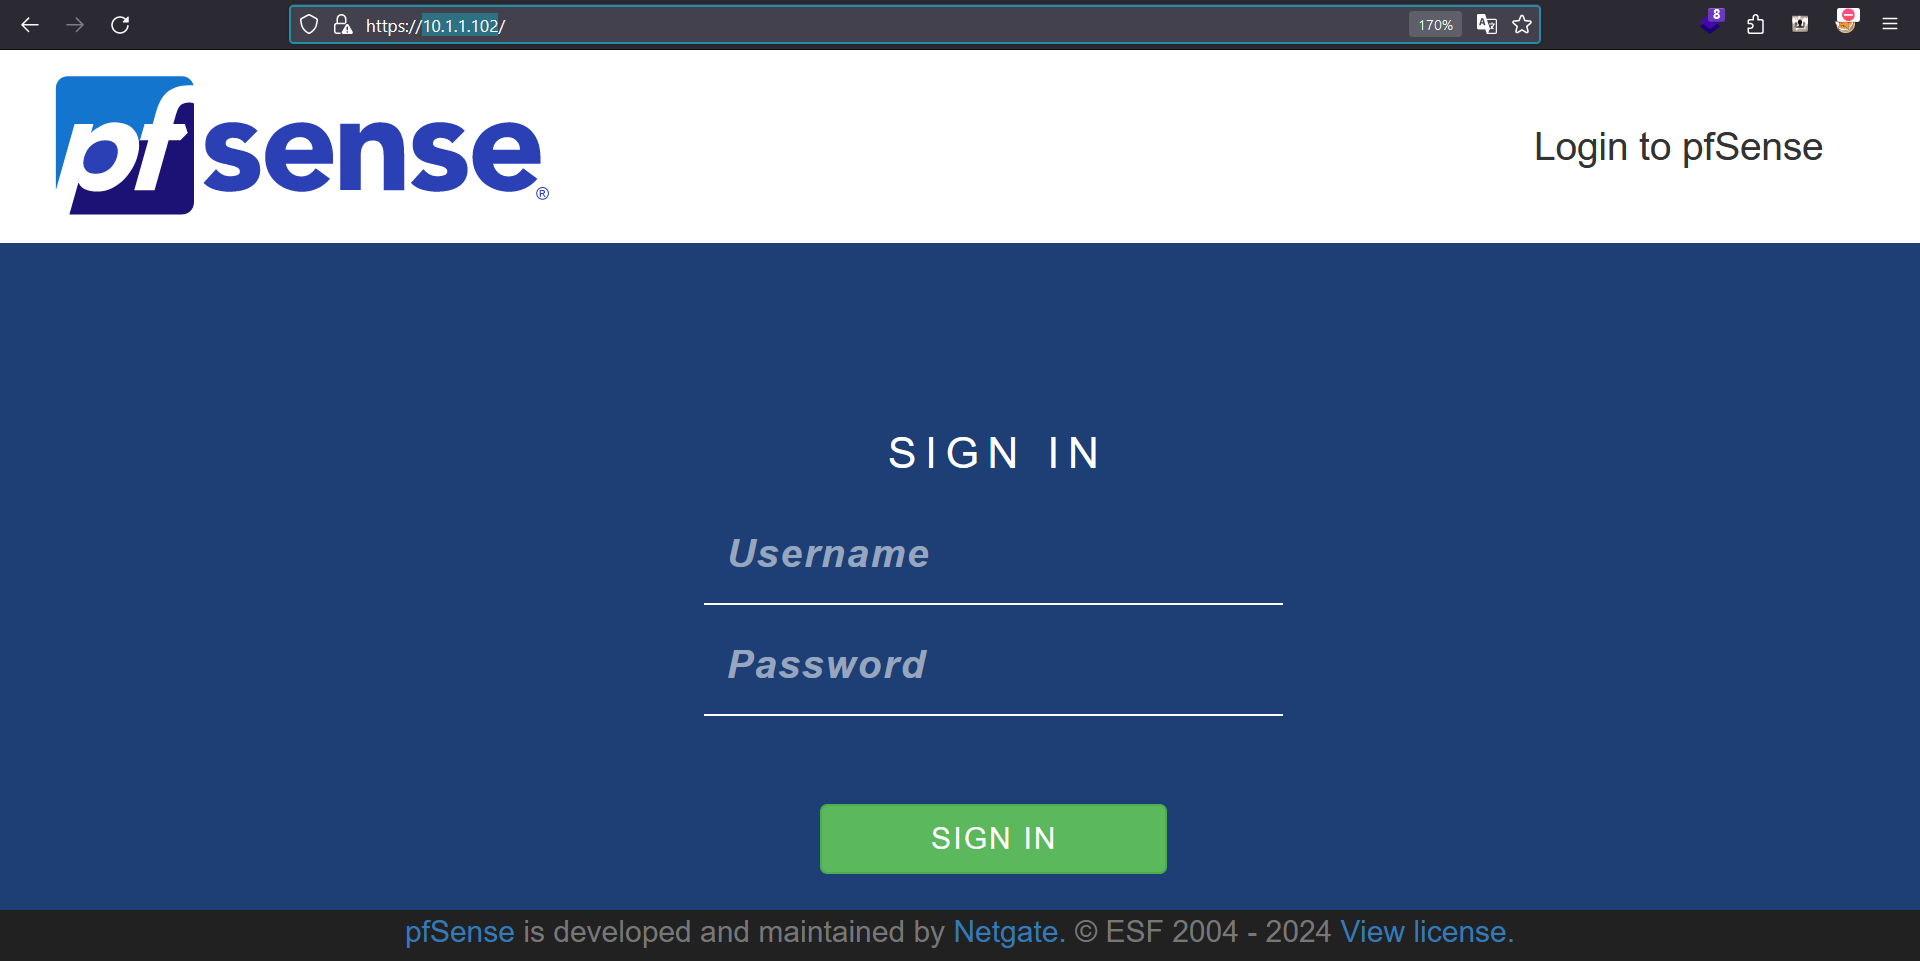
Web GUI is now accessible via
Reloading is complete
Web GUI is now accessible via https://10.1.1.102
Adding NAT Networks
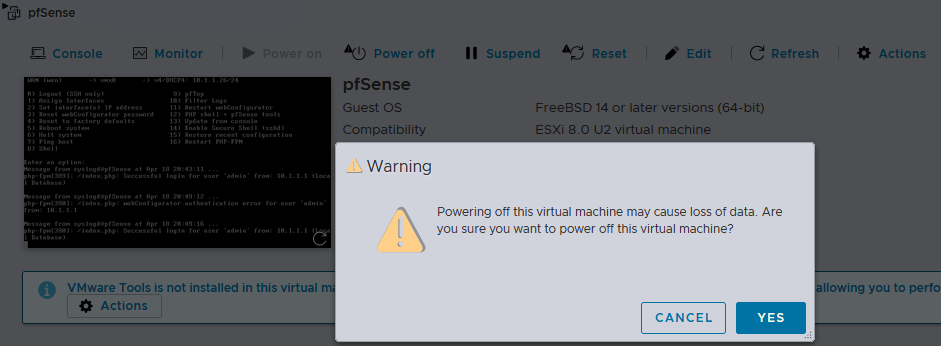 Now the initial setup is complete, I will shutdown the
 pfSense instance, so that I can add 2 additional NICs for NAT networking
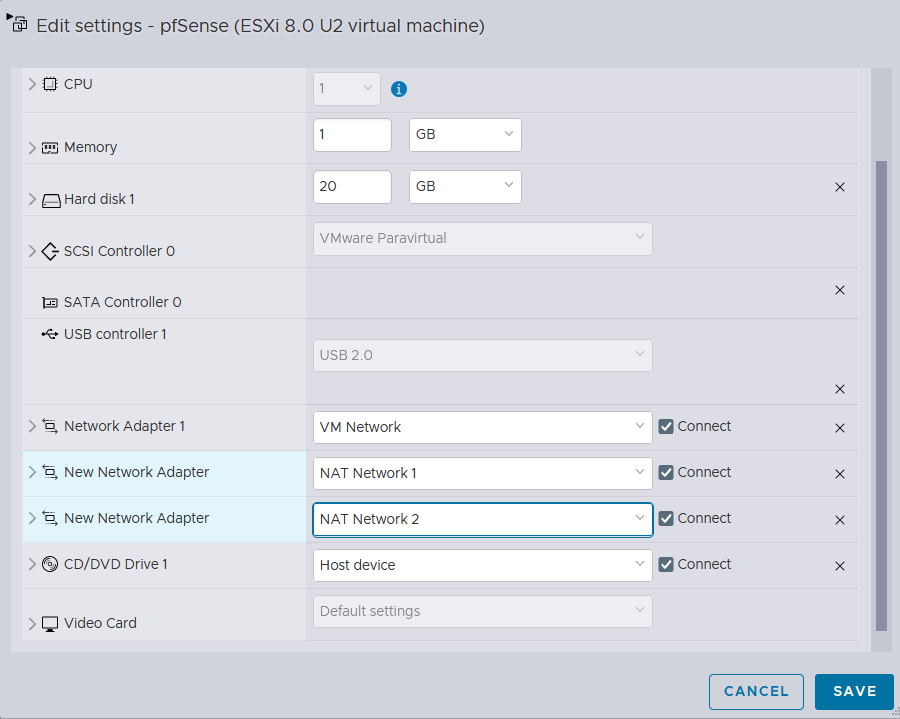 Adding 2 additional NAT networks that were configured in the earlier stage, and booting it back up
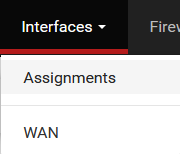 Back on to the web GUI of pfSense, we now need to configure the NAT networks
It can be done via the Assignments button under the Interfaces tab
Back on to the web GUI of pfSense, we now need to configure the NAT networks
It can be done via the Assignments button under the Interfaces tab
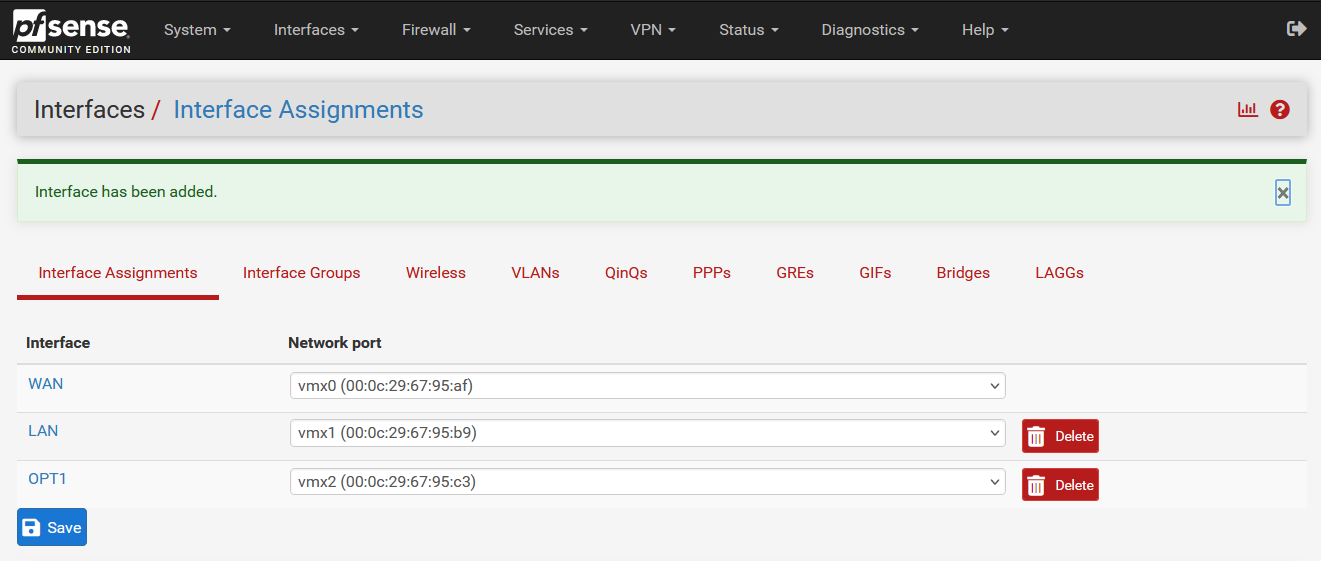 Then I can assign those 2 newly added NICs (
vmx1 and vmx2), and save the changes
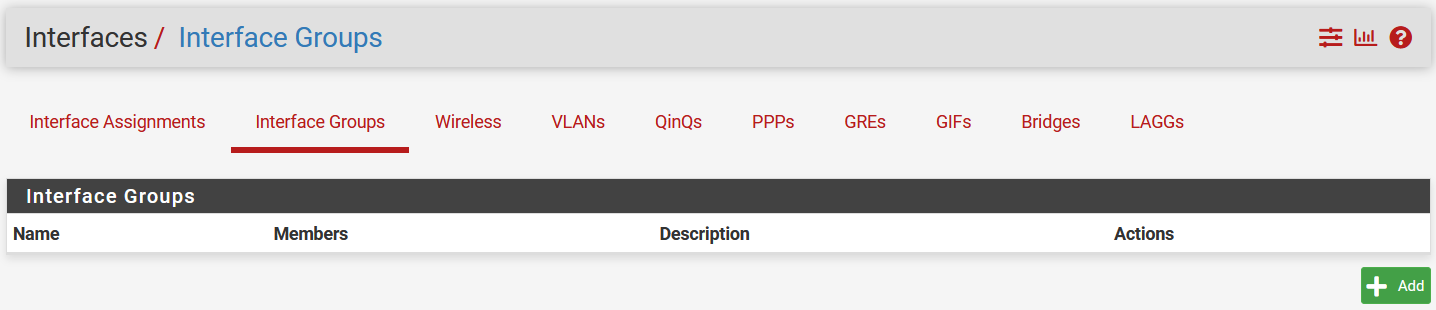 The Interface Groups tab comes in handy when dealing with a large amount of NICs

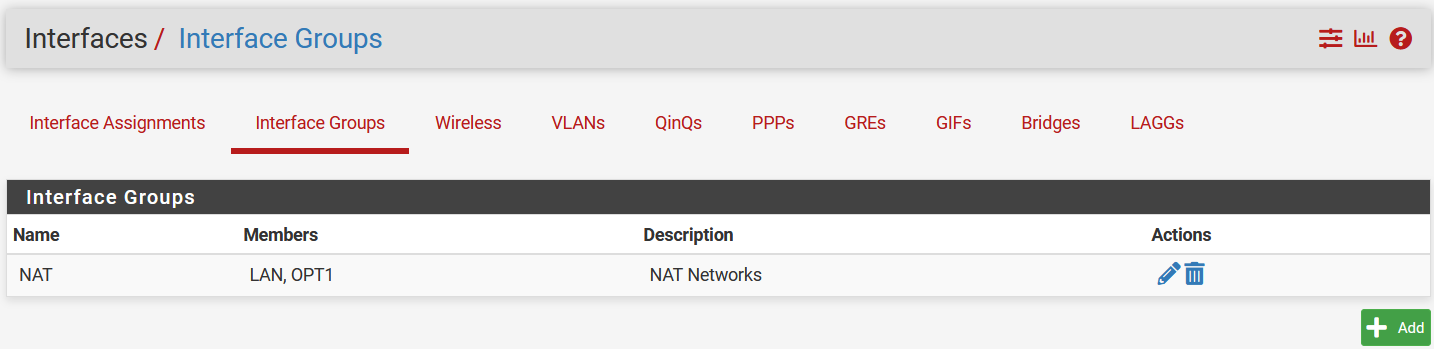 I will assign both LAN(
vmx1) and OPT1(vmx2) to the NAT group
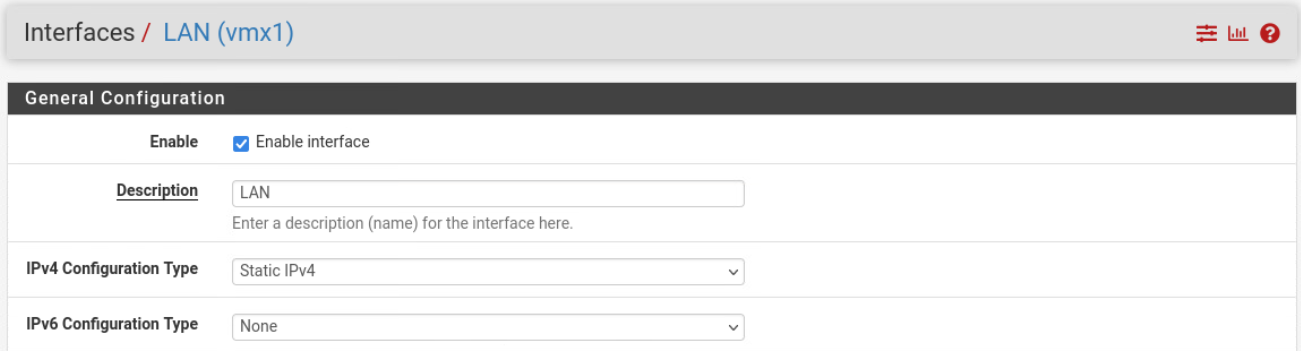
 First, we will enable the LAN(
vmx1) interface and provide a static IPv4 address of 10.16.81.1/24
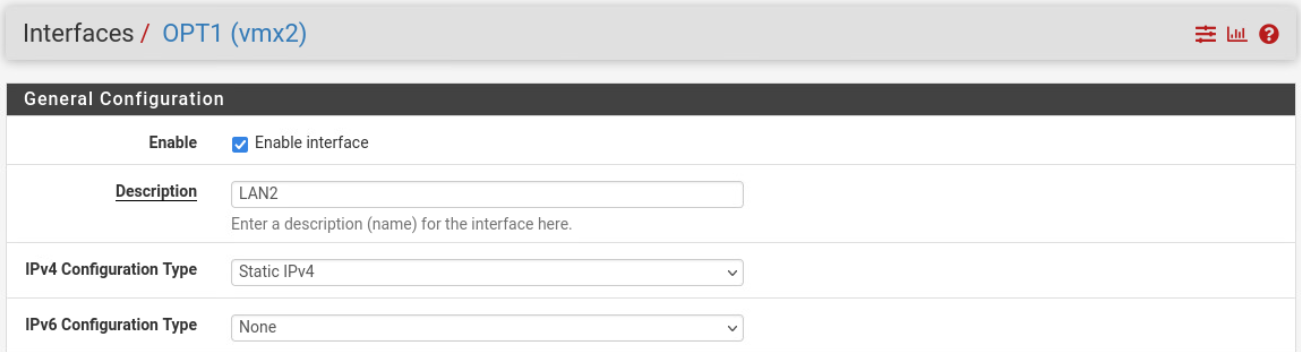
 OPT1(
OPT1(vmx2) interface will be renamed to LAN2, and will also have a static IPv4 address of 10.16.82.1/24
DHCP
 Now on to the DHCP service
 The notification shows that the ISC DHCP service has reached EOL and suggests an alternative.
 I will follow it through and use the Kea DHCP service
DHCP for LAN(vmx1)
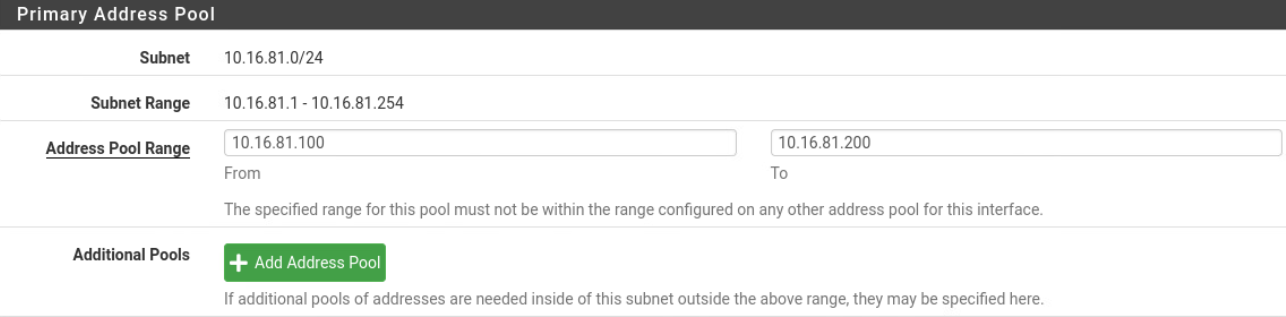 Configuring the DHCP service for the LAN(
vmx1) interface with the address range is 10.16.81.100/24 to 10.16.81.200/24
DHCP for LAN2(vmx2)
 LAN2(
LAN2(vmx2) interface has also been configured the same way
NAT
NAT (Network Address Translation) in pfSense allows multiple devices on a private network to share a single public IP address for internet access by dynamically translating internal IP addresses to the public one. It provides a crucial layer of security and enables efficient utilization of limited IP addresses.
Depending on your environment, the configuration required may differ
 Now on to the NAT setup
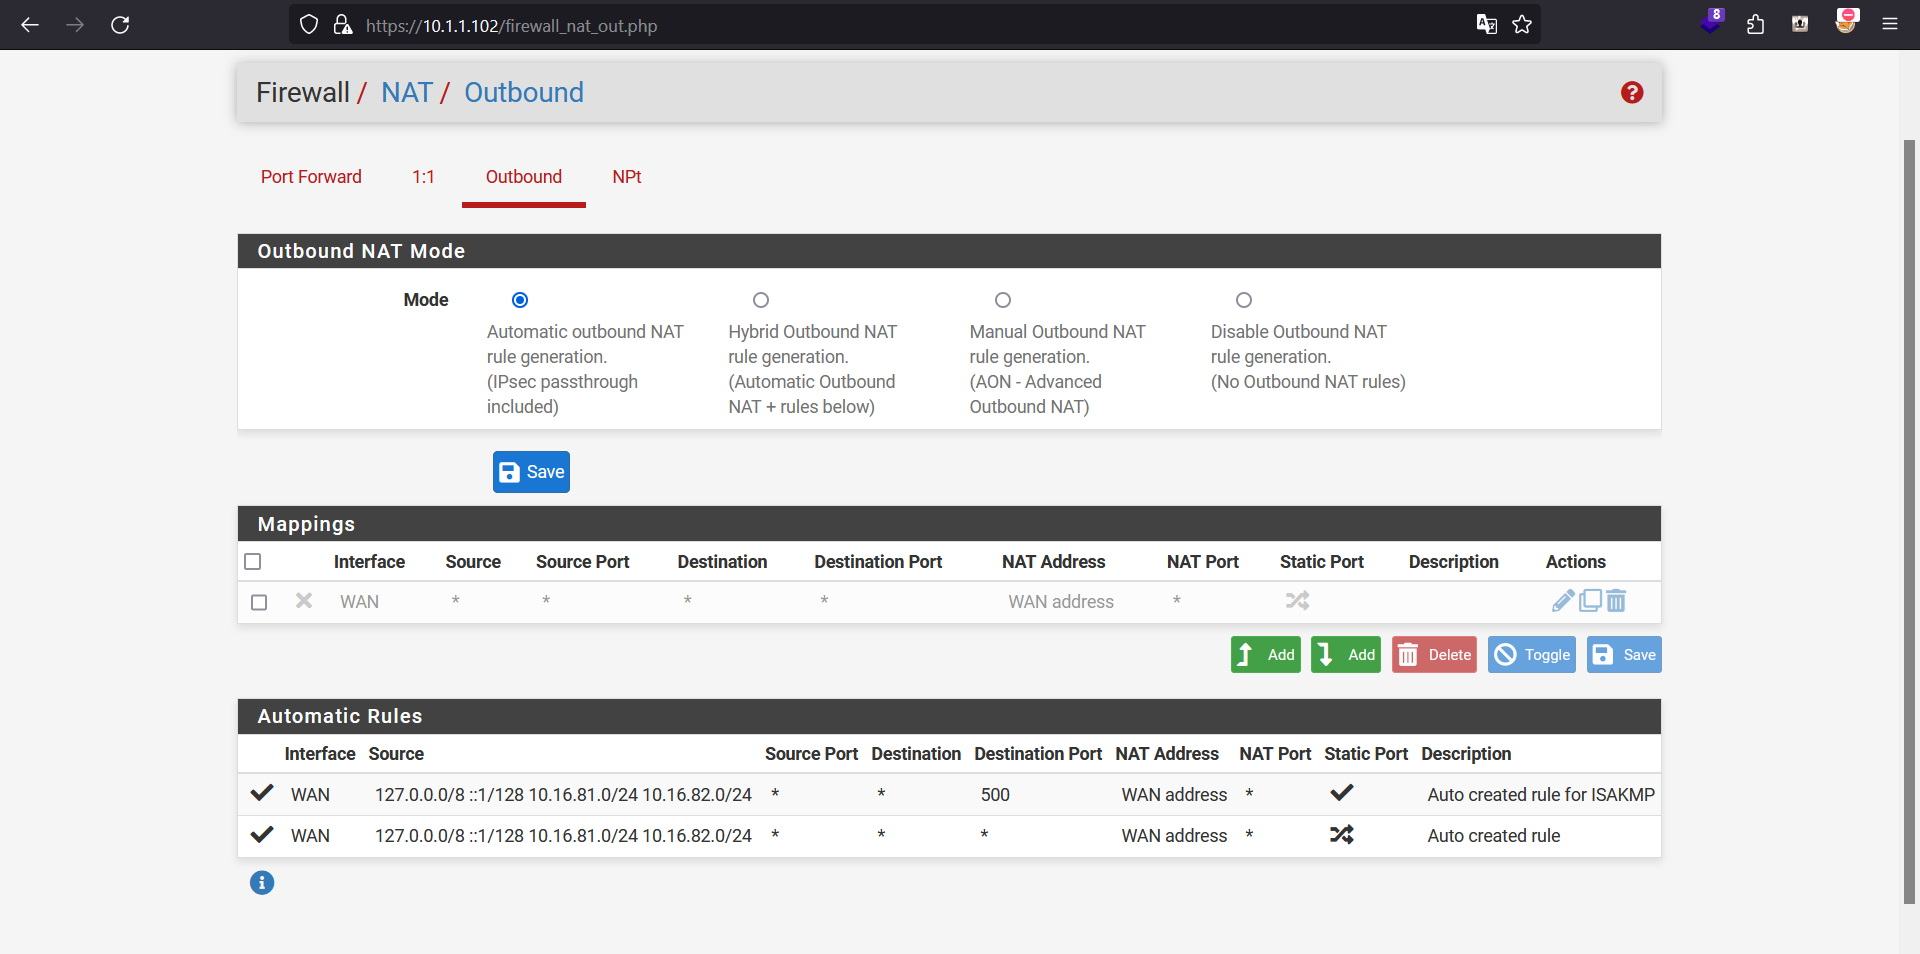 By default, pfSense provides an outbound NAT service, and we will an additional step for those LAN interfaces to be able to access the internet
Firewall
The rules that we make here allows those Internal NICs to be able to access the public internet Disabling this option makes both LAN and LAN2 interfaces local-only
 It can be done under the Rules
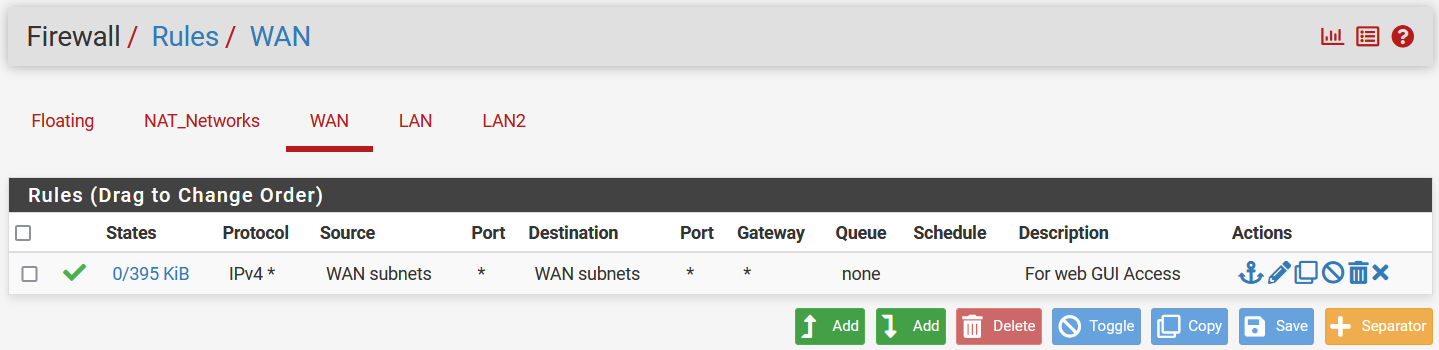
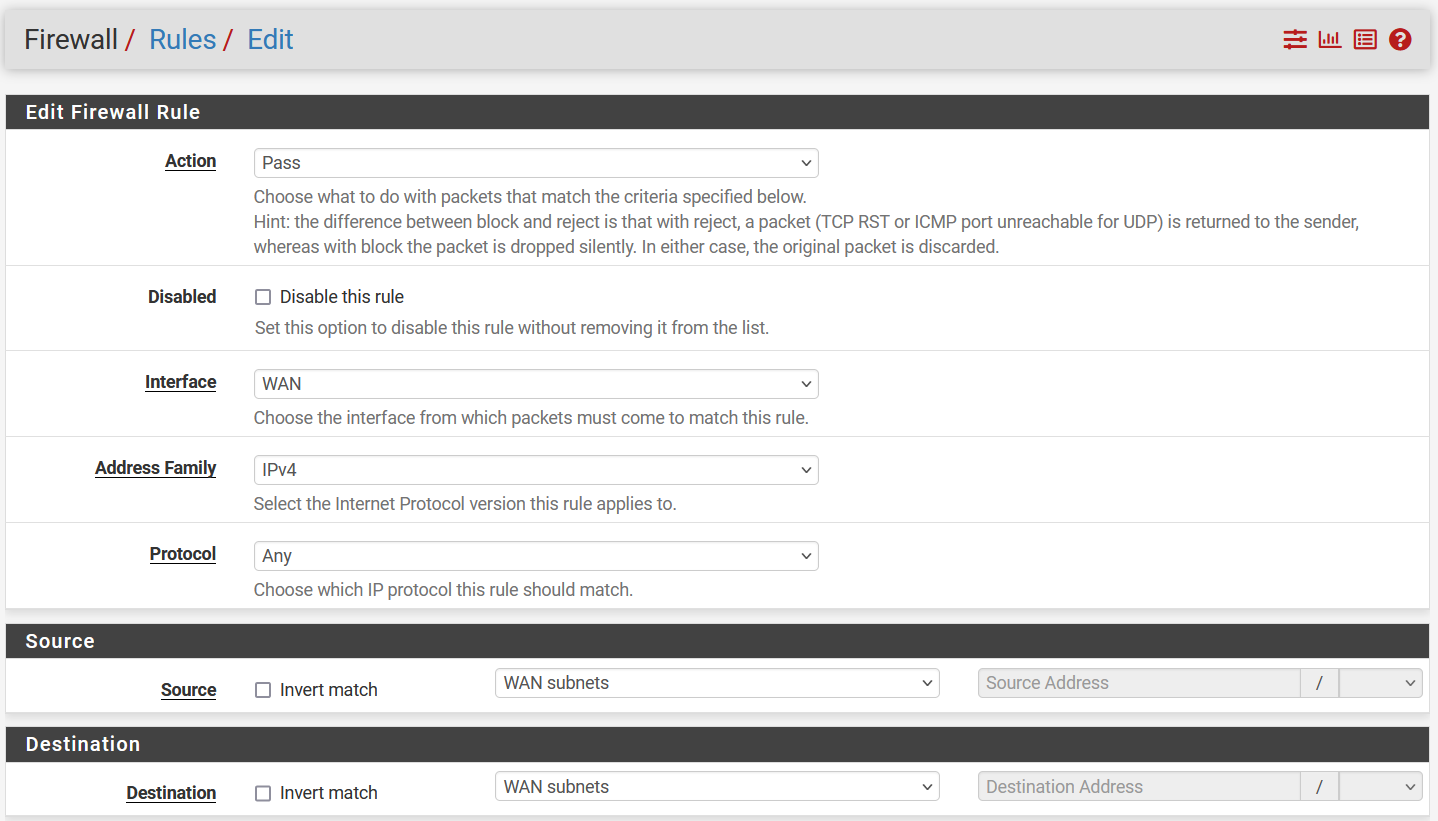 We will first configure that WAN interface to be accessible within its subnet
This is usually NOT recommended as it is a WAN interface, but I am doing it only because the
We will first configure that WAN interface to be accessible within its subnet
This is usually NOT recommended as it is a WAN interface, but I am doing it only because the pfSense instance itself is already configured with an overhead NAT network, sitting within the hypervisor
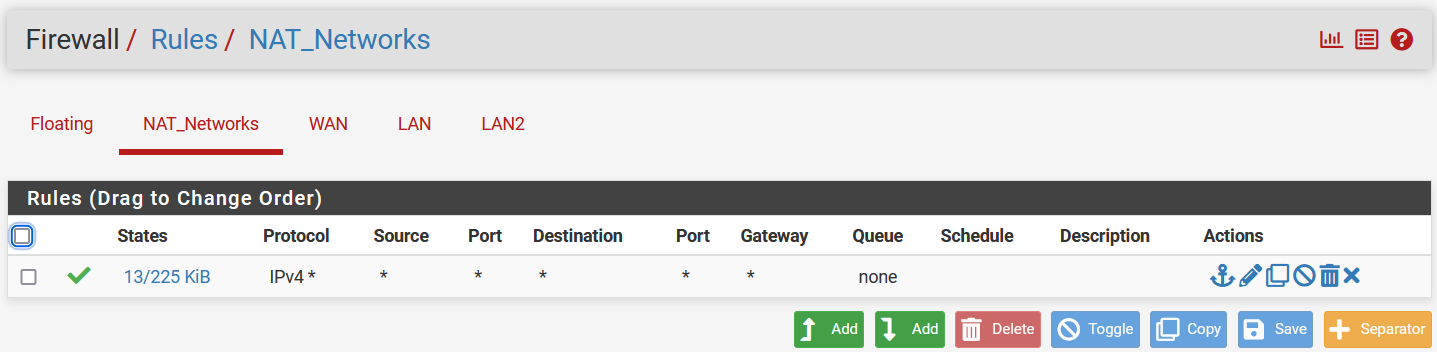
 Now we need to configure those 2 LAN interfaces to be able to access the internet
Using the group we created in the earlier stage,
Now we need to configure those 2 LAN interfaces to be able to access the internet
Using the group we created in the earlier stage, NAT_Networks
Testing
Now that we have completed all above, let’s test out
Instances
 I already went ahead and installed:
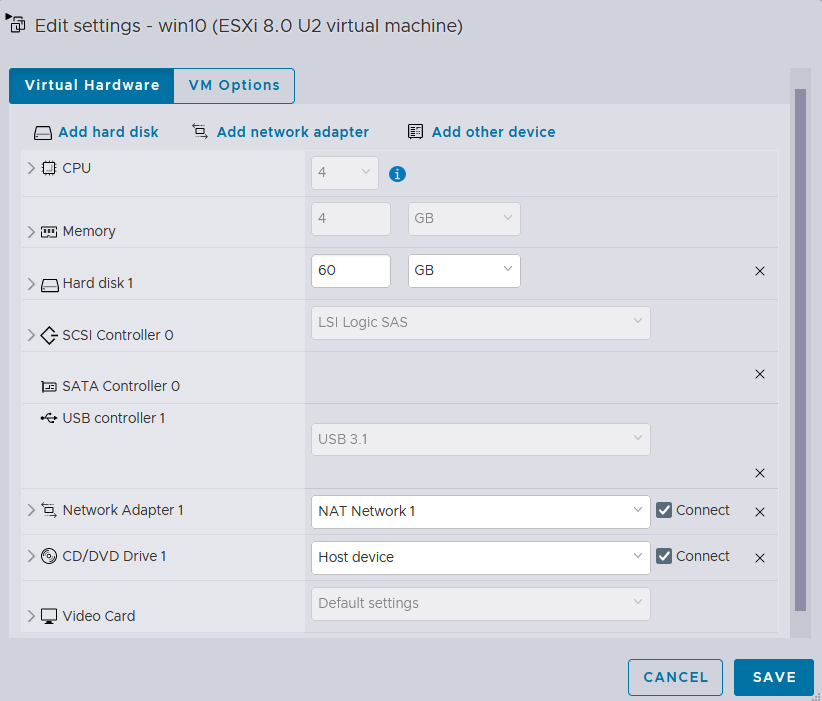
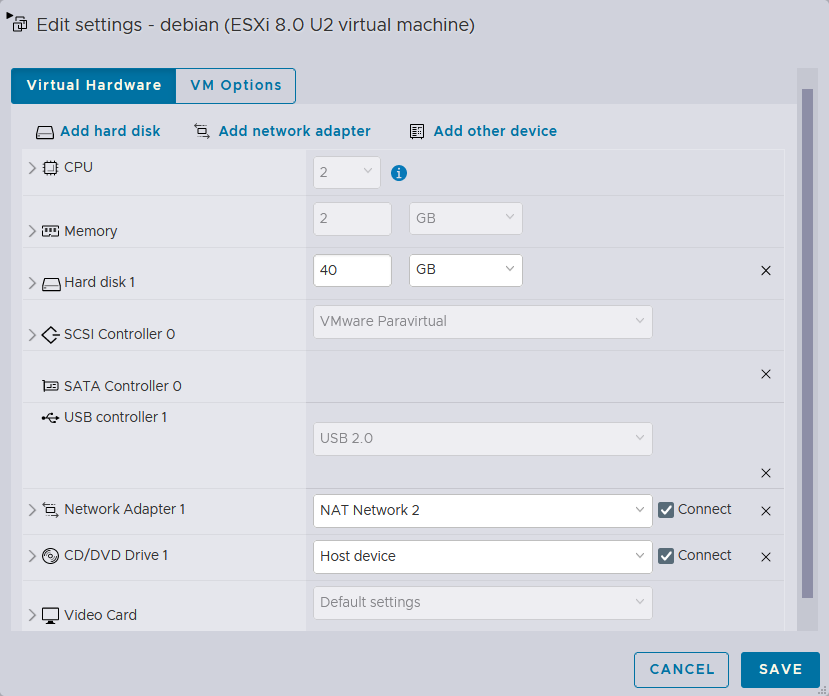
Windows 10instance with theNAT Network 1Debianinstance with theNAT Network 2They both will obtain IPv4 addresses from thepfSenseinstance, and will have access to the public internet
LAN(vmx1) Interface with NAT
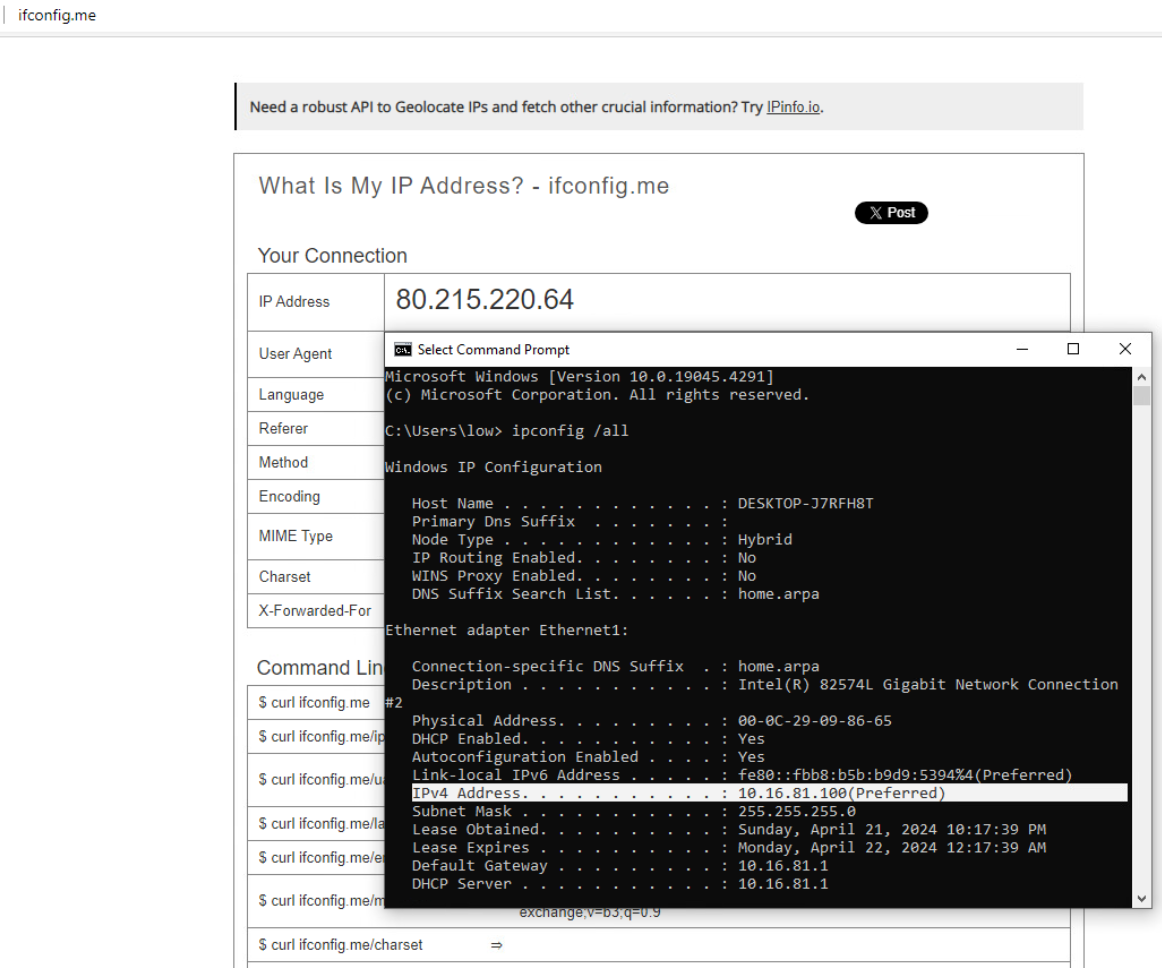 As shown above, the
 Windows 10 instance received an IPv4 address of 10.16.81.100 from the pfSense instance, while its public IP address being 80.215.220.64
LAN2(vmx2) Interface with NAT
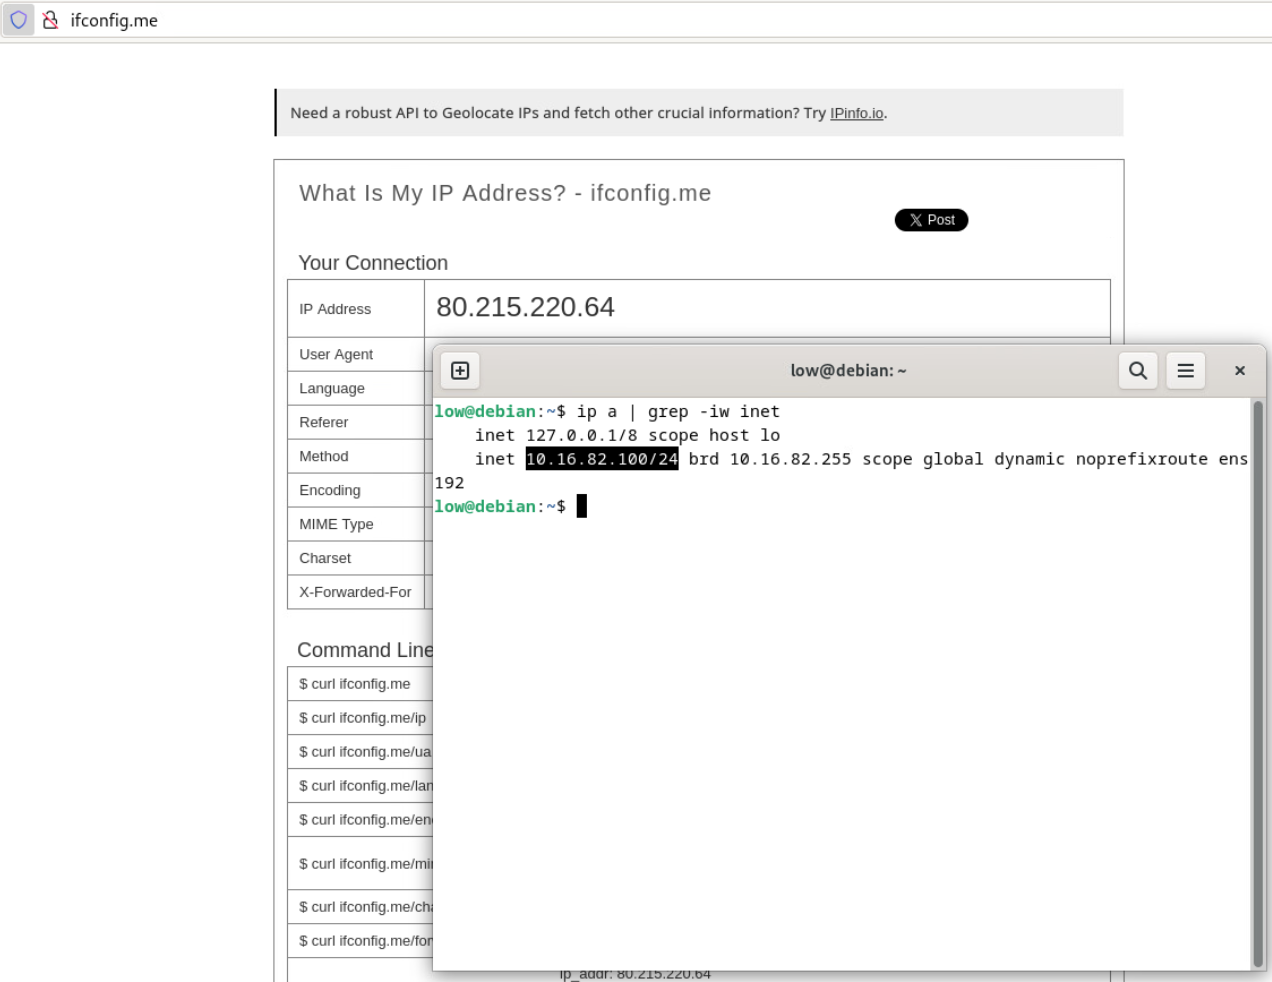 The same goes for the
 Debian instance
Conclusion
In conclusion, the installation and configuration of pfSense within the ESXi environment provide a powerful foundation for network security and management. By leveraging the robust features of pfSense alongside ESXi’s virtualization capabilities, organizations can achieve enhanced flexibility, scalability, and control over their network infrastructure. This comprehensive solution empowers businesses to optimize resource utilization, strengthen security posture, and streamline network administration processes for sustained growth and operational efficiency.
 The only caveat is that the
 iSCSI-Tank datastore becomes unavailable on reboot
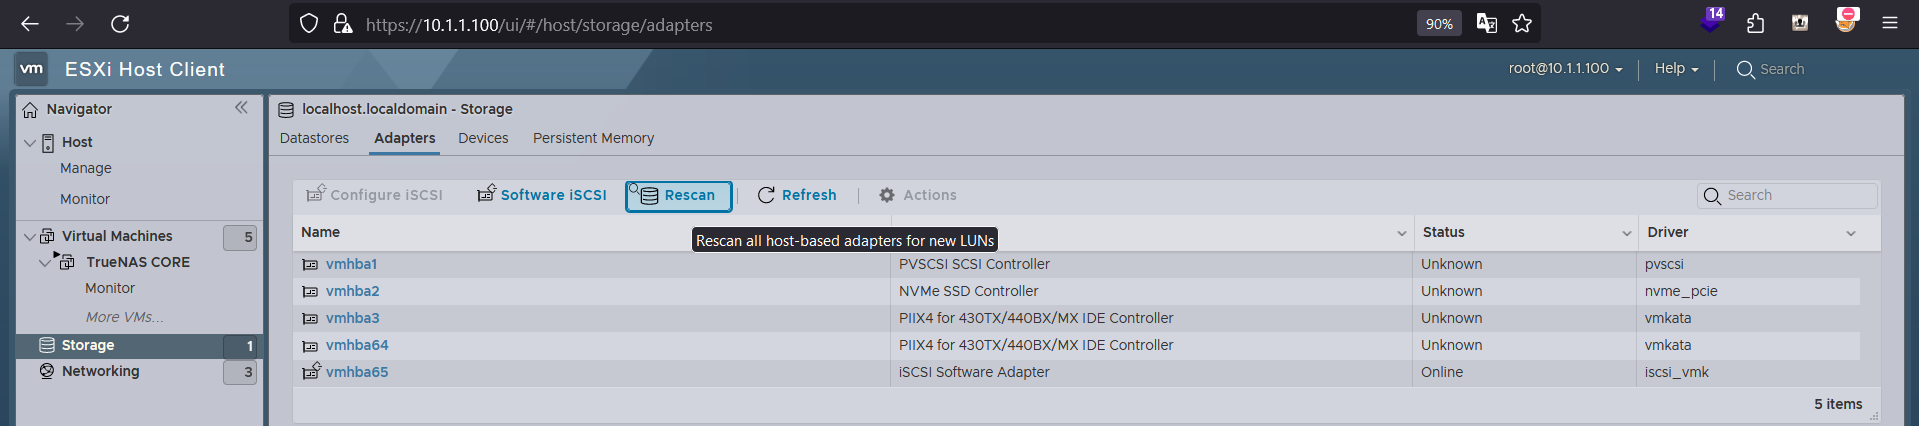
 This can be worked around by pressing the Rescan button, and it comes back online
and of course, this is too be automated by scripting it from the
This can be worked around by pressing the Rescan button, and it comes back online
and of course, this is too be automated by scripting it from the ESXi host